The AliExpress Quest Pro
I have been hanging around with my friends in VRChat a lot lately, and some of them have gotten headsets with eye tracking. This really makes your avatar feel more alive and it has me feeling kinda jealous, so I want to attempt to DIY eye tracking into my Pico 4 Ultra.
The most sensible course of action for me to take is to sell my Pico 4 Ultra and buy a Pico 4 Pro or Enterprise, which have it built in, without any jank, over the same Pico Connect / Steam Link connection, with eye position, dilation, blinking, and even decent mouth tracking!
This, however, costs me money, I have to obtain a new headset, and sell my current one that I already own, which probably will lose me money.
Instead, I can spend about 100 quid on building an EyetrackVR setup. If I decide I want mouth tracking (less of a concern as VRChat can emulate this from your voice pretty believably), I can add a Babble later.
Things Needed
- parts list:
- total cost: £55.98 (AliExpress) + £45 (Fovea Labs) = £100.98
- £45 ETVR V4 mini no solder kit
- £30.69 2x Seed Studio Xiao ESP32 S3 Sense
- £11.58 2x IR Camera (120deg 75mm)
- £3.36 2x 2.4GHz antenna
- £3.40 USB-C splitter for power
- £2.84 usb hub
- £3.36 3x short usb c-c elbow, 1x straight
- glue of some kind (hot glue is best)
- 3D printed mounts (considered free for this build as I have access to a printer)
- tools
- 3D printer (or shapeways o/e) - perhaps look for local makerspaces!
Paths to Take
There are a few different sets of mounts. The main ones for my headset are RamesTheGeneric’s mounts that attach to the lenses, CucFlavius’ mounts that attach entirely inside an AMVR facial interface, and Bevergames2018’s series of entirely 3d printed facial interfaces featuring mounting points in them.
The latter of these is definitely the neatest and cleanest, but I do not feel like printing for 15 hours with a tenth of a spool of filament, so I chose not to use that.
I printed the parts for both the other two mounts, but CucFlavius’ mounts are highly janky, with broken-ass obj files that only just barely work in Cura, and definitely not in Slic3r. They seemed workable but were incredibly hot-glue-tastic jank, and very little instructional images were available.
After much testing, I ended up settling on trying Rames’ mounts.
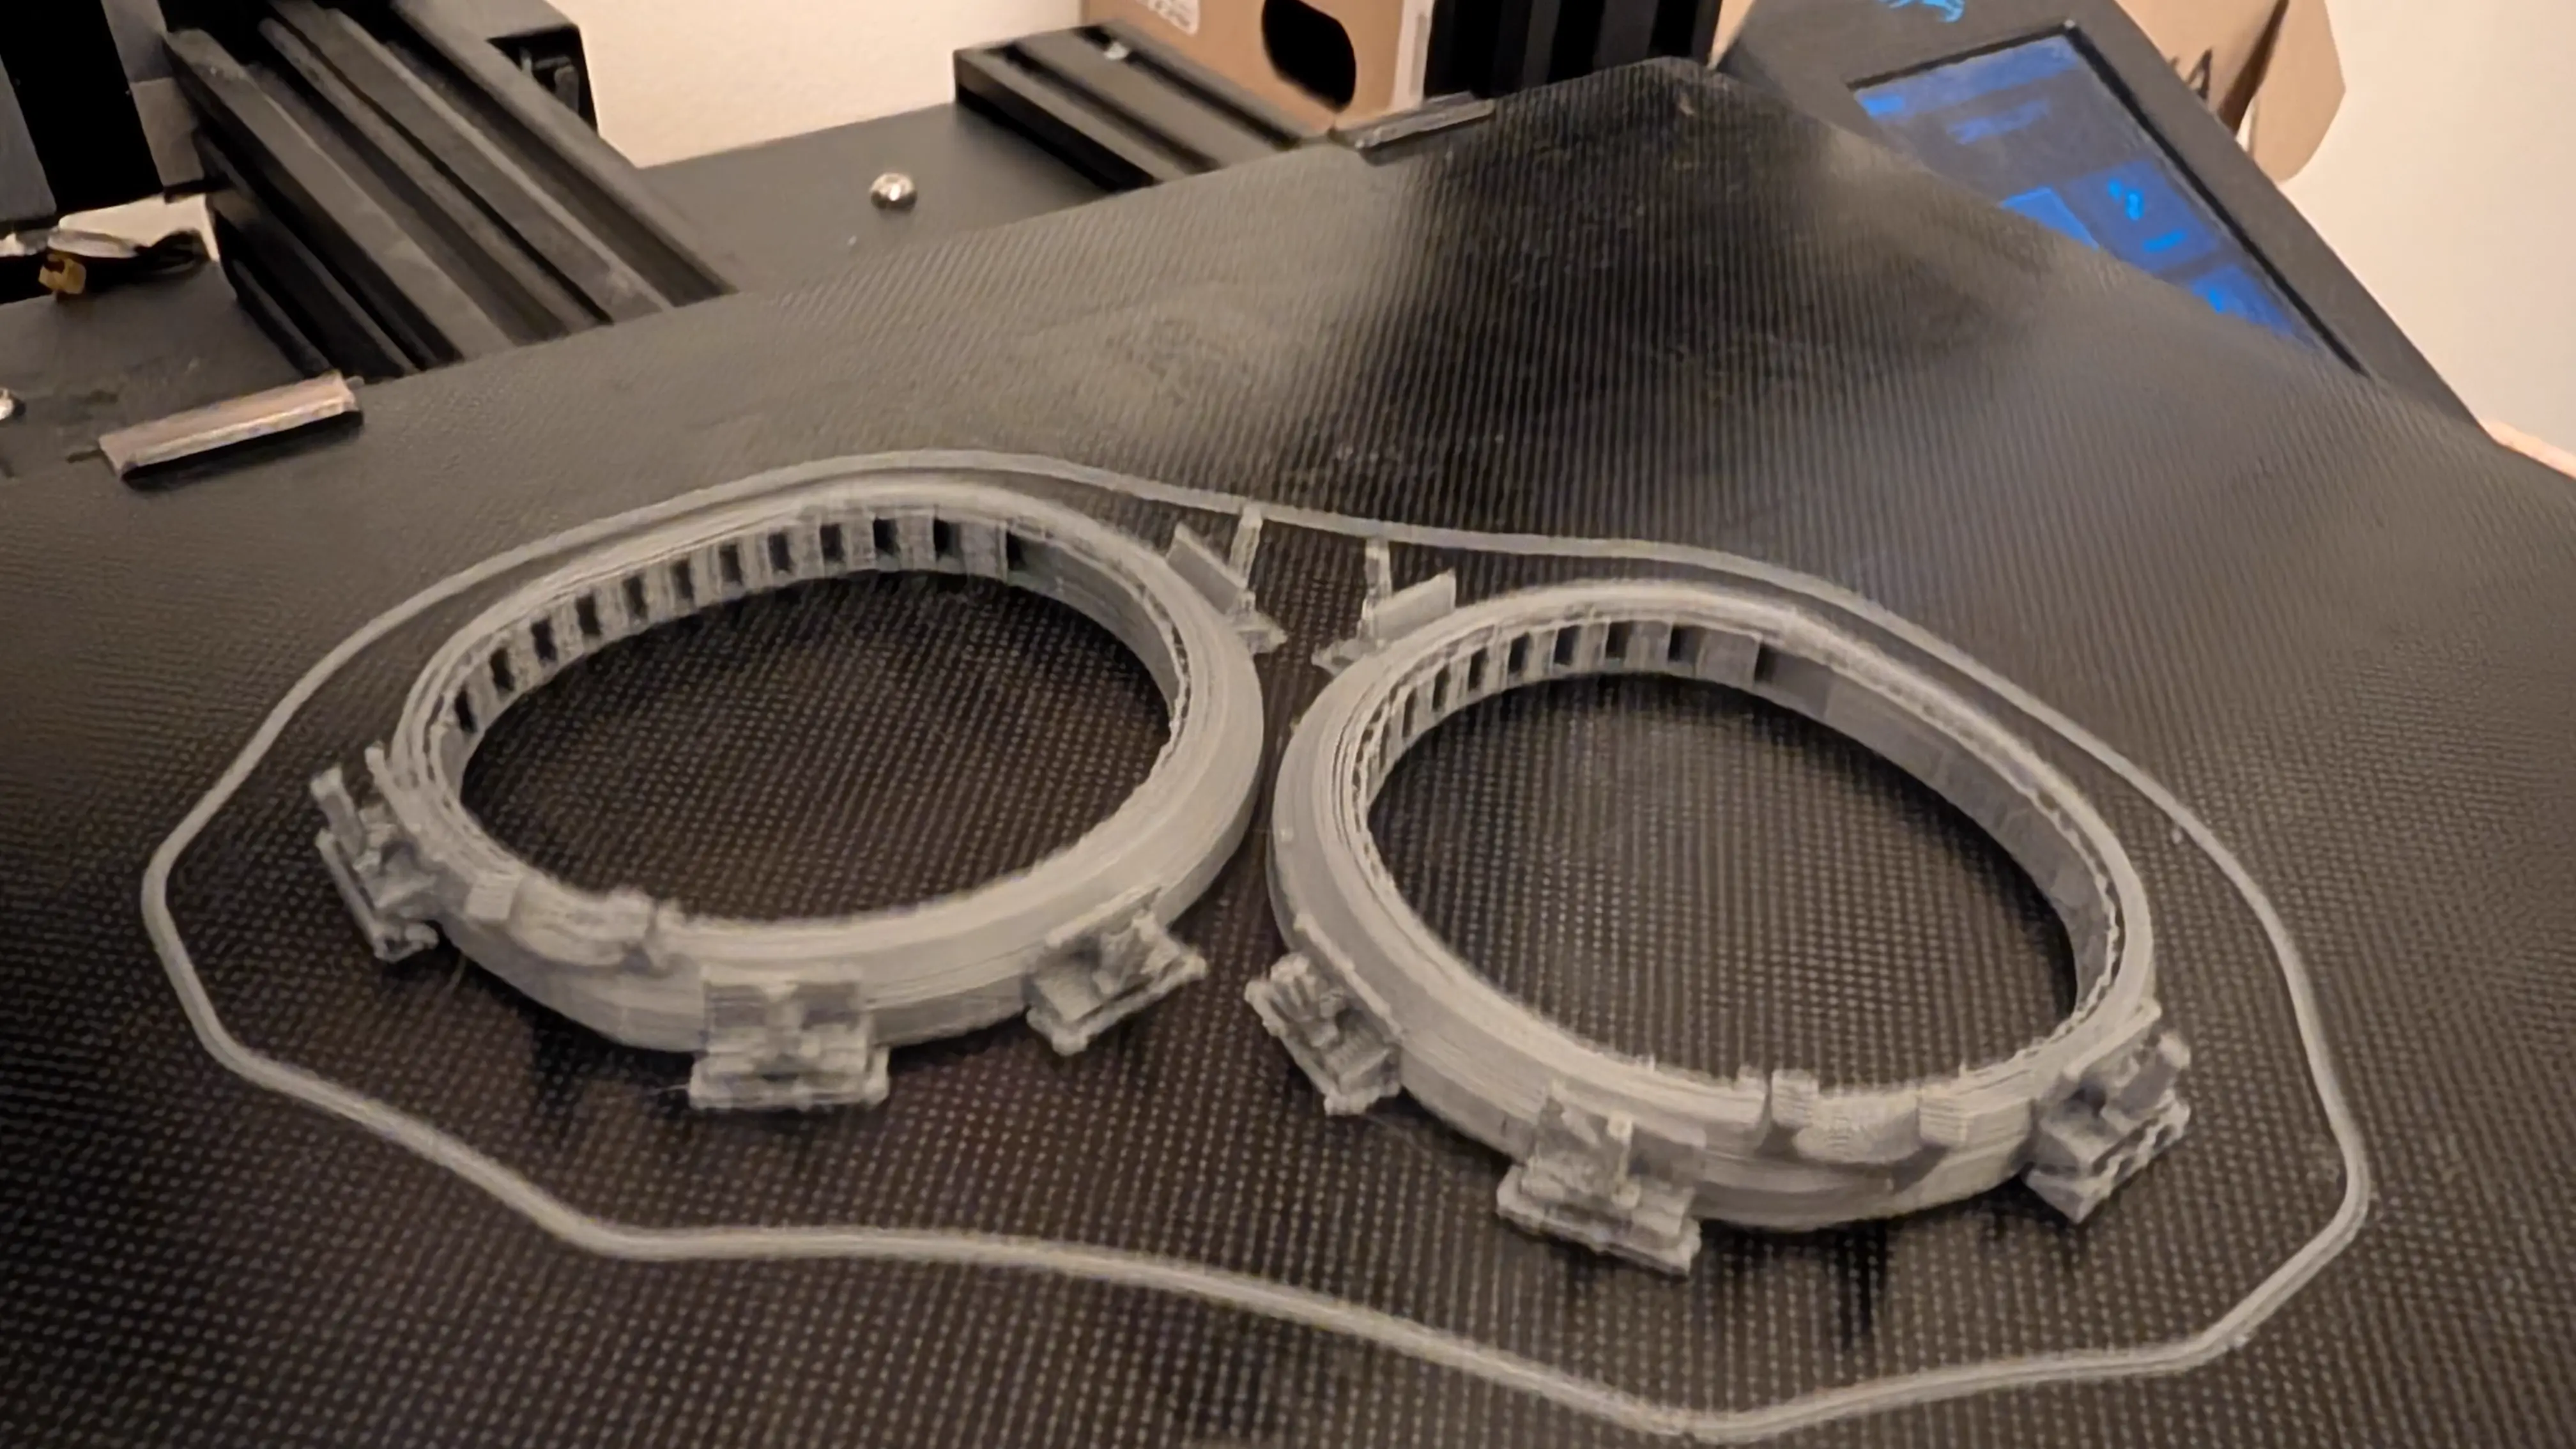
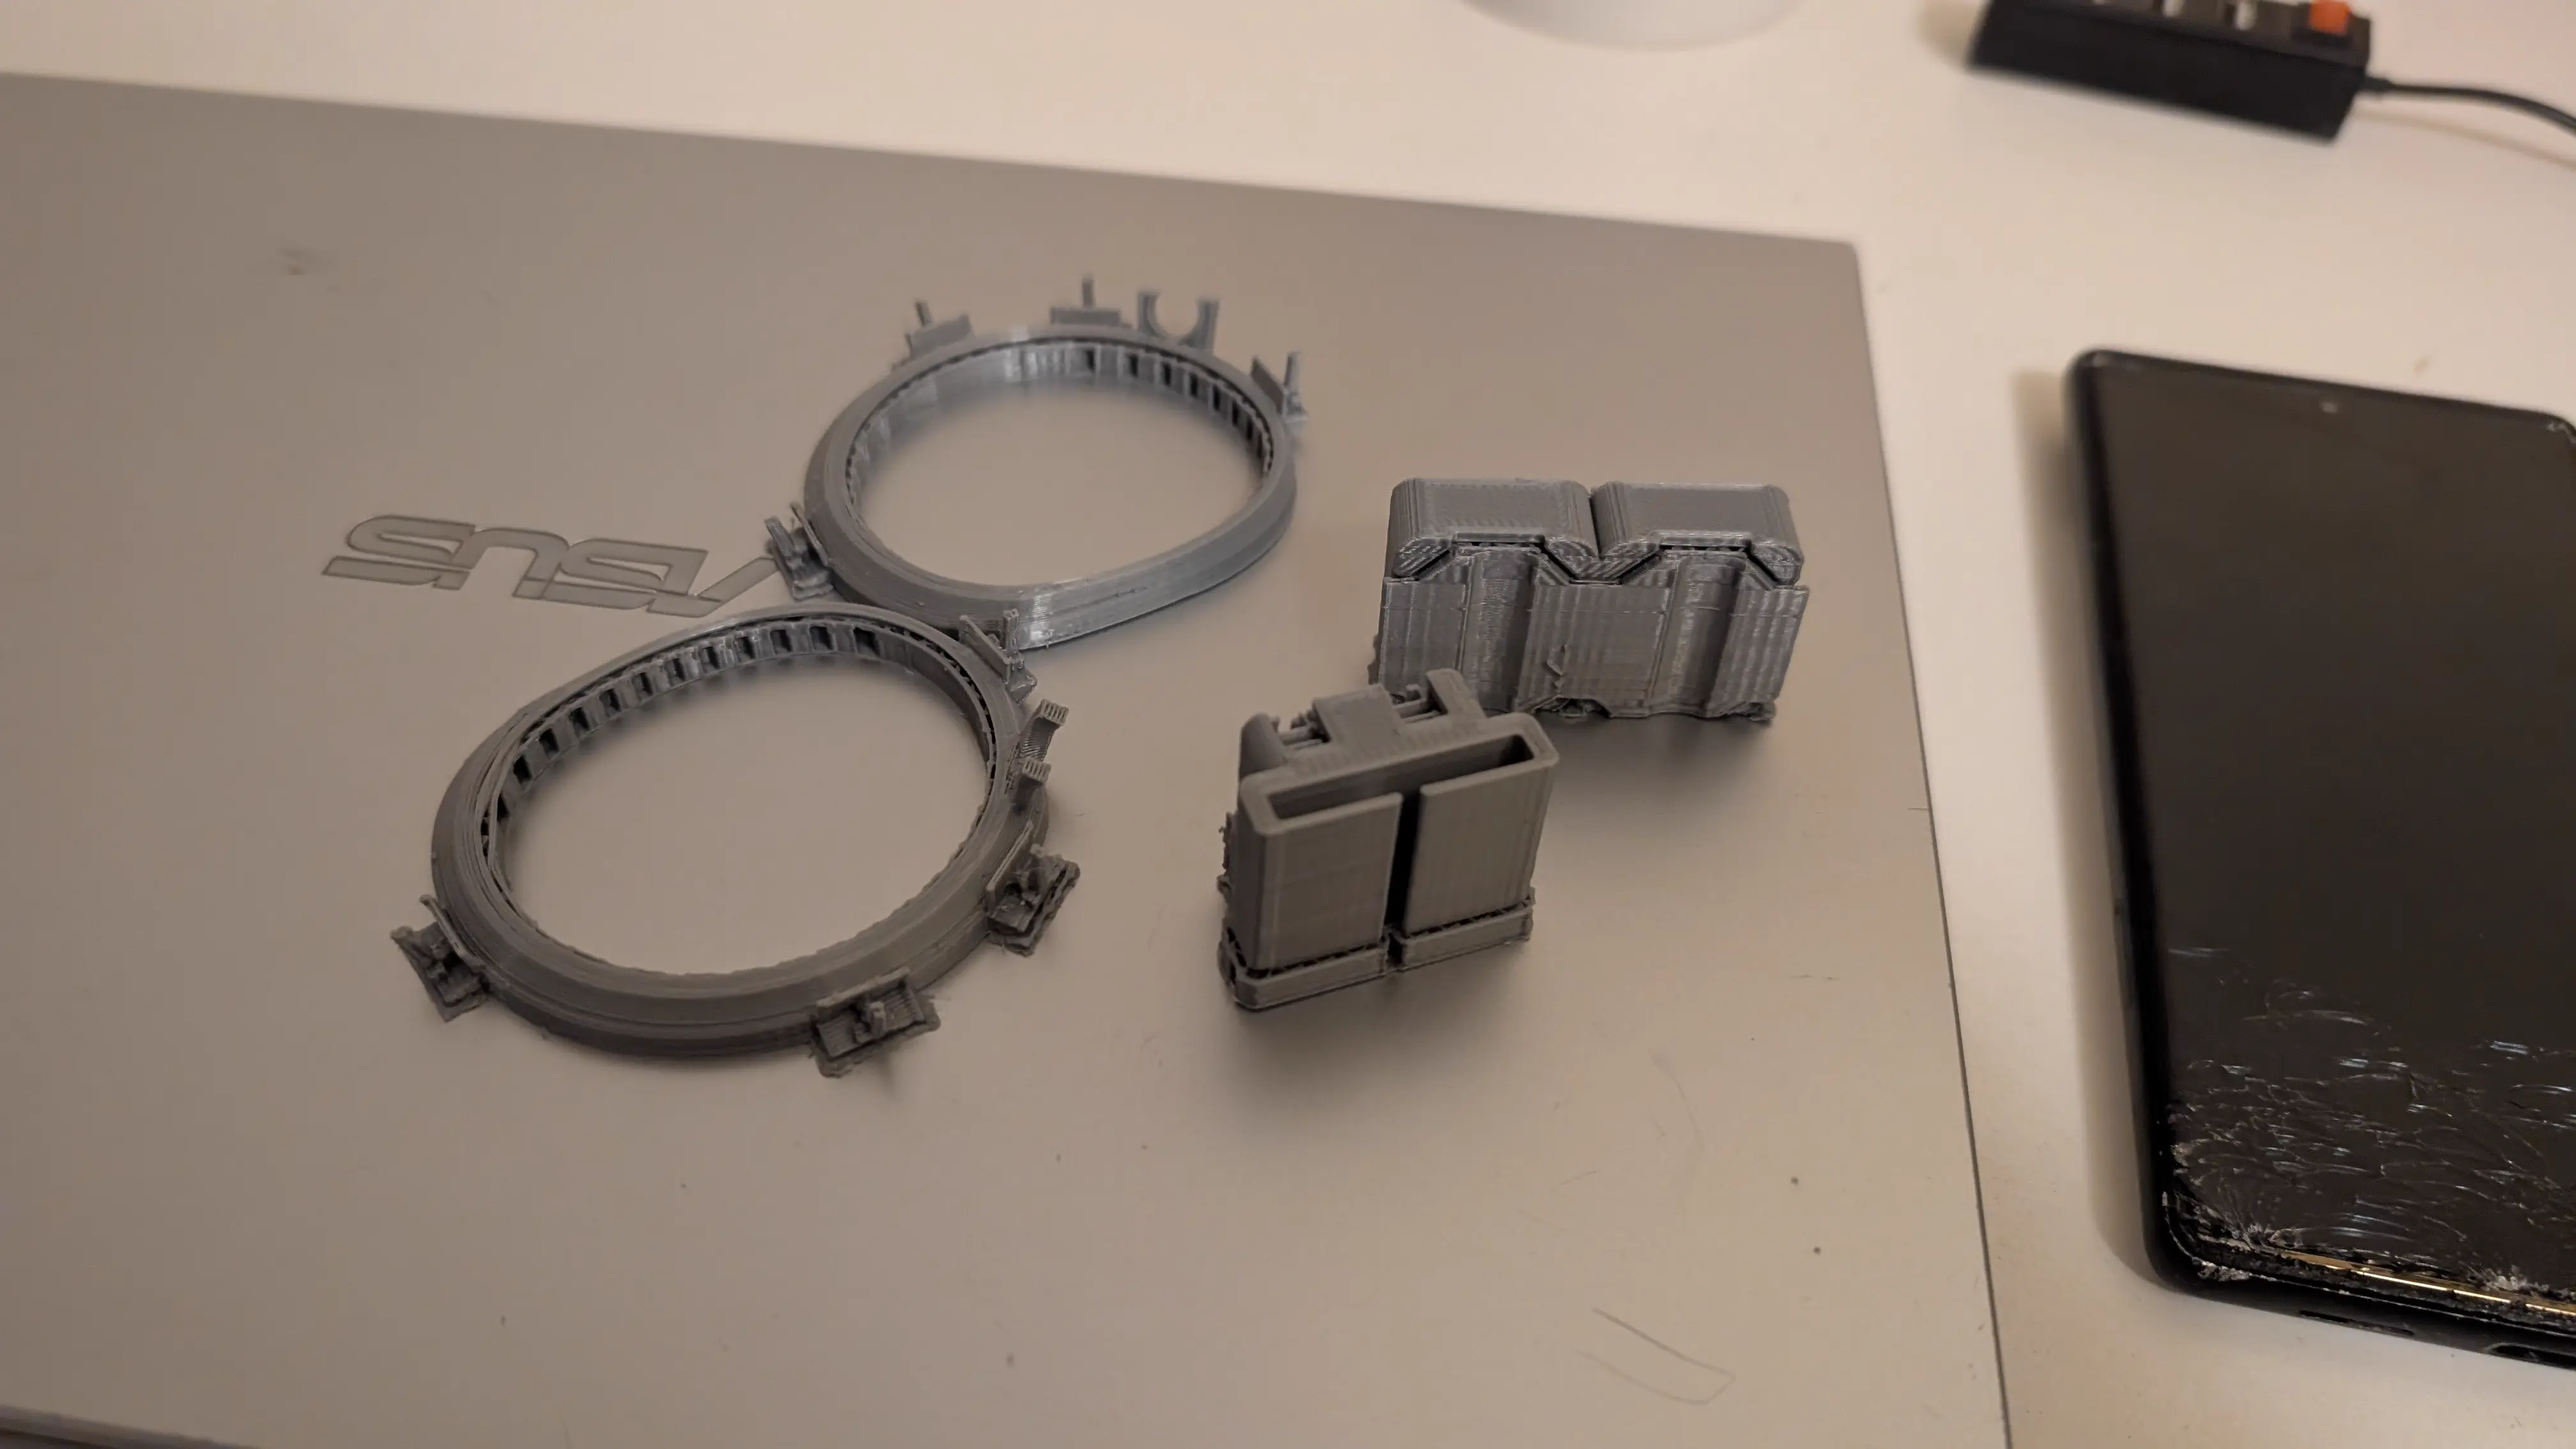
Lens Mounts
It was recommended to use PETG as the cameras get warm, but I haven’t noticed any issues with PLA. I did reprint the parts 2% bigger to make them fit slightly better, but I think 1% is the sweet spot in retrospect. By the time I was test fitting I no longer had access to a 3D printer, so I just rolled with it.
The bottom and outside-top LEDs would intersect with the AMVR interface, but its kinda fine cause I won’t be mounting them in the official spots anyway.
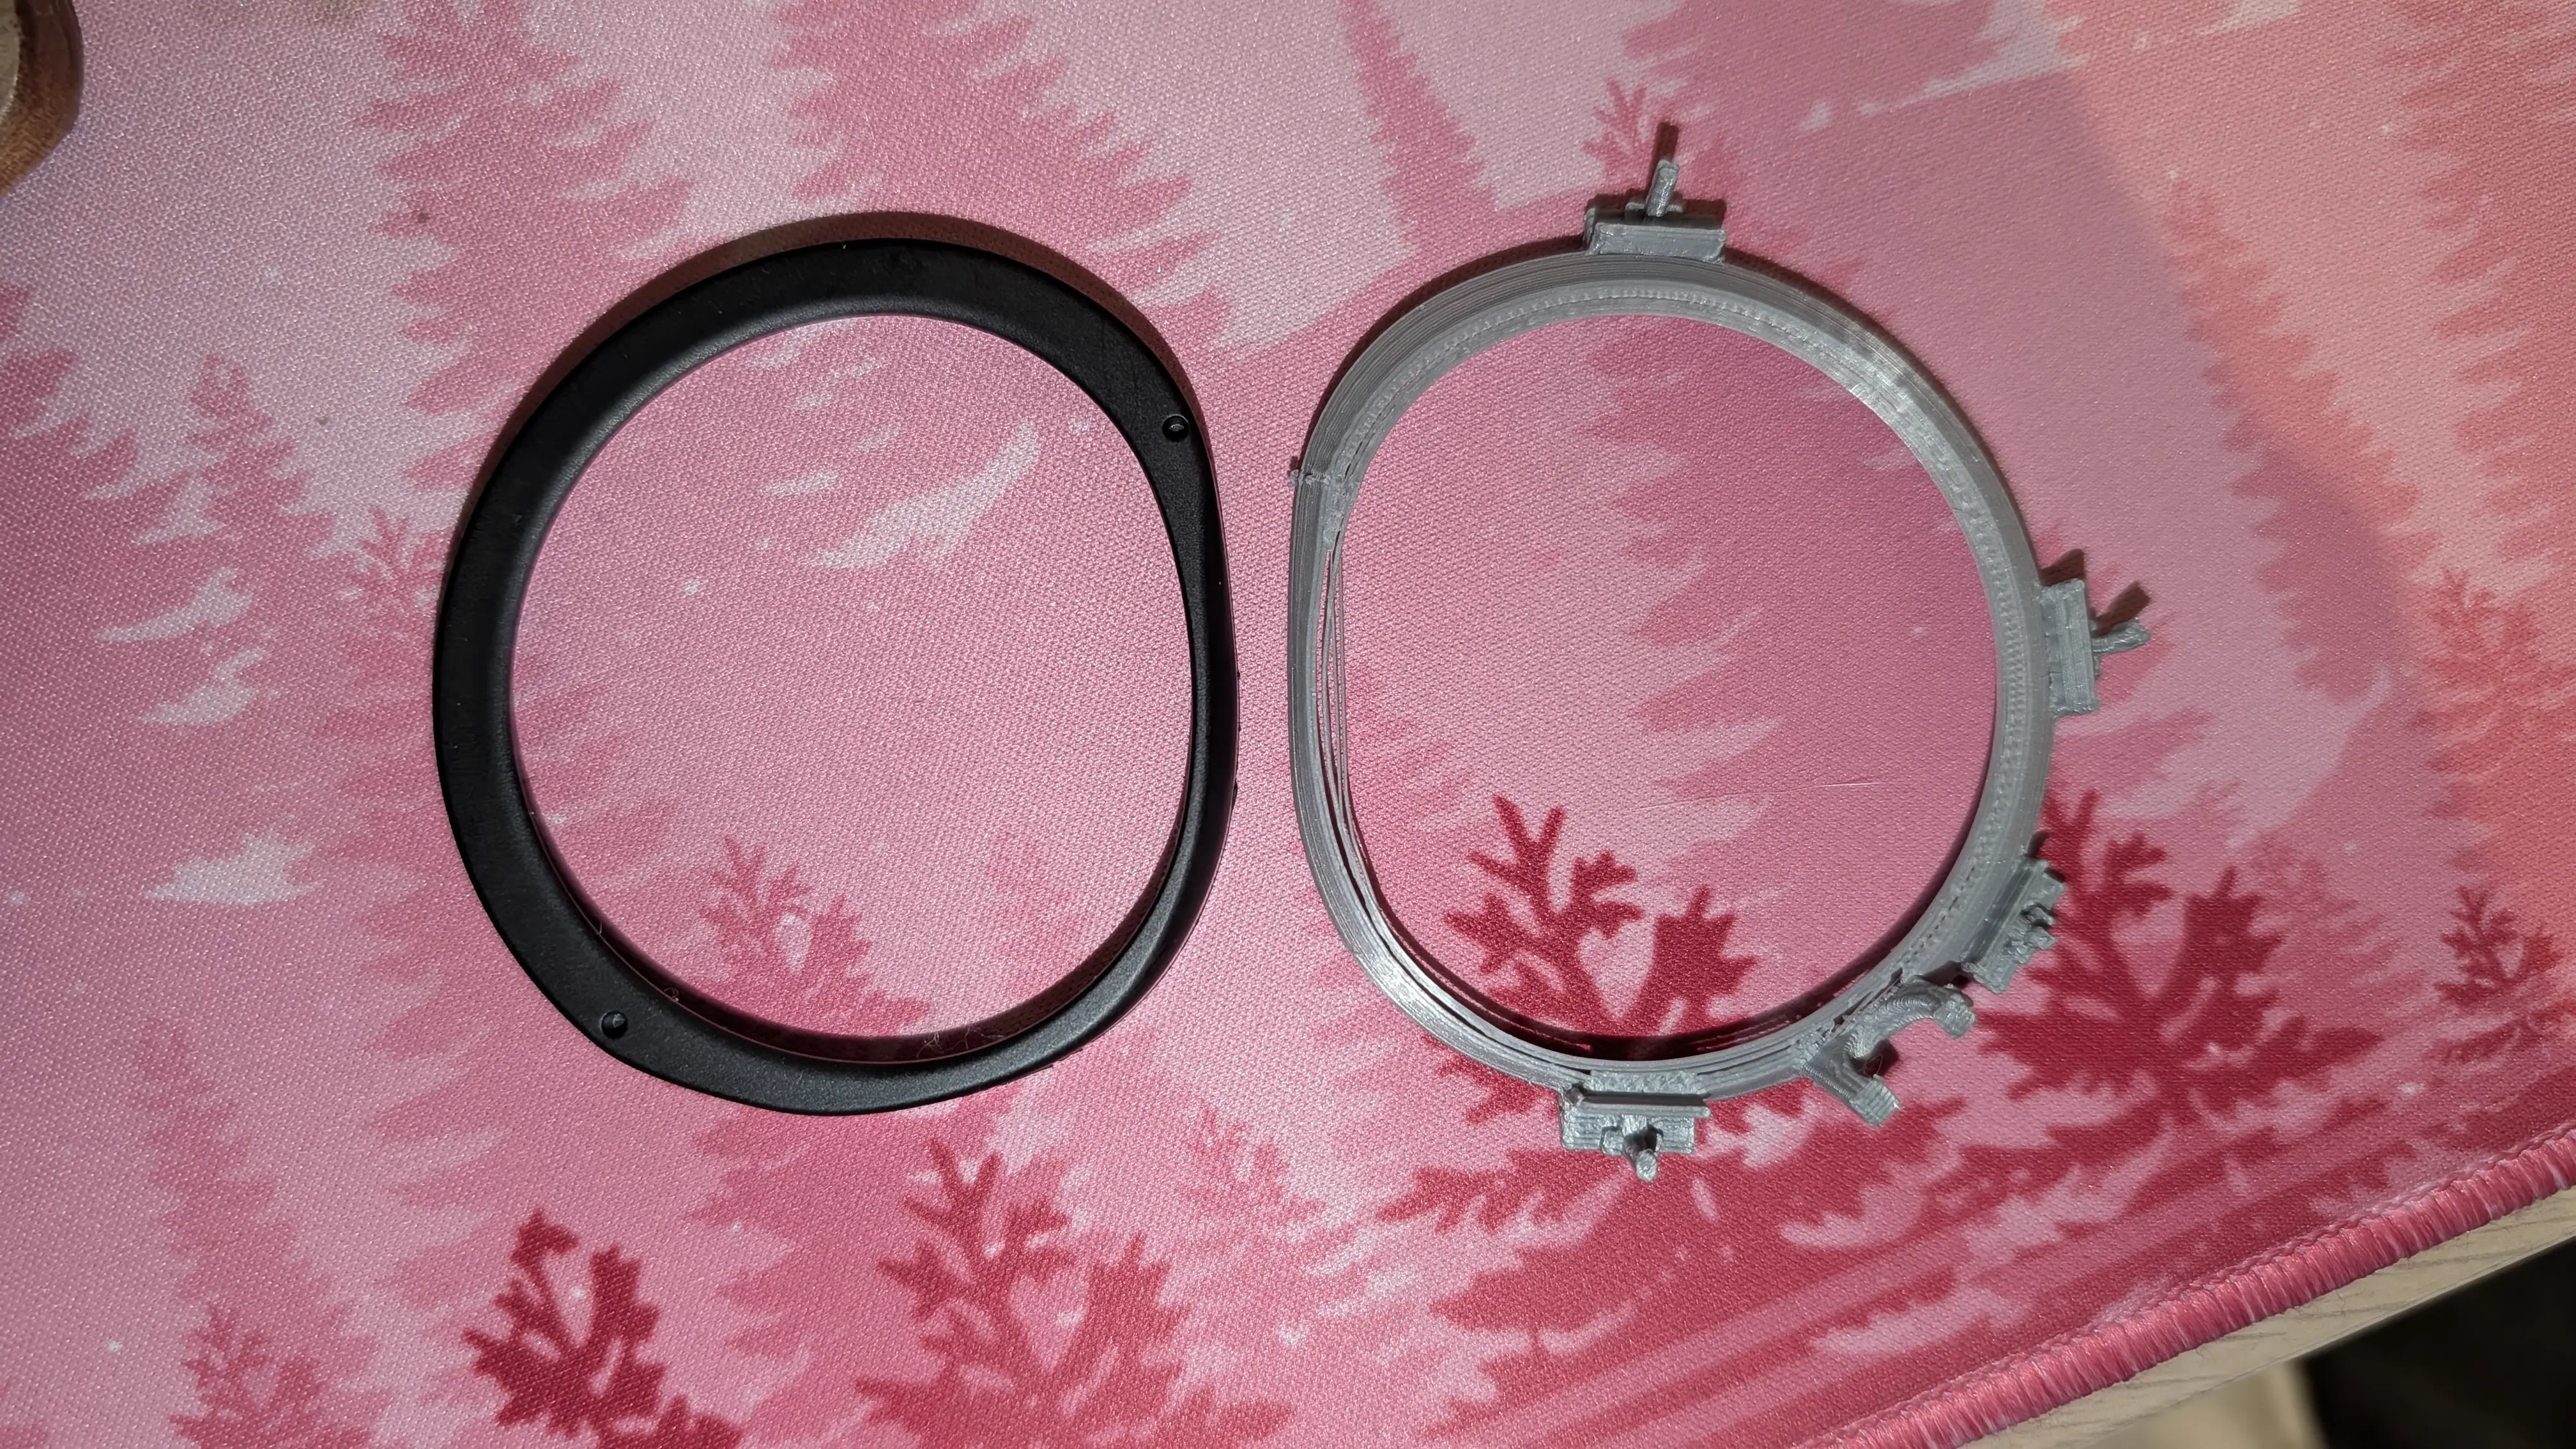
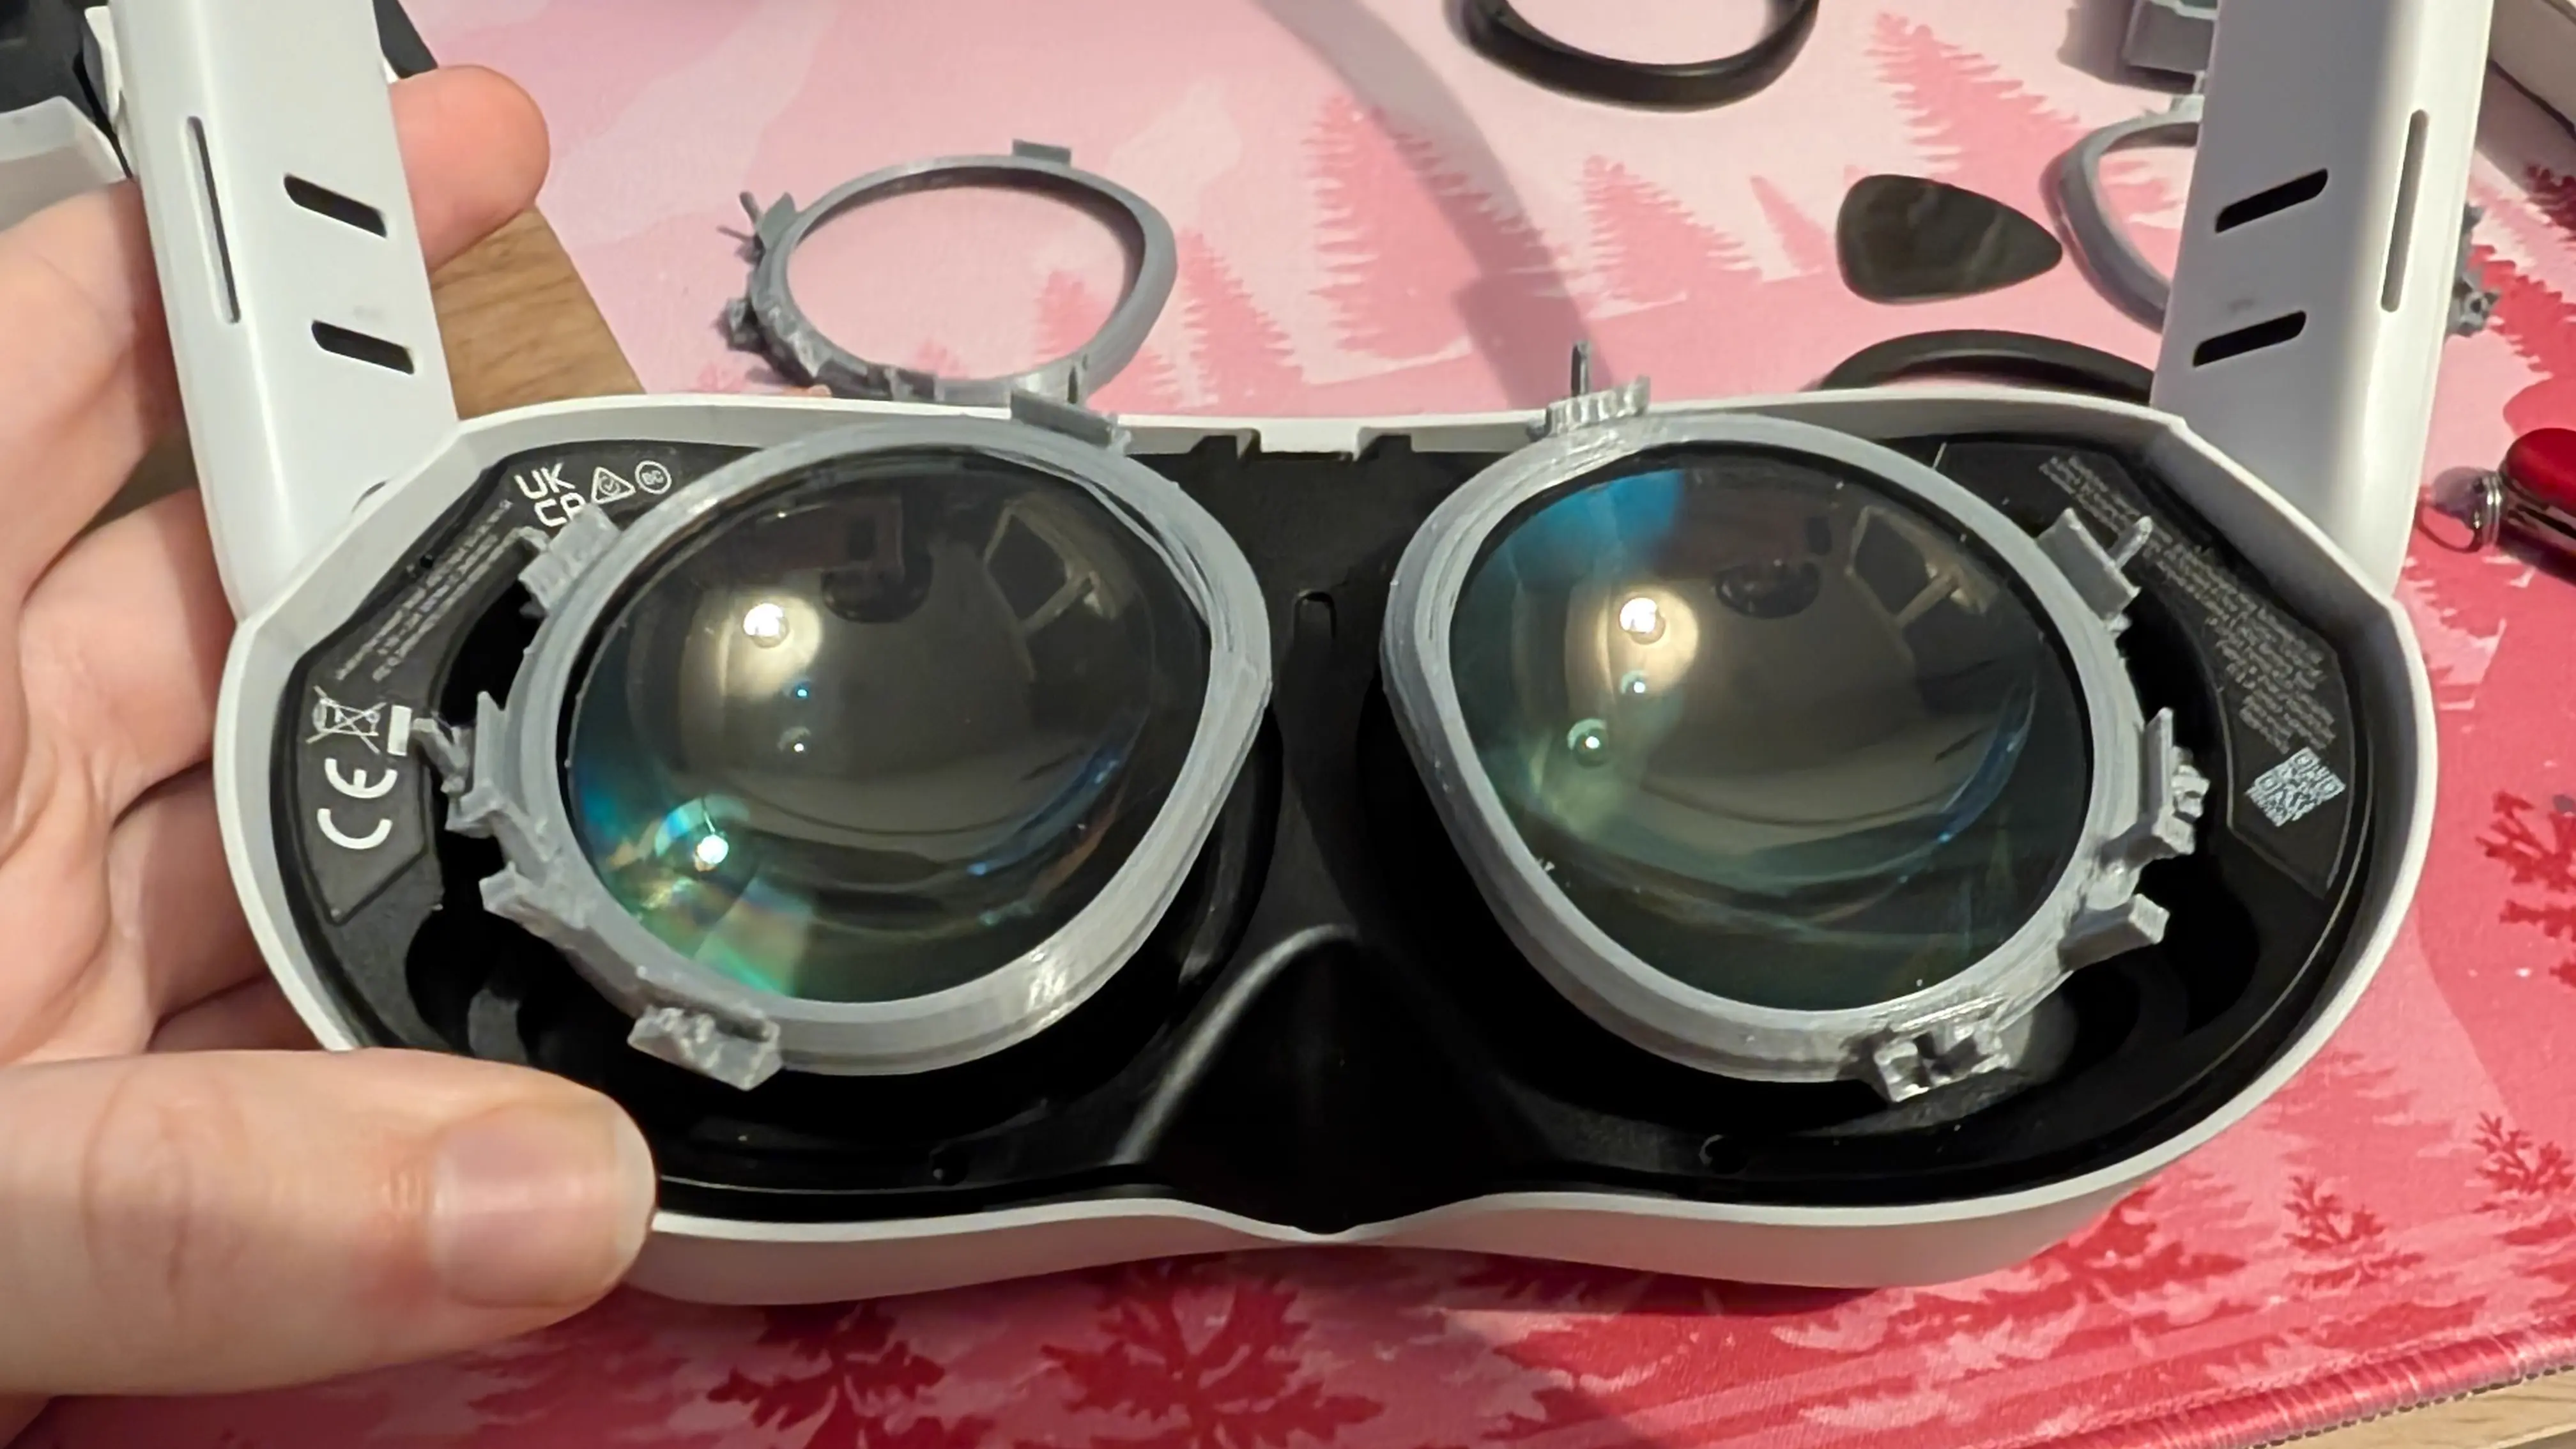
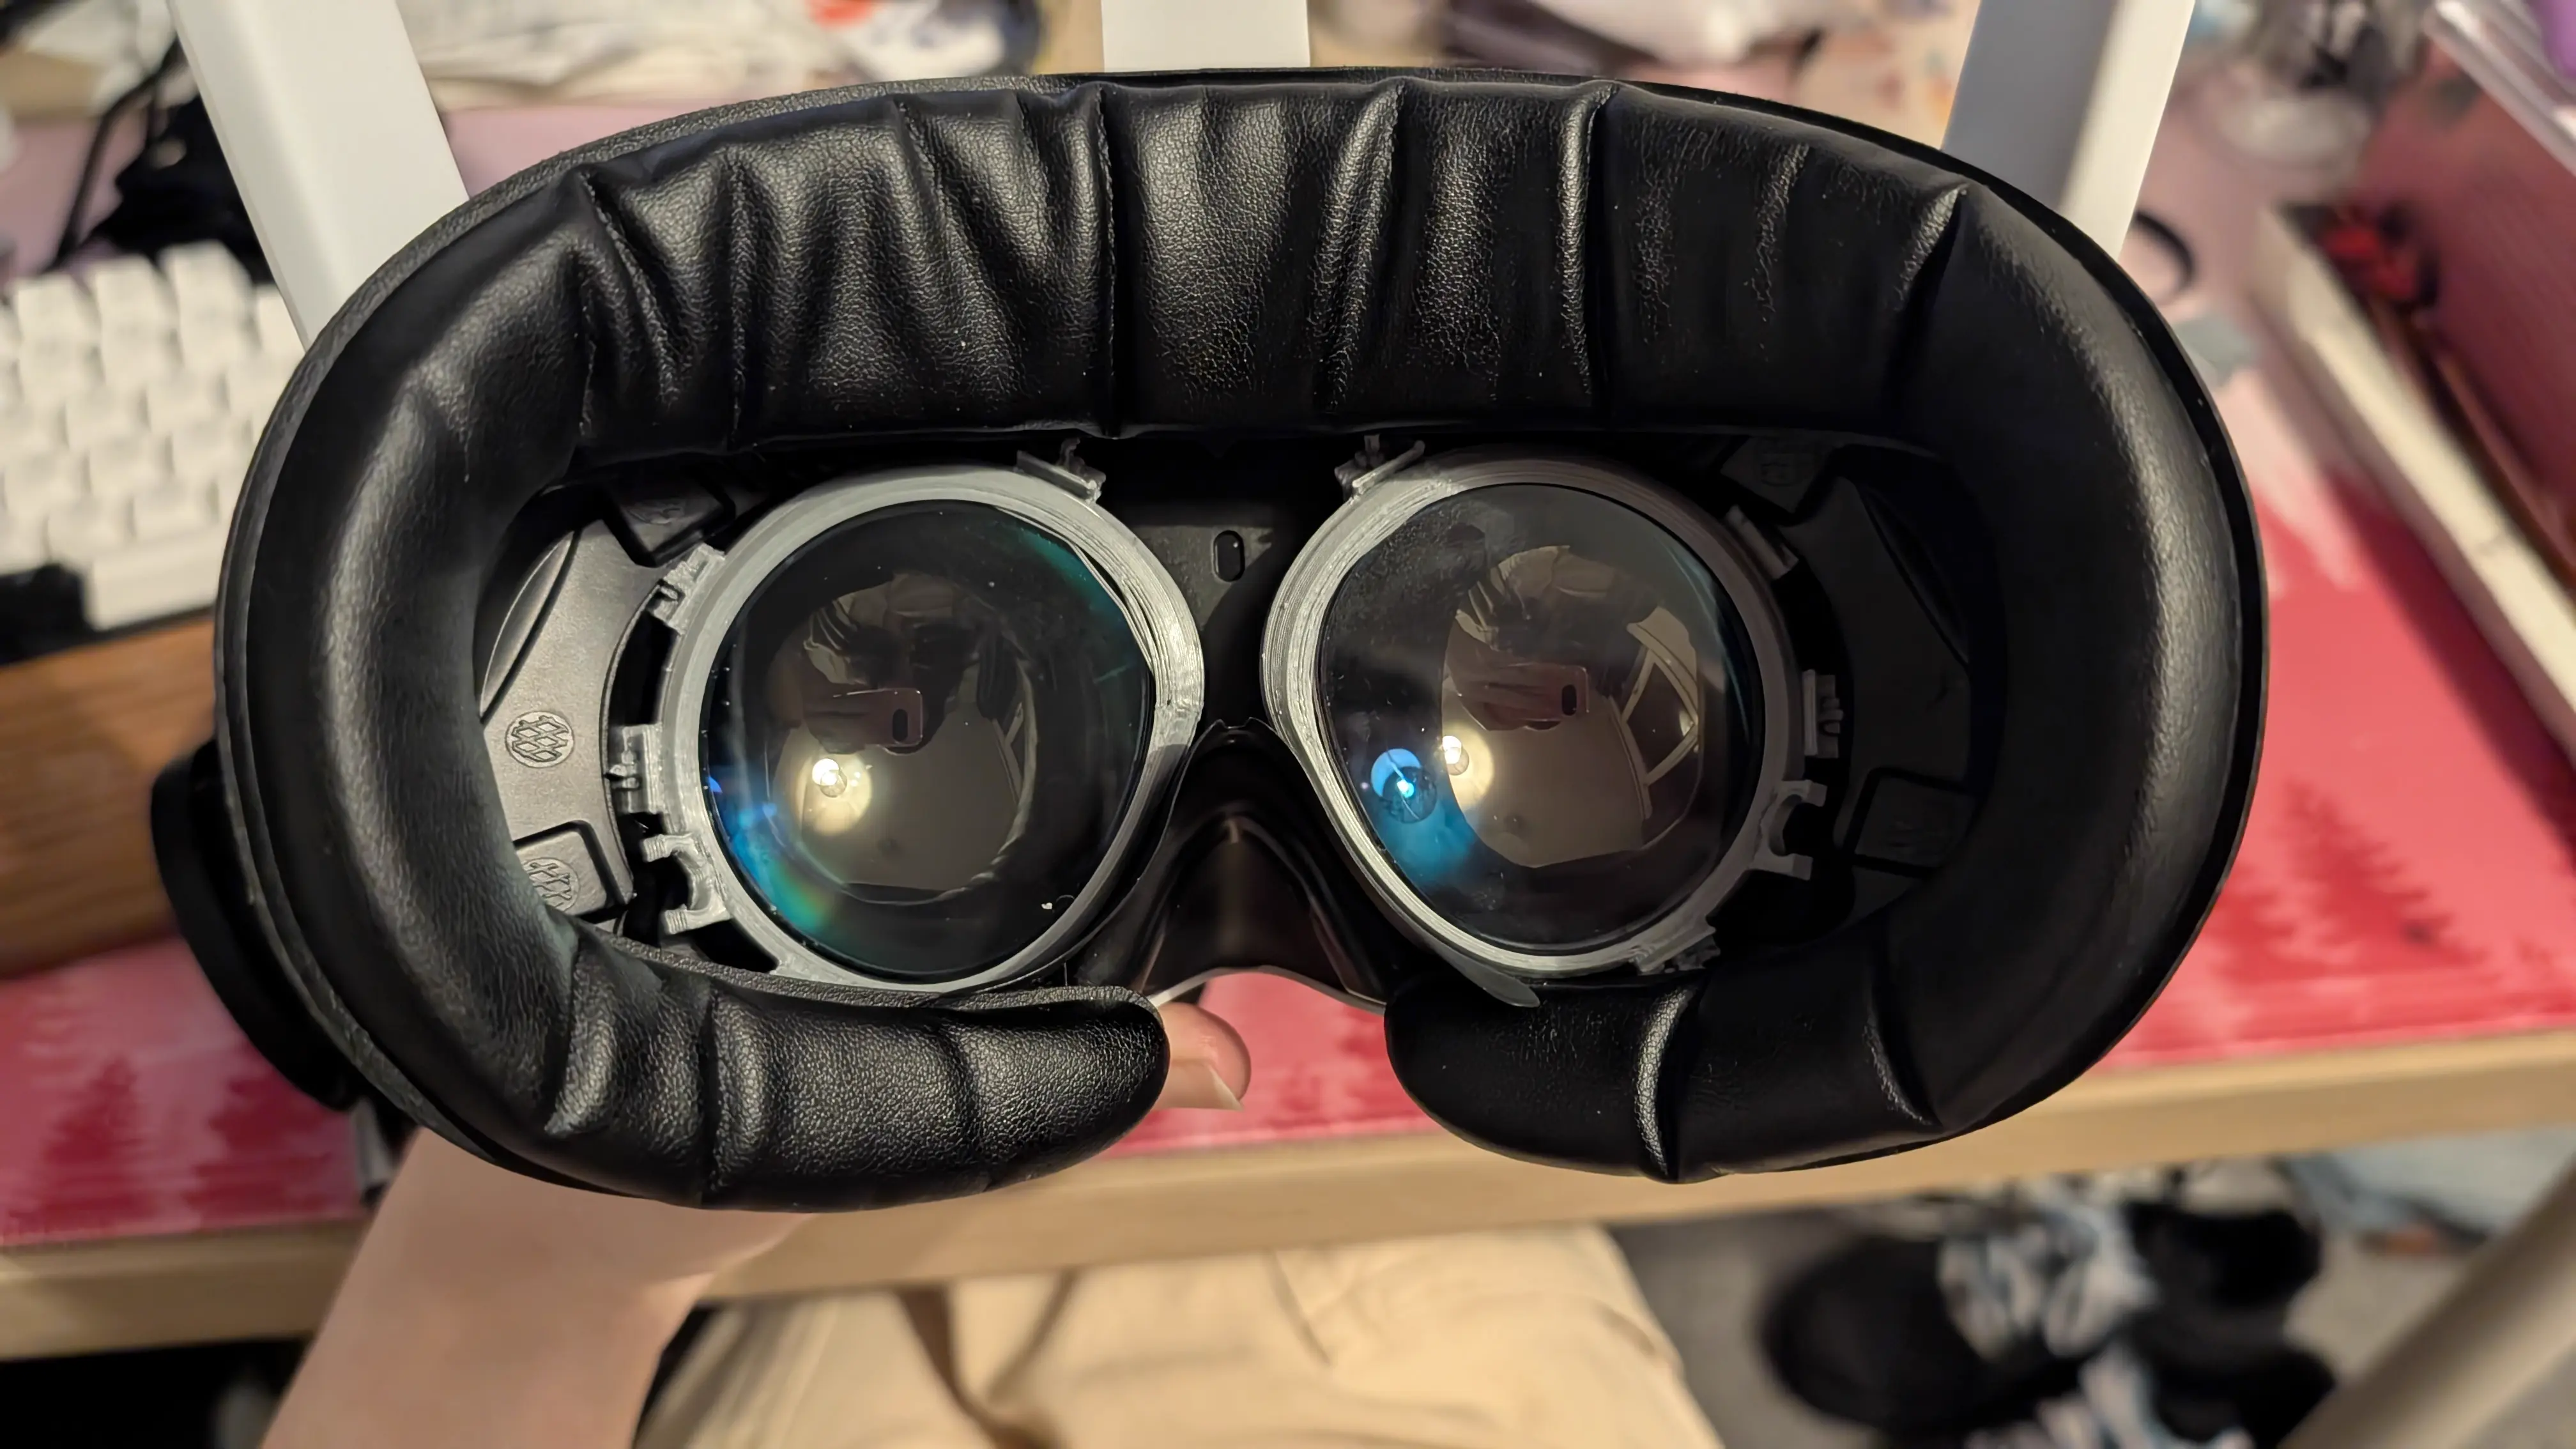
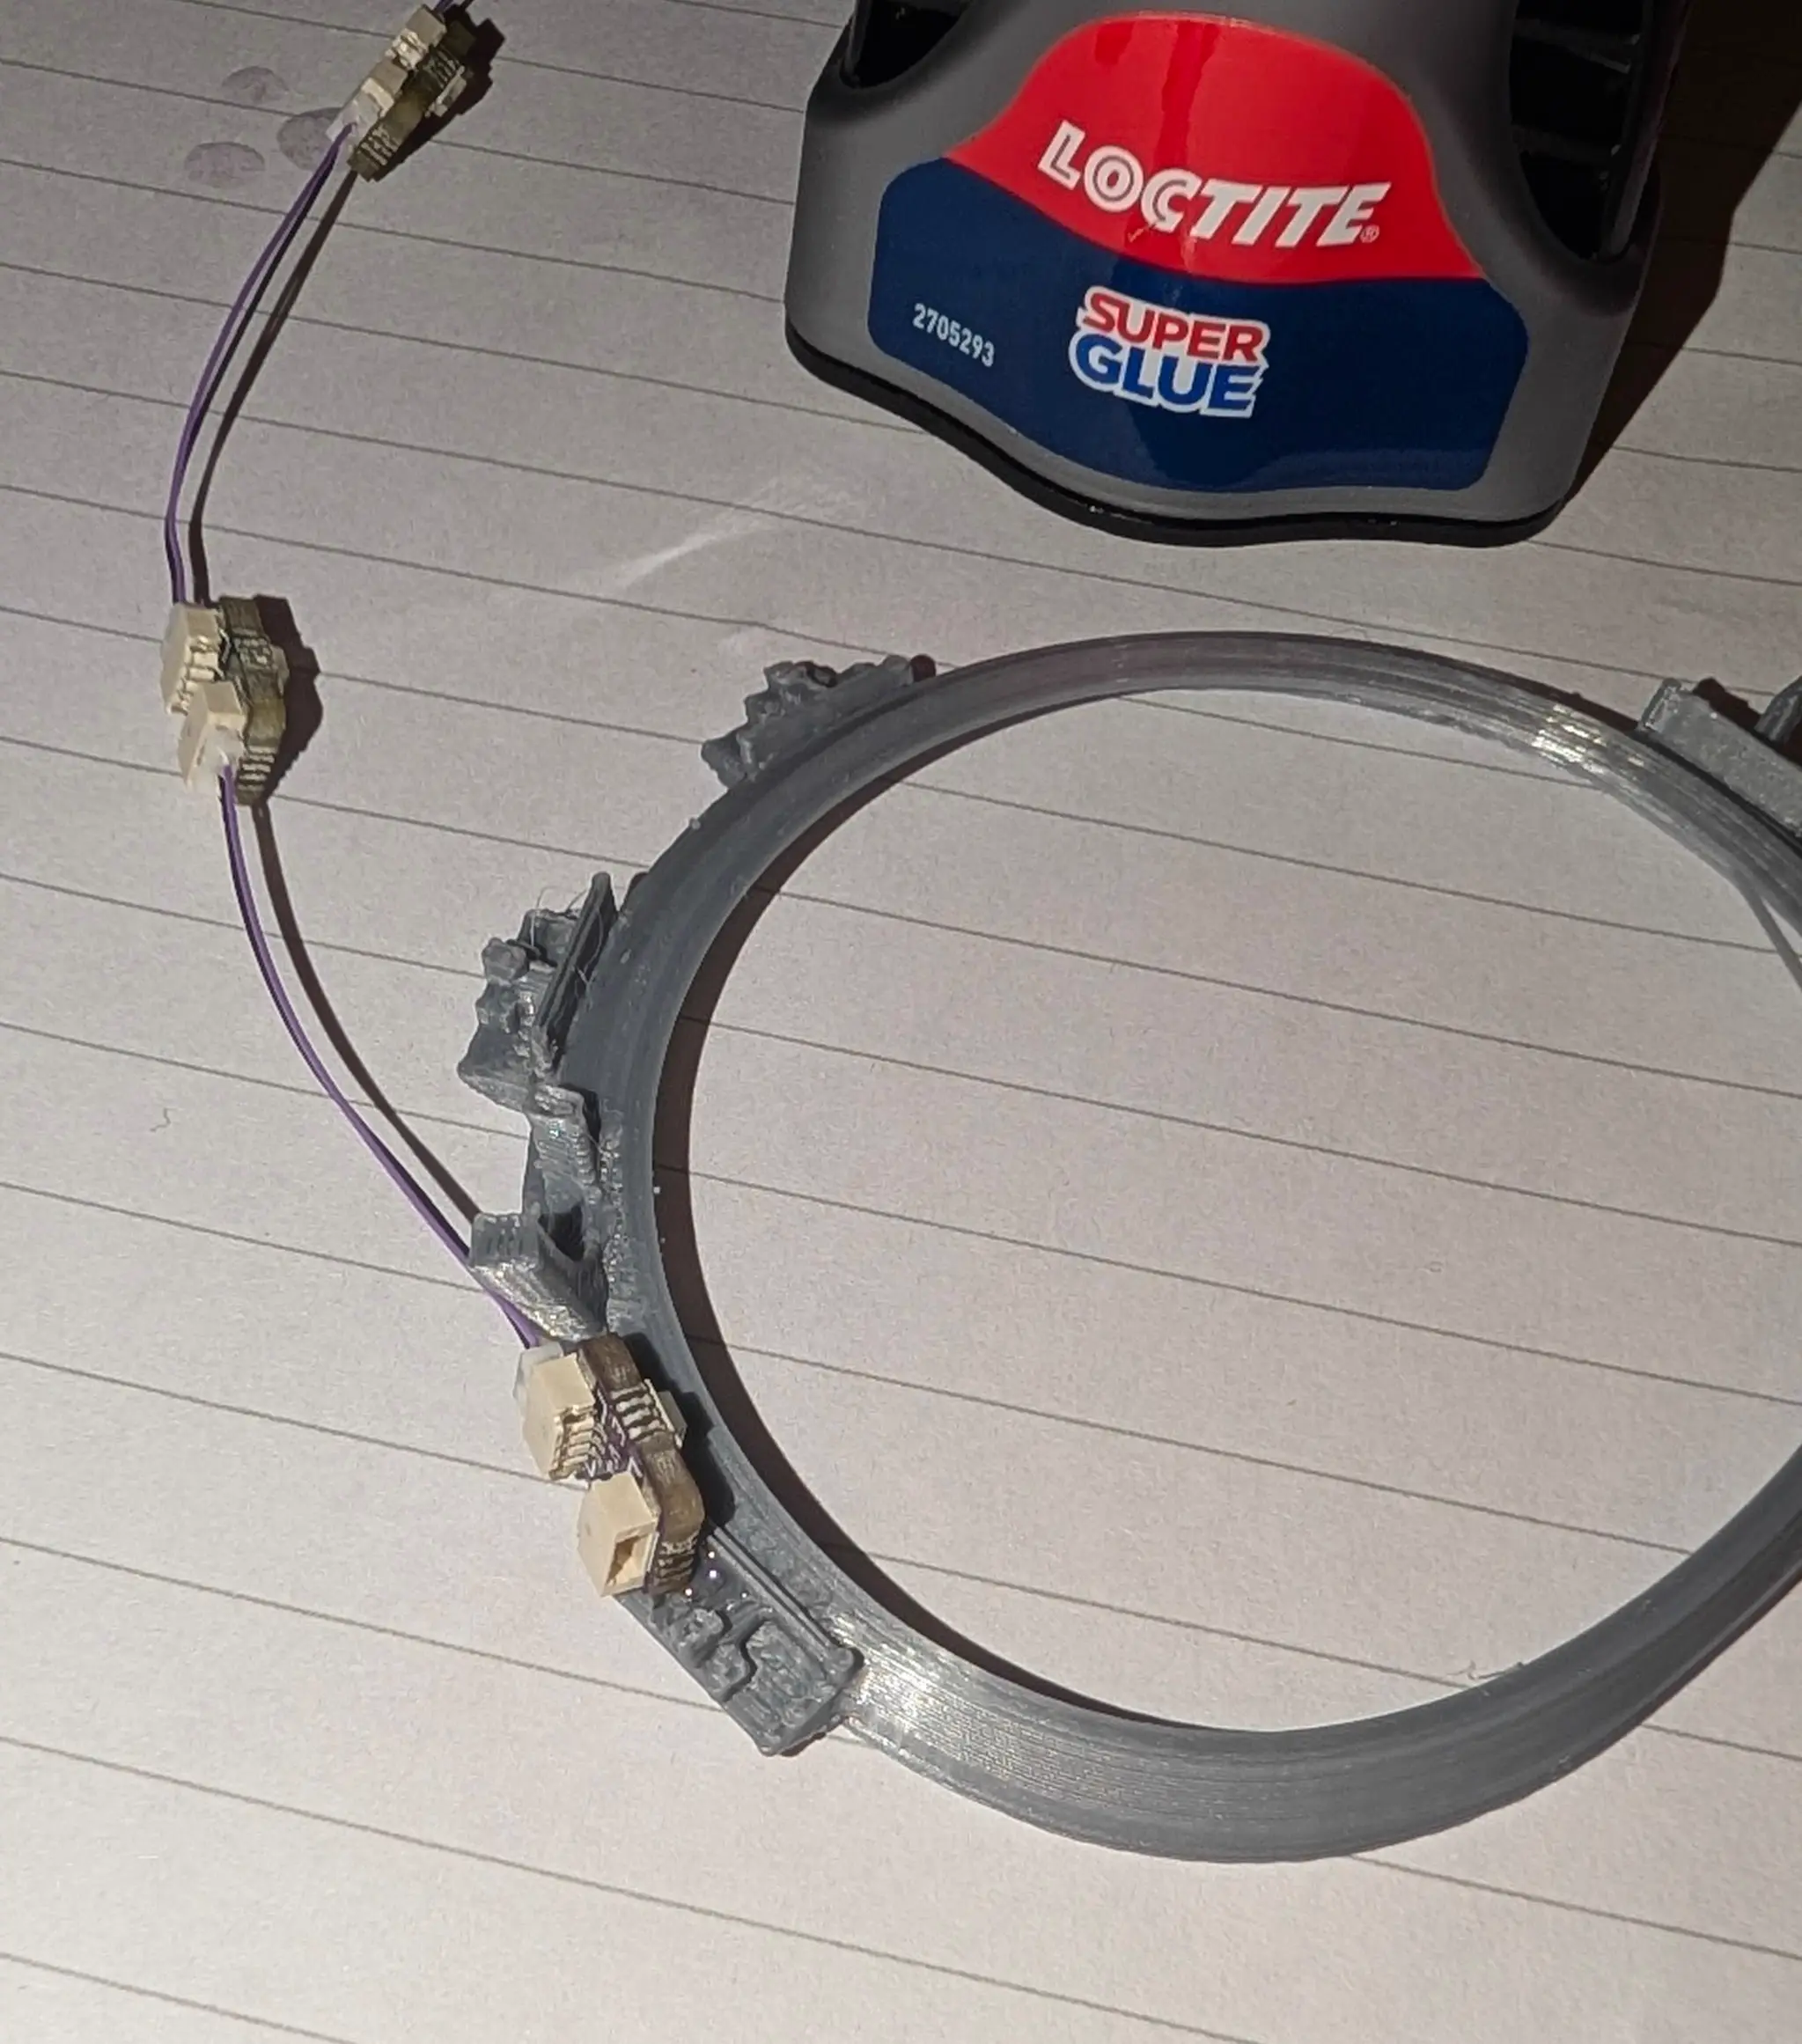
These mounts require popping off a plastic ring that surrounds the lenses, and is held on by plastic clips. They replace these rings.
If you are in the EyetrackVR Discord server, some useful threads on this are here: [1] [2] [3].
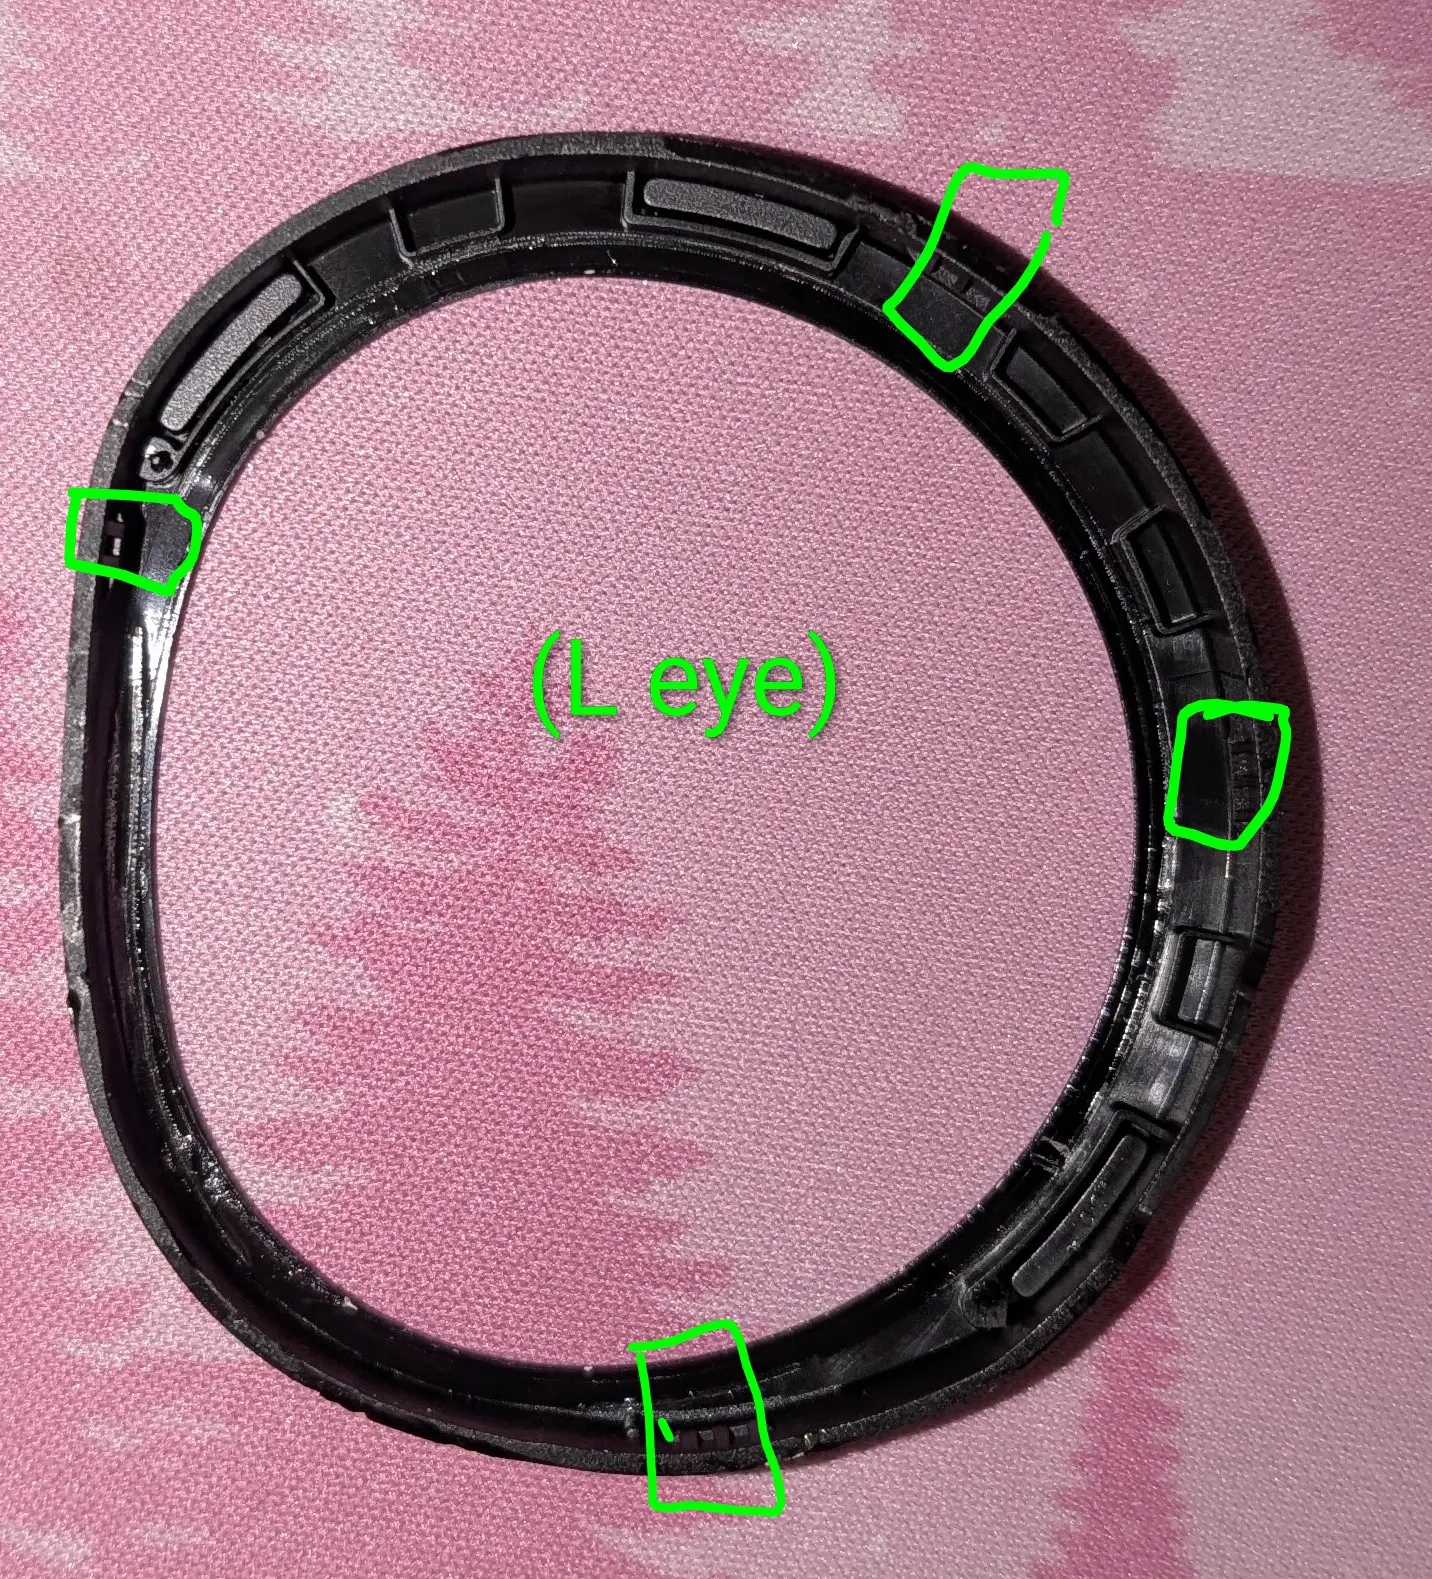
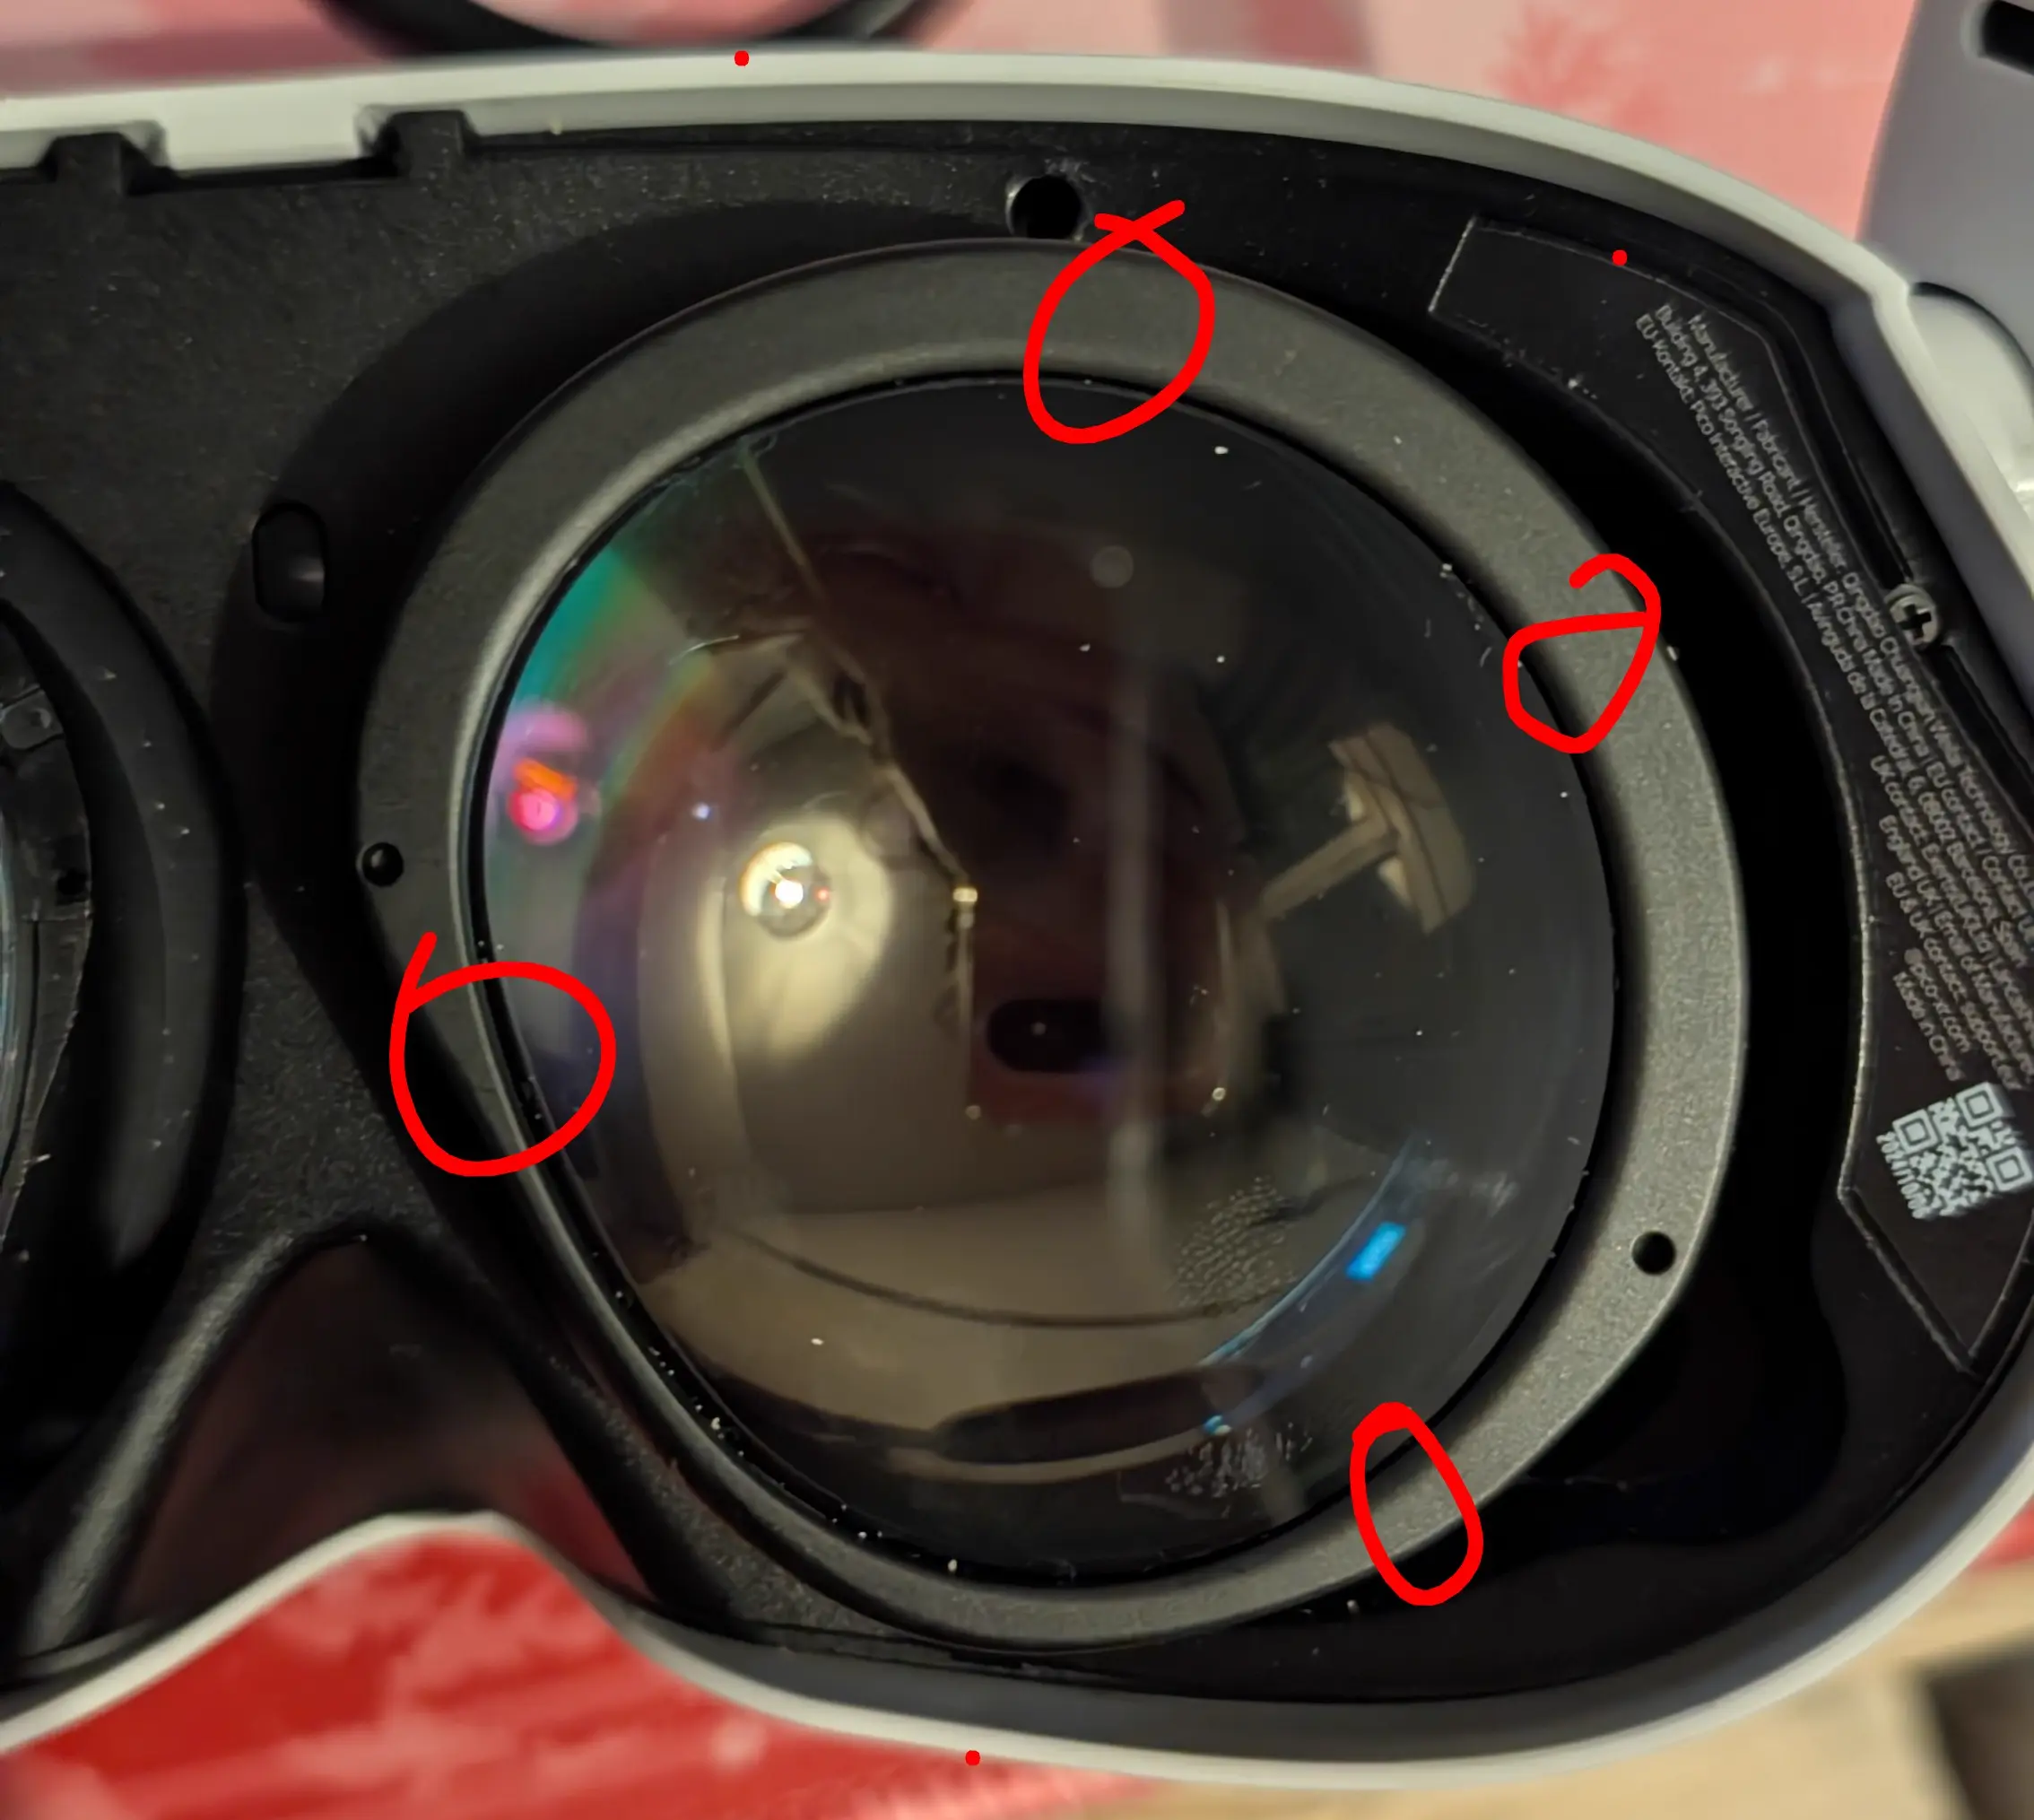
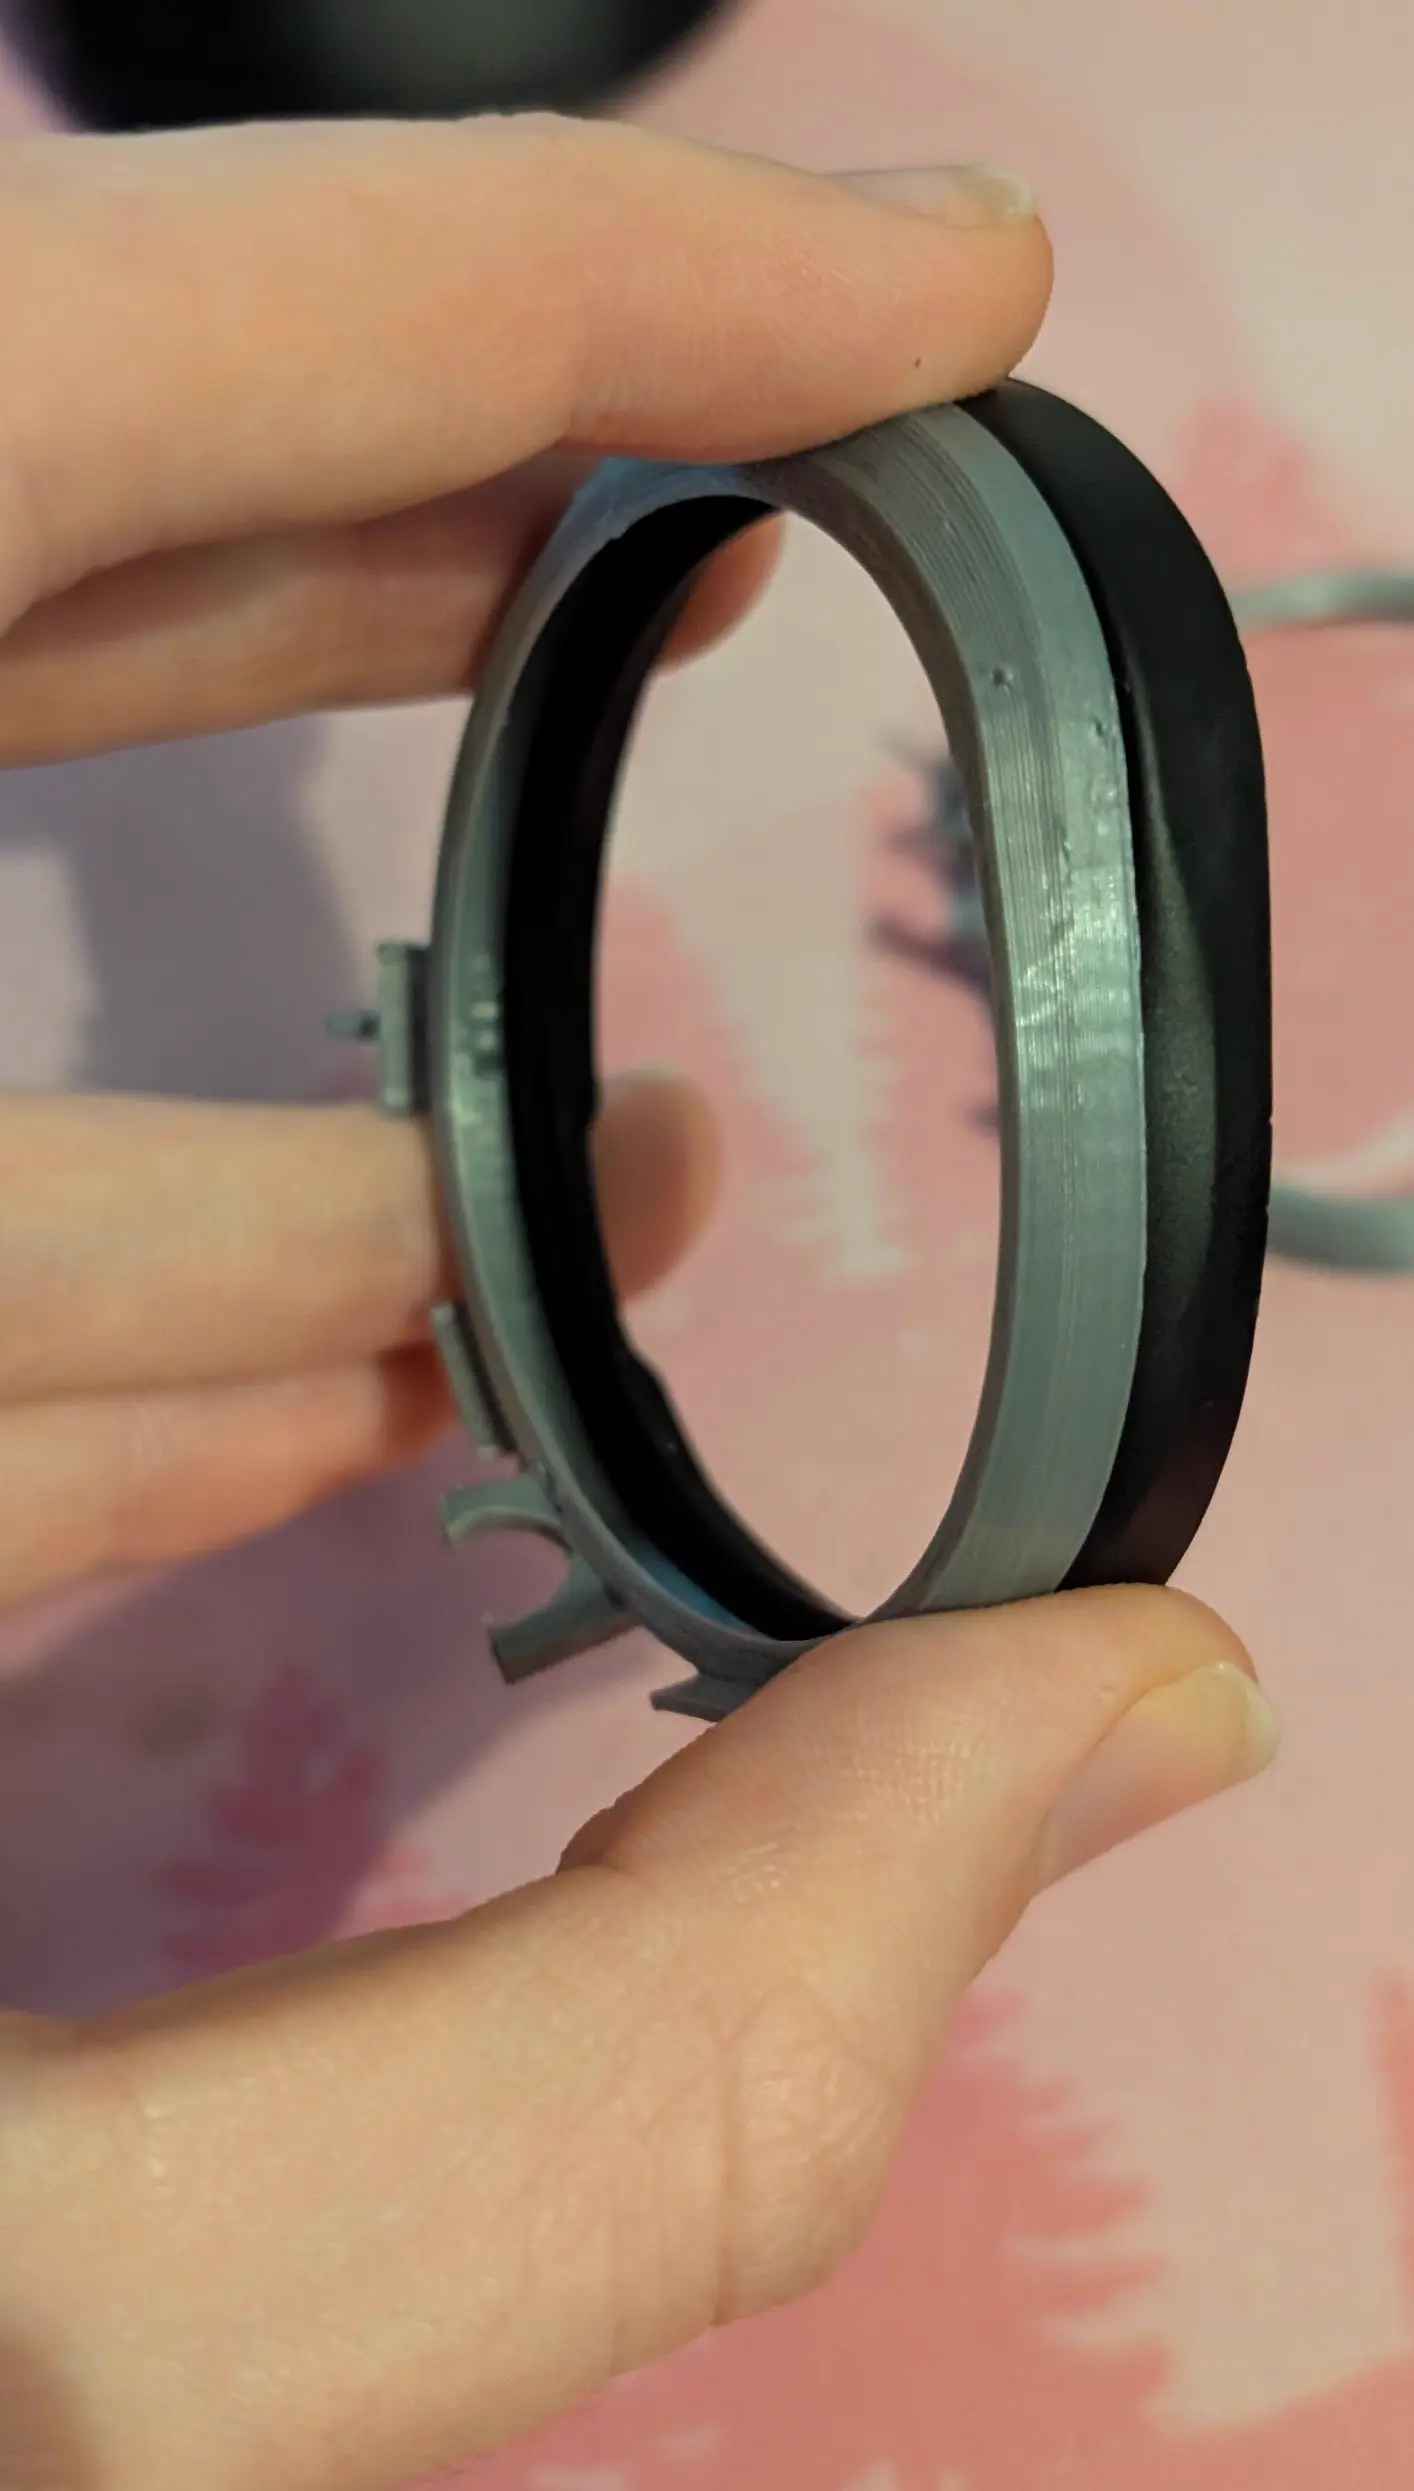
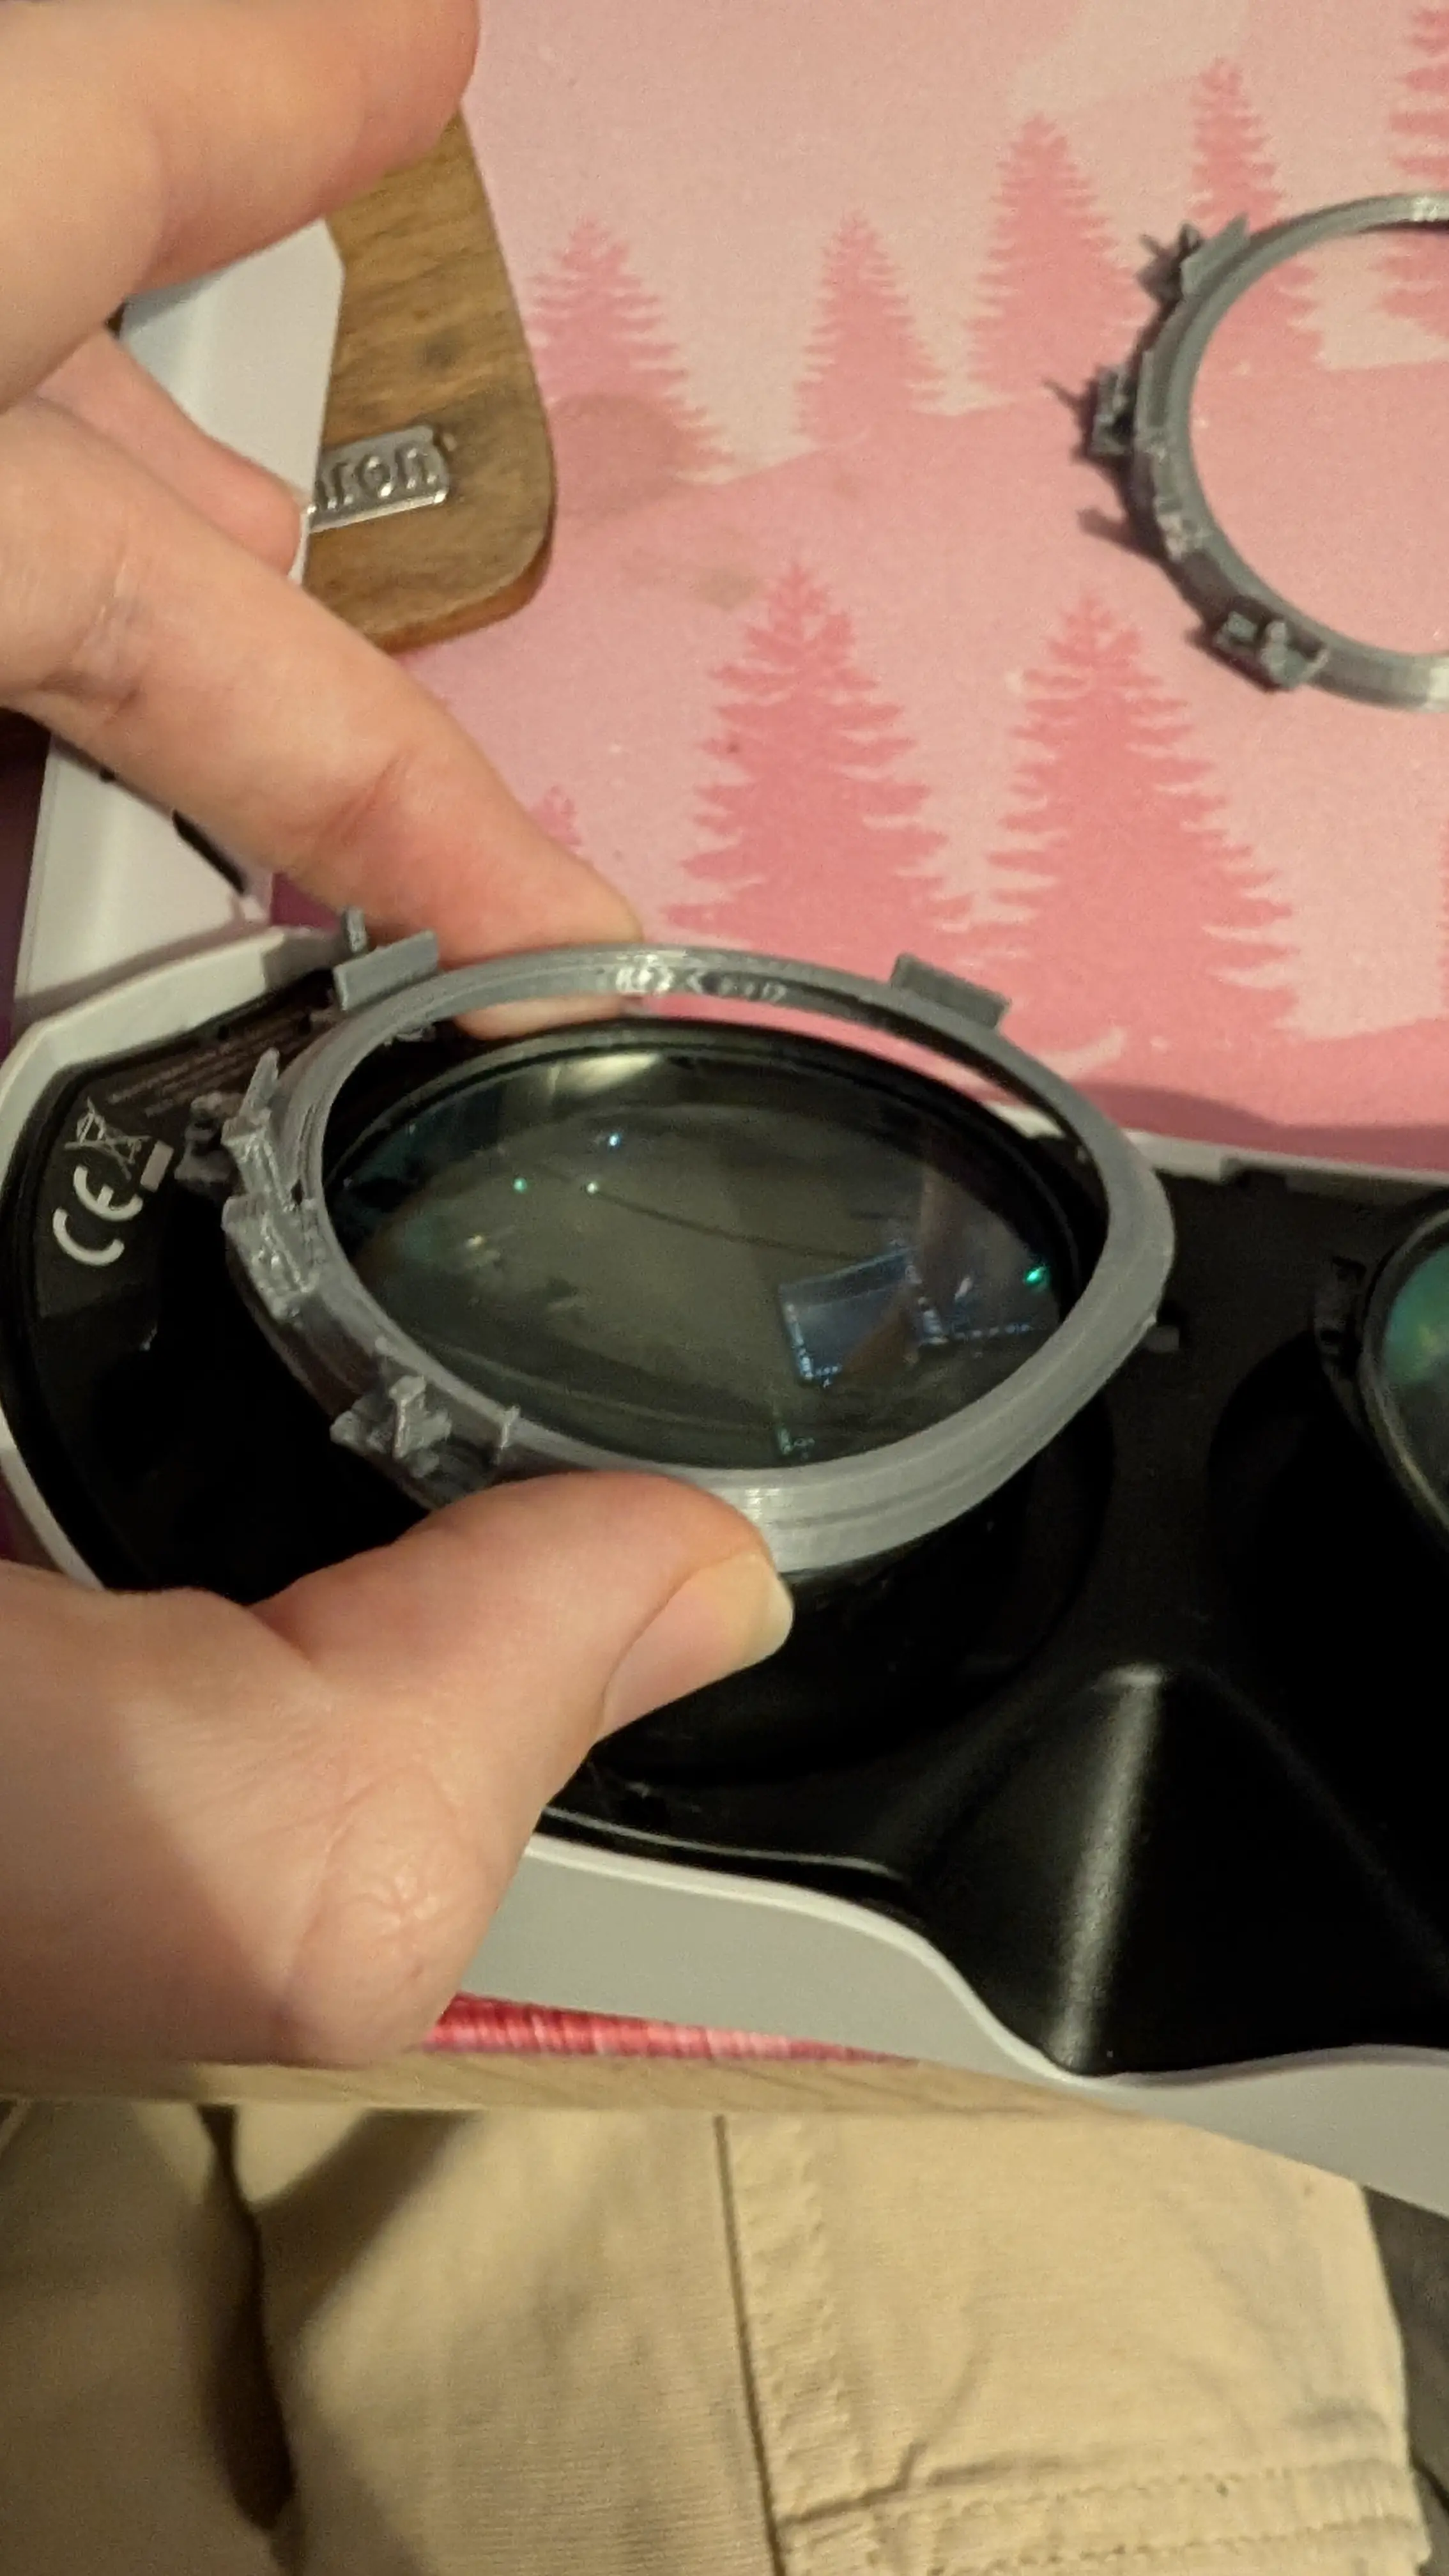
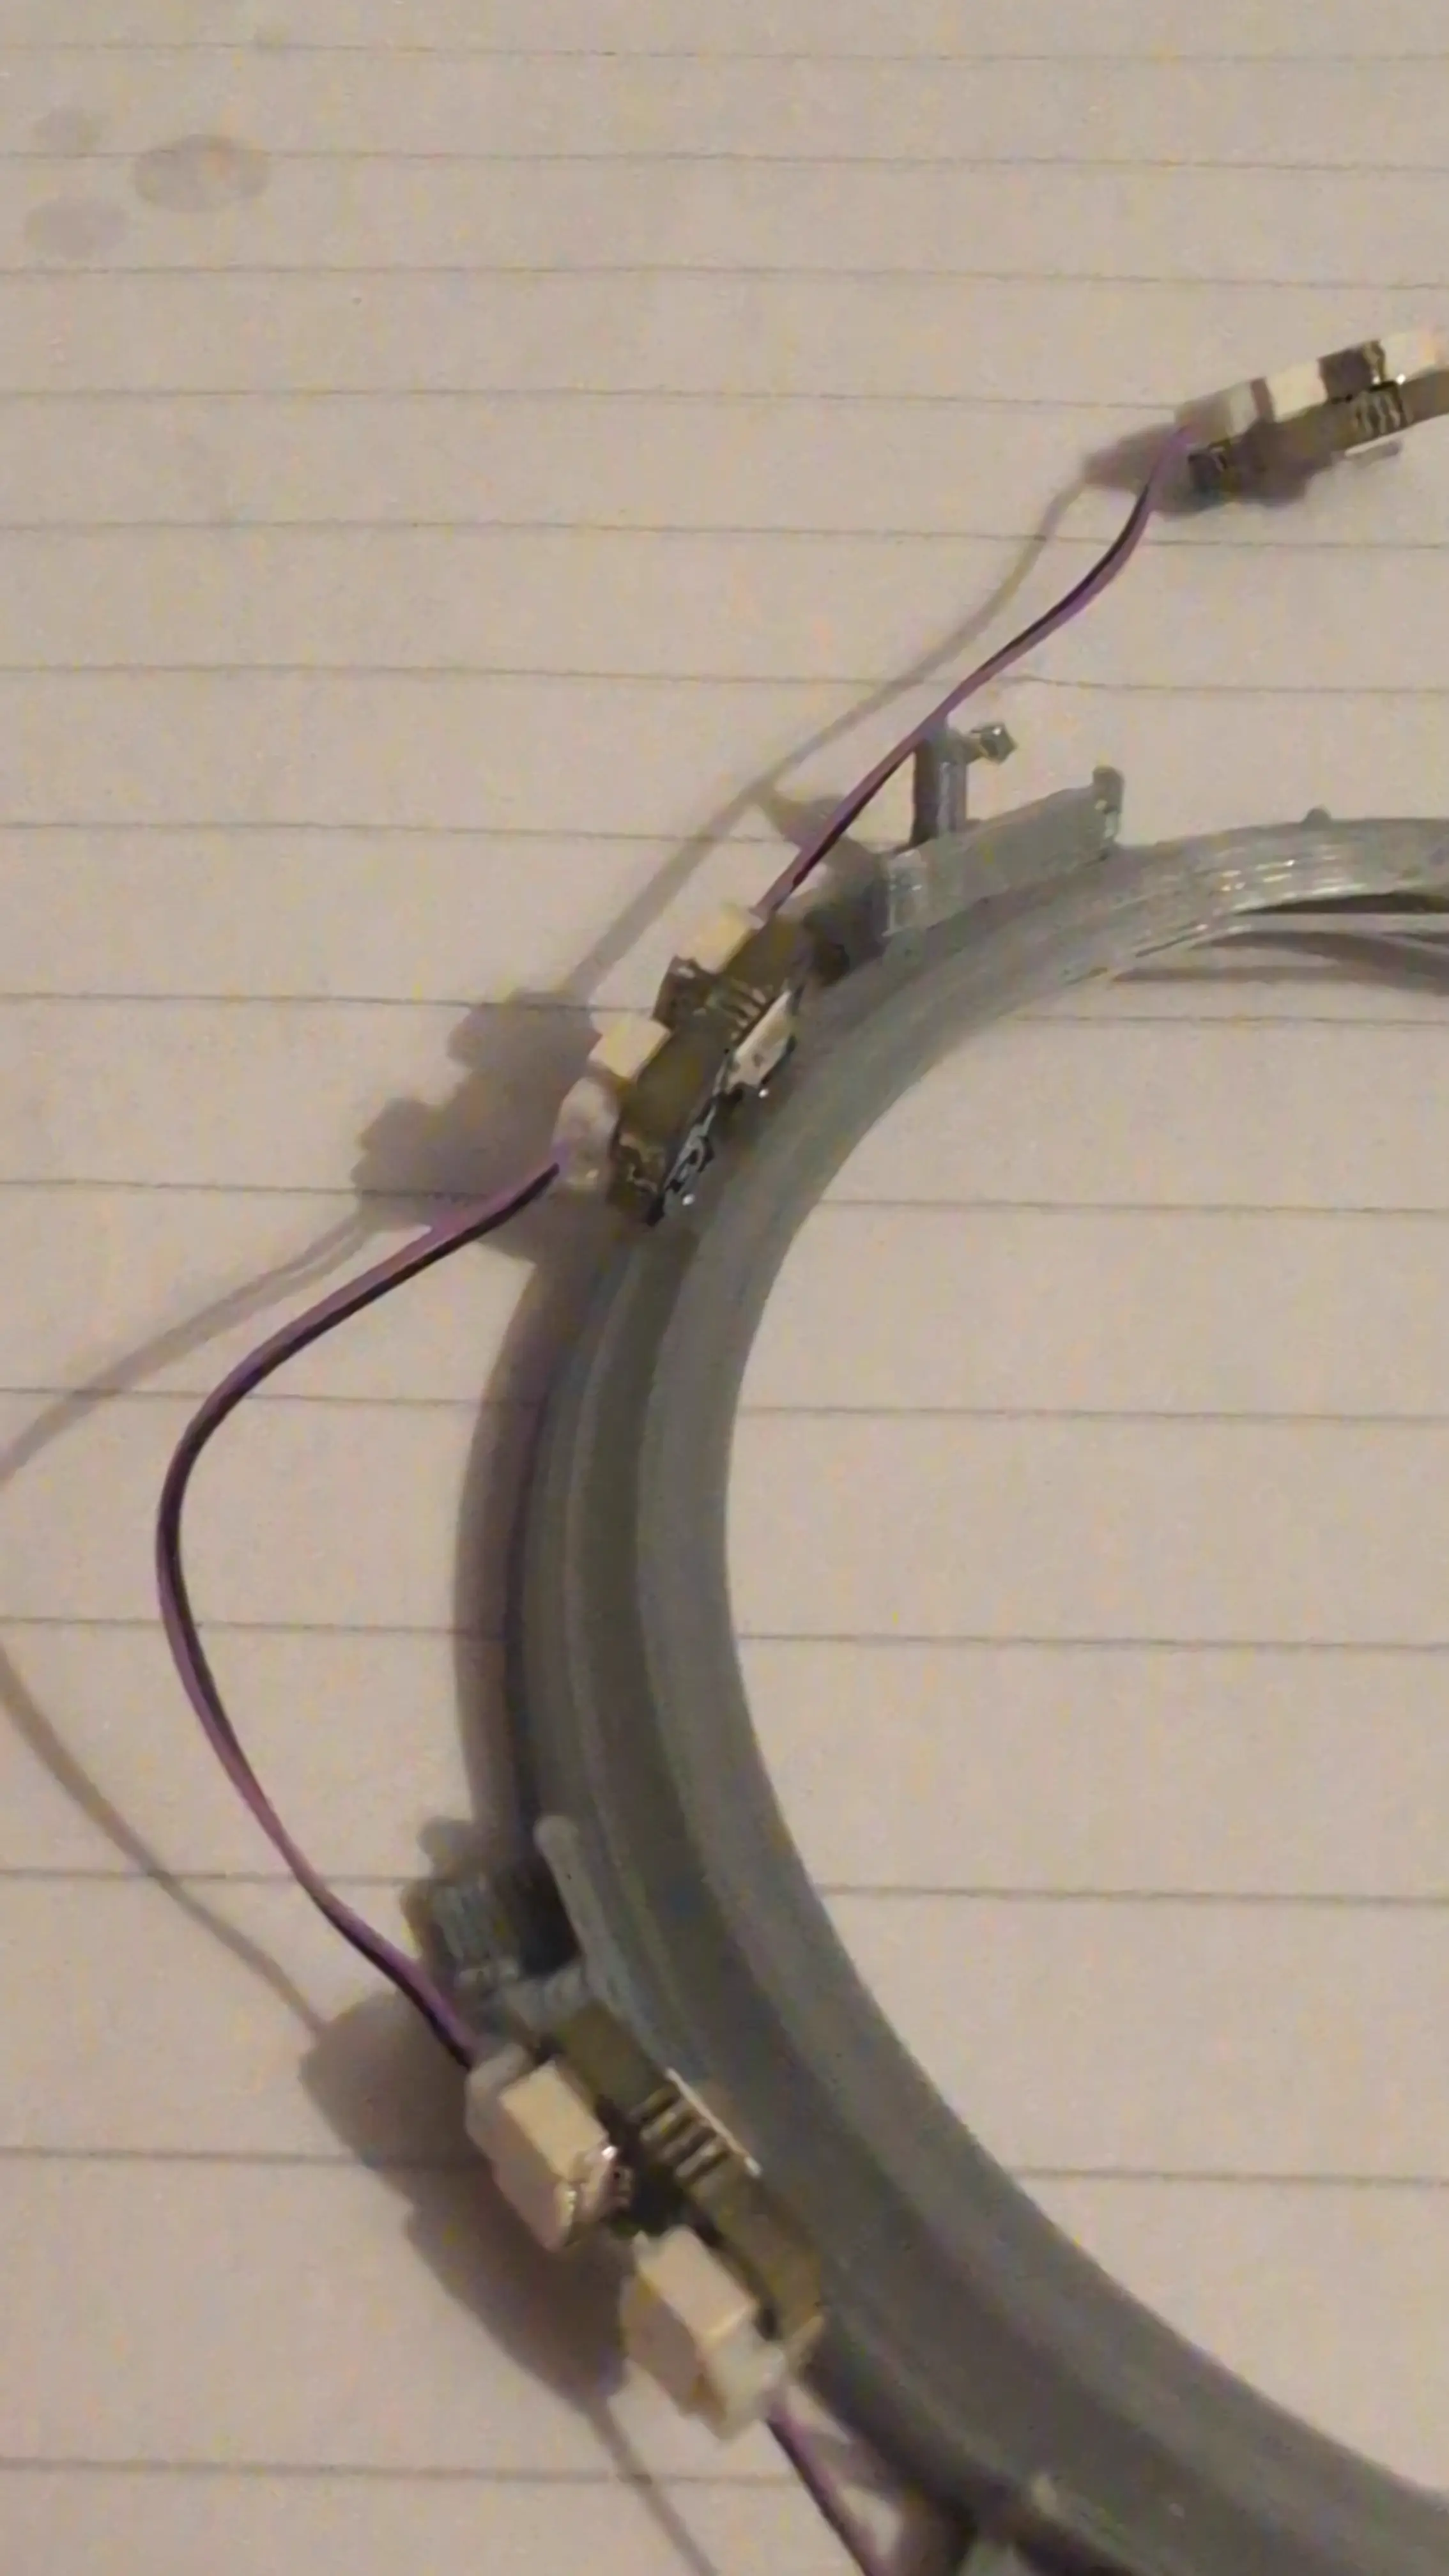
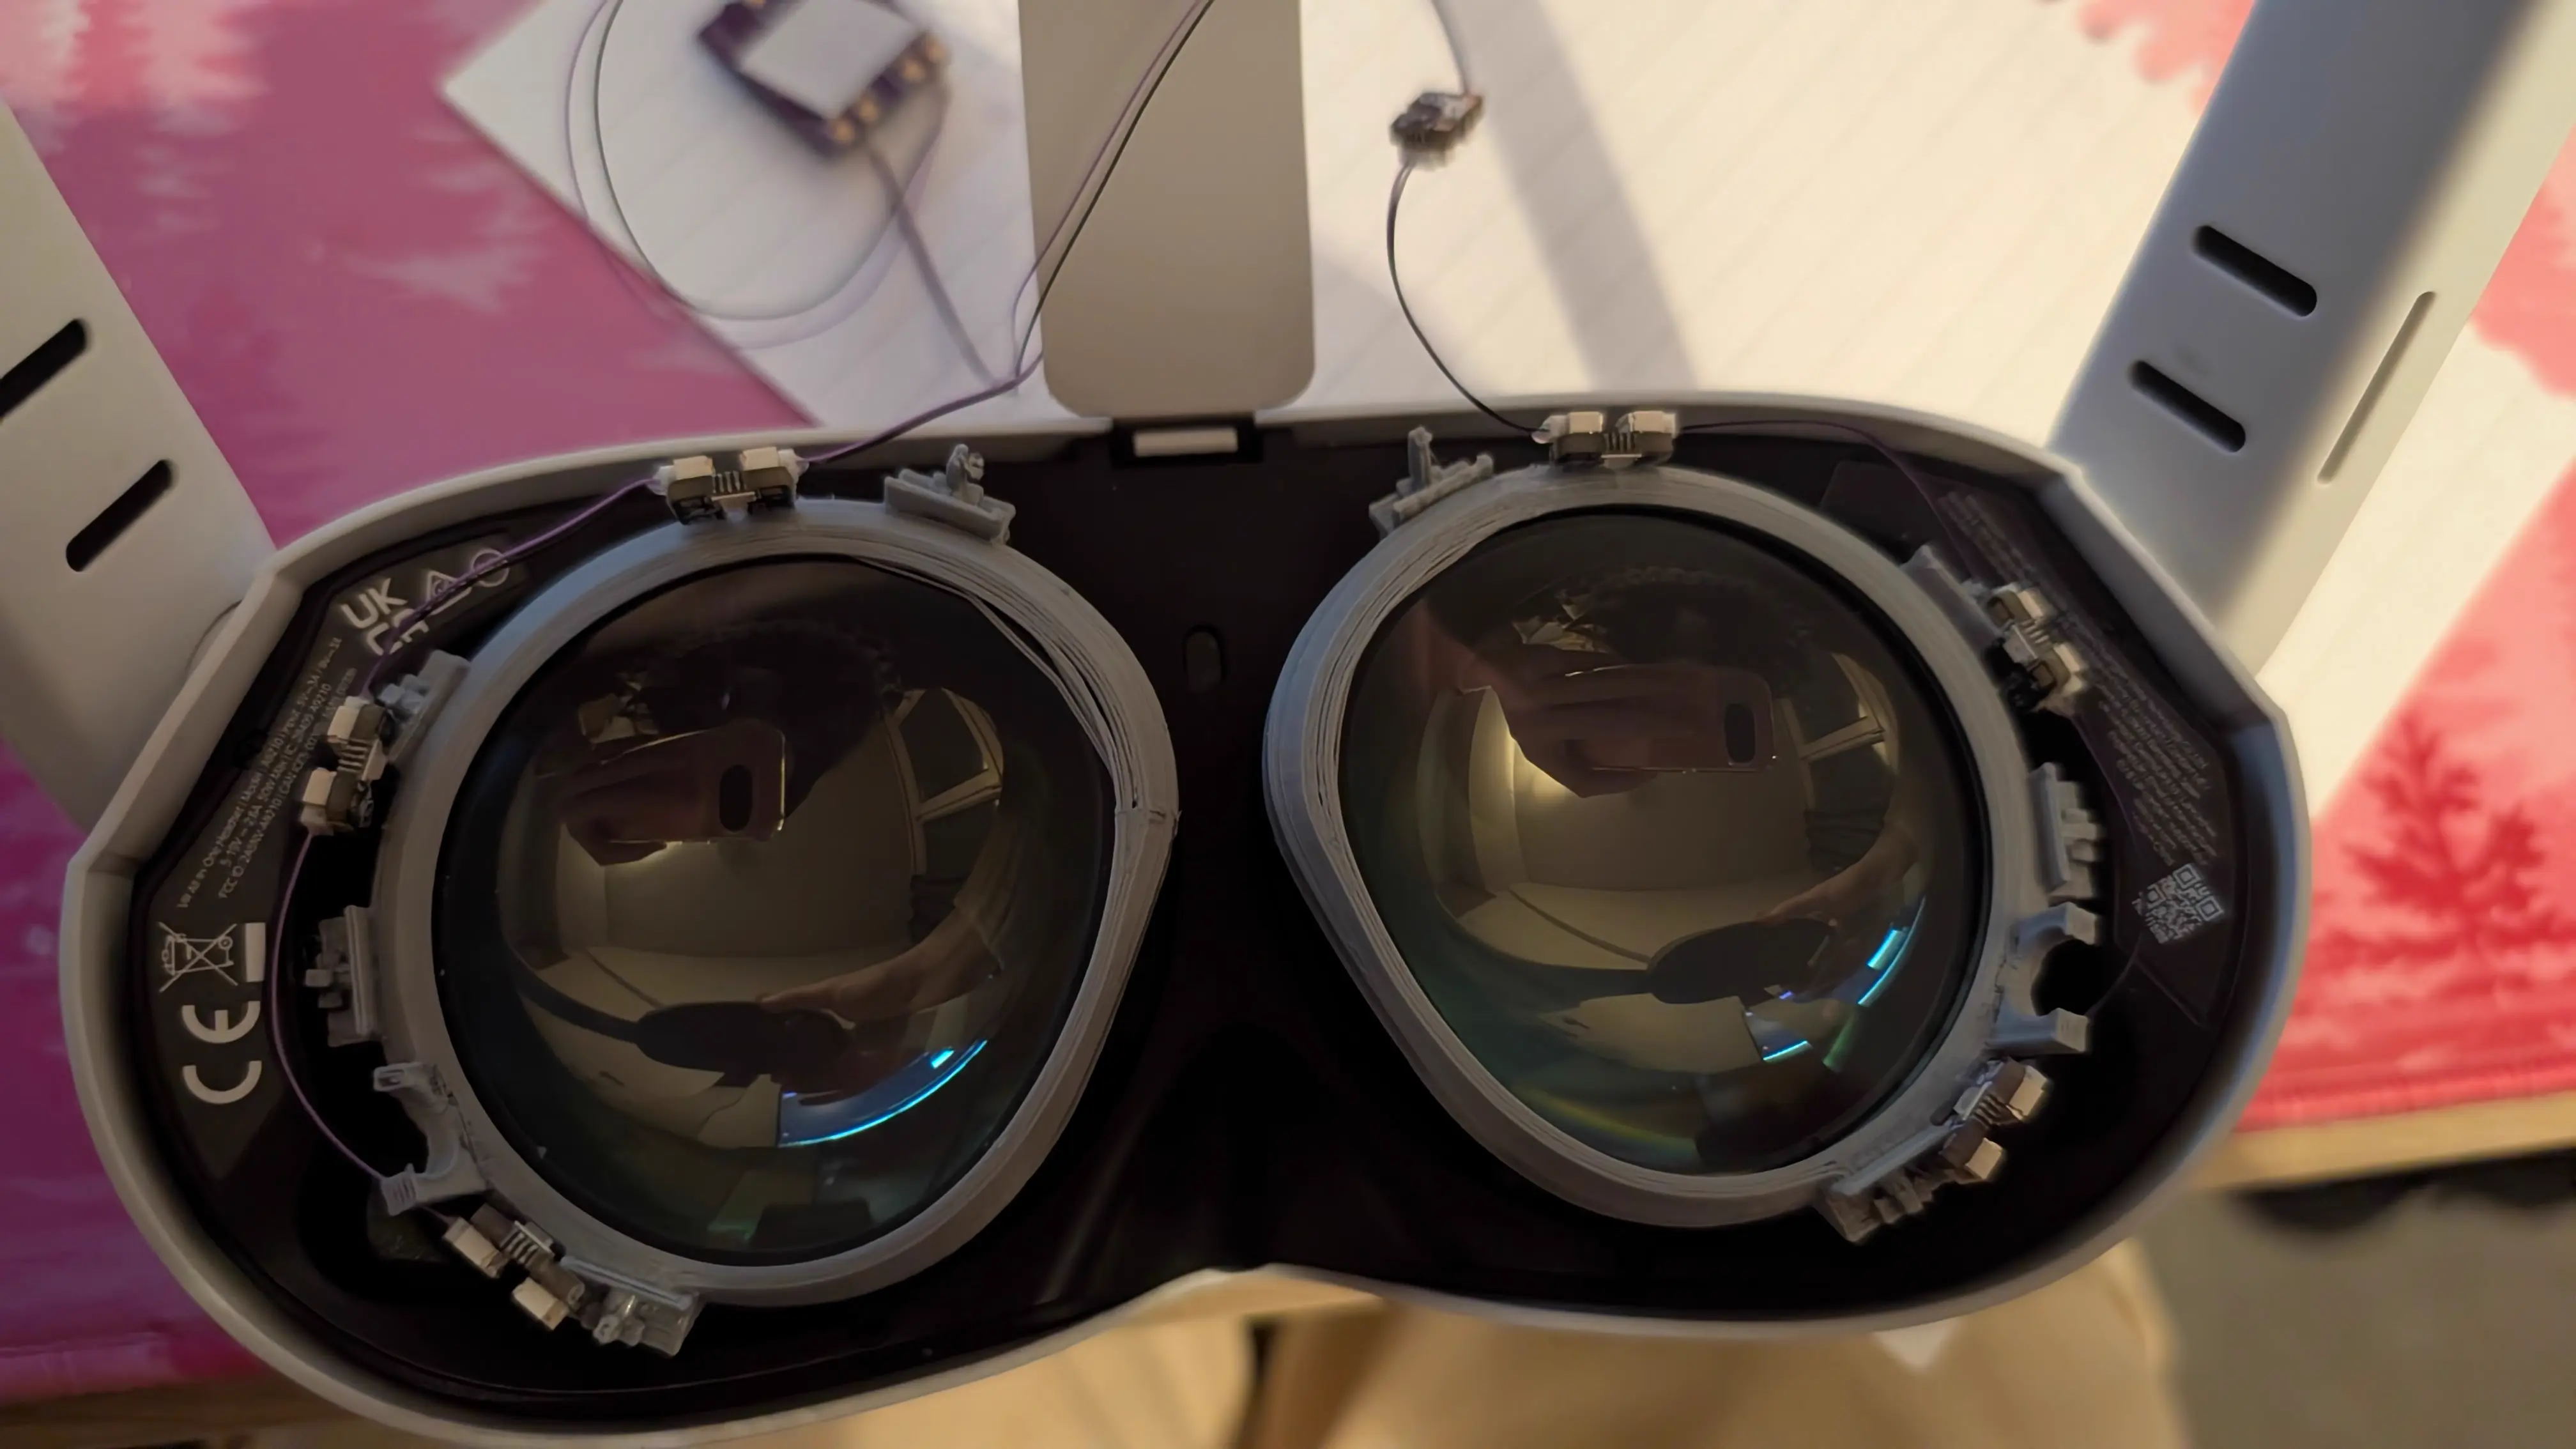
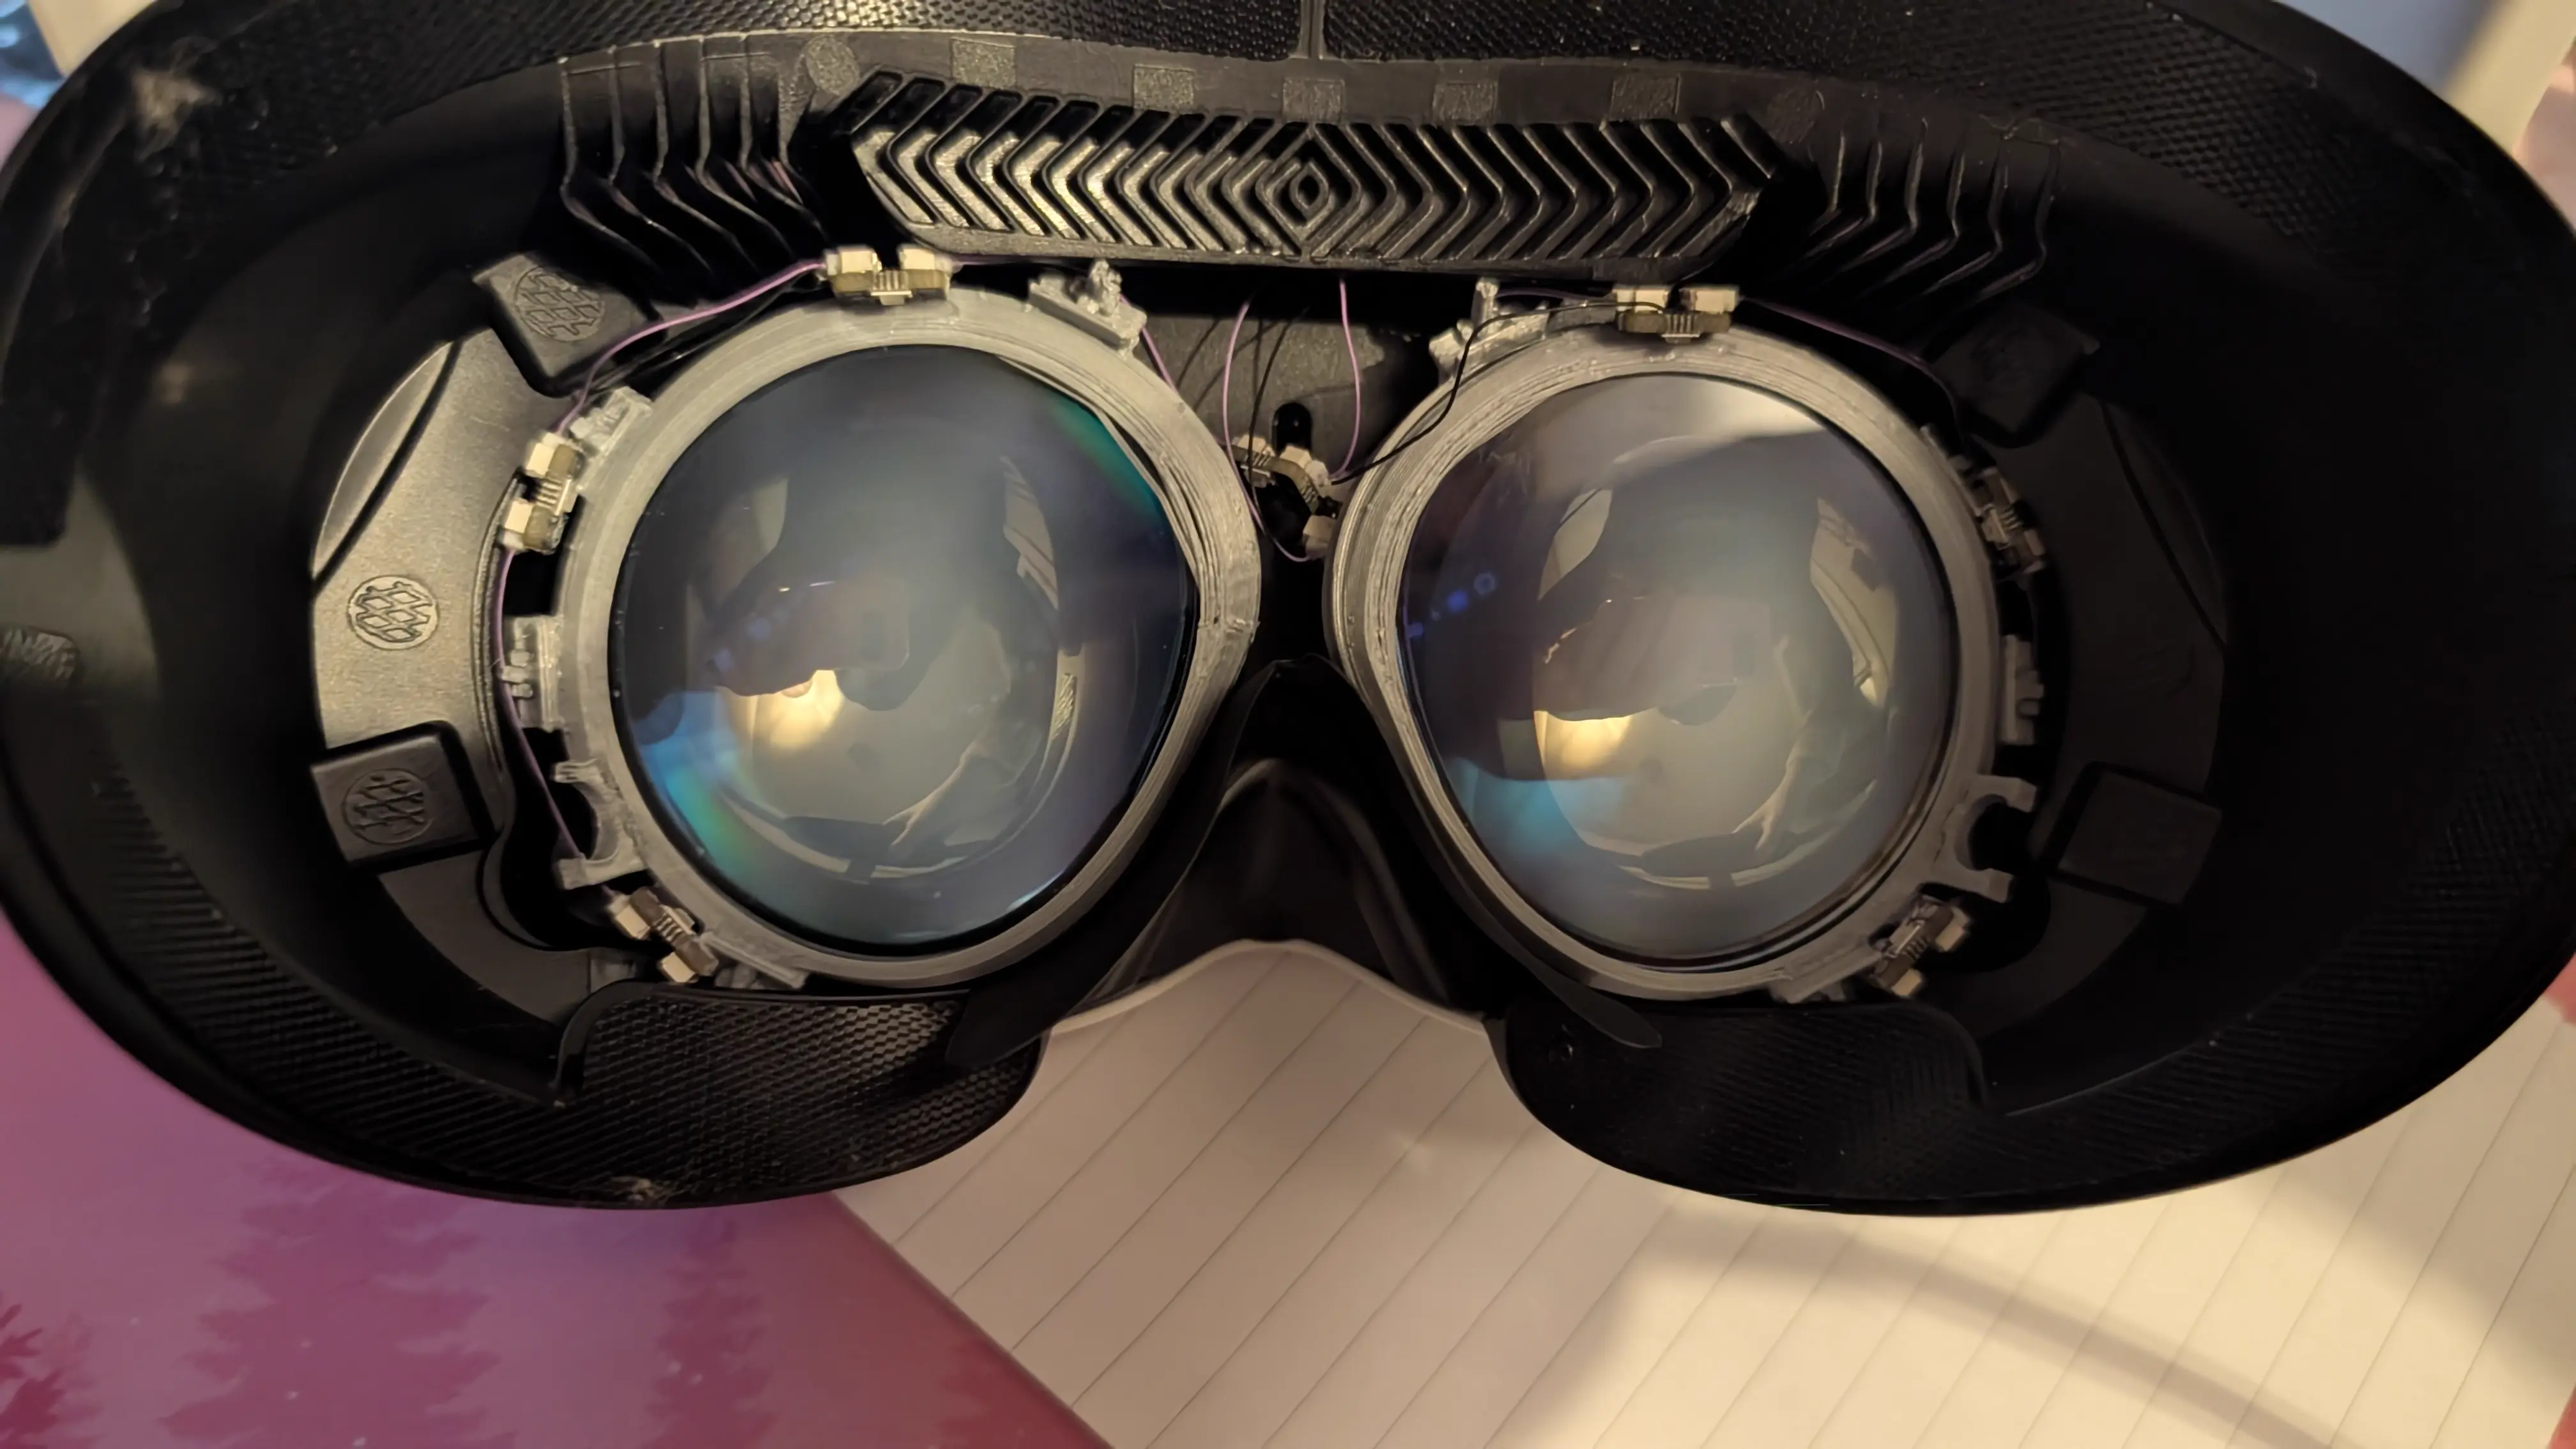
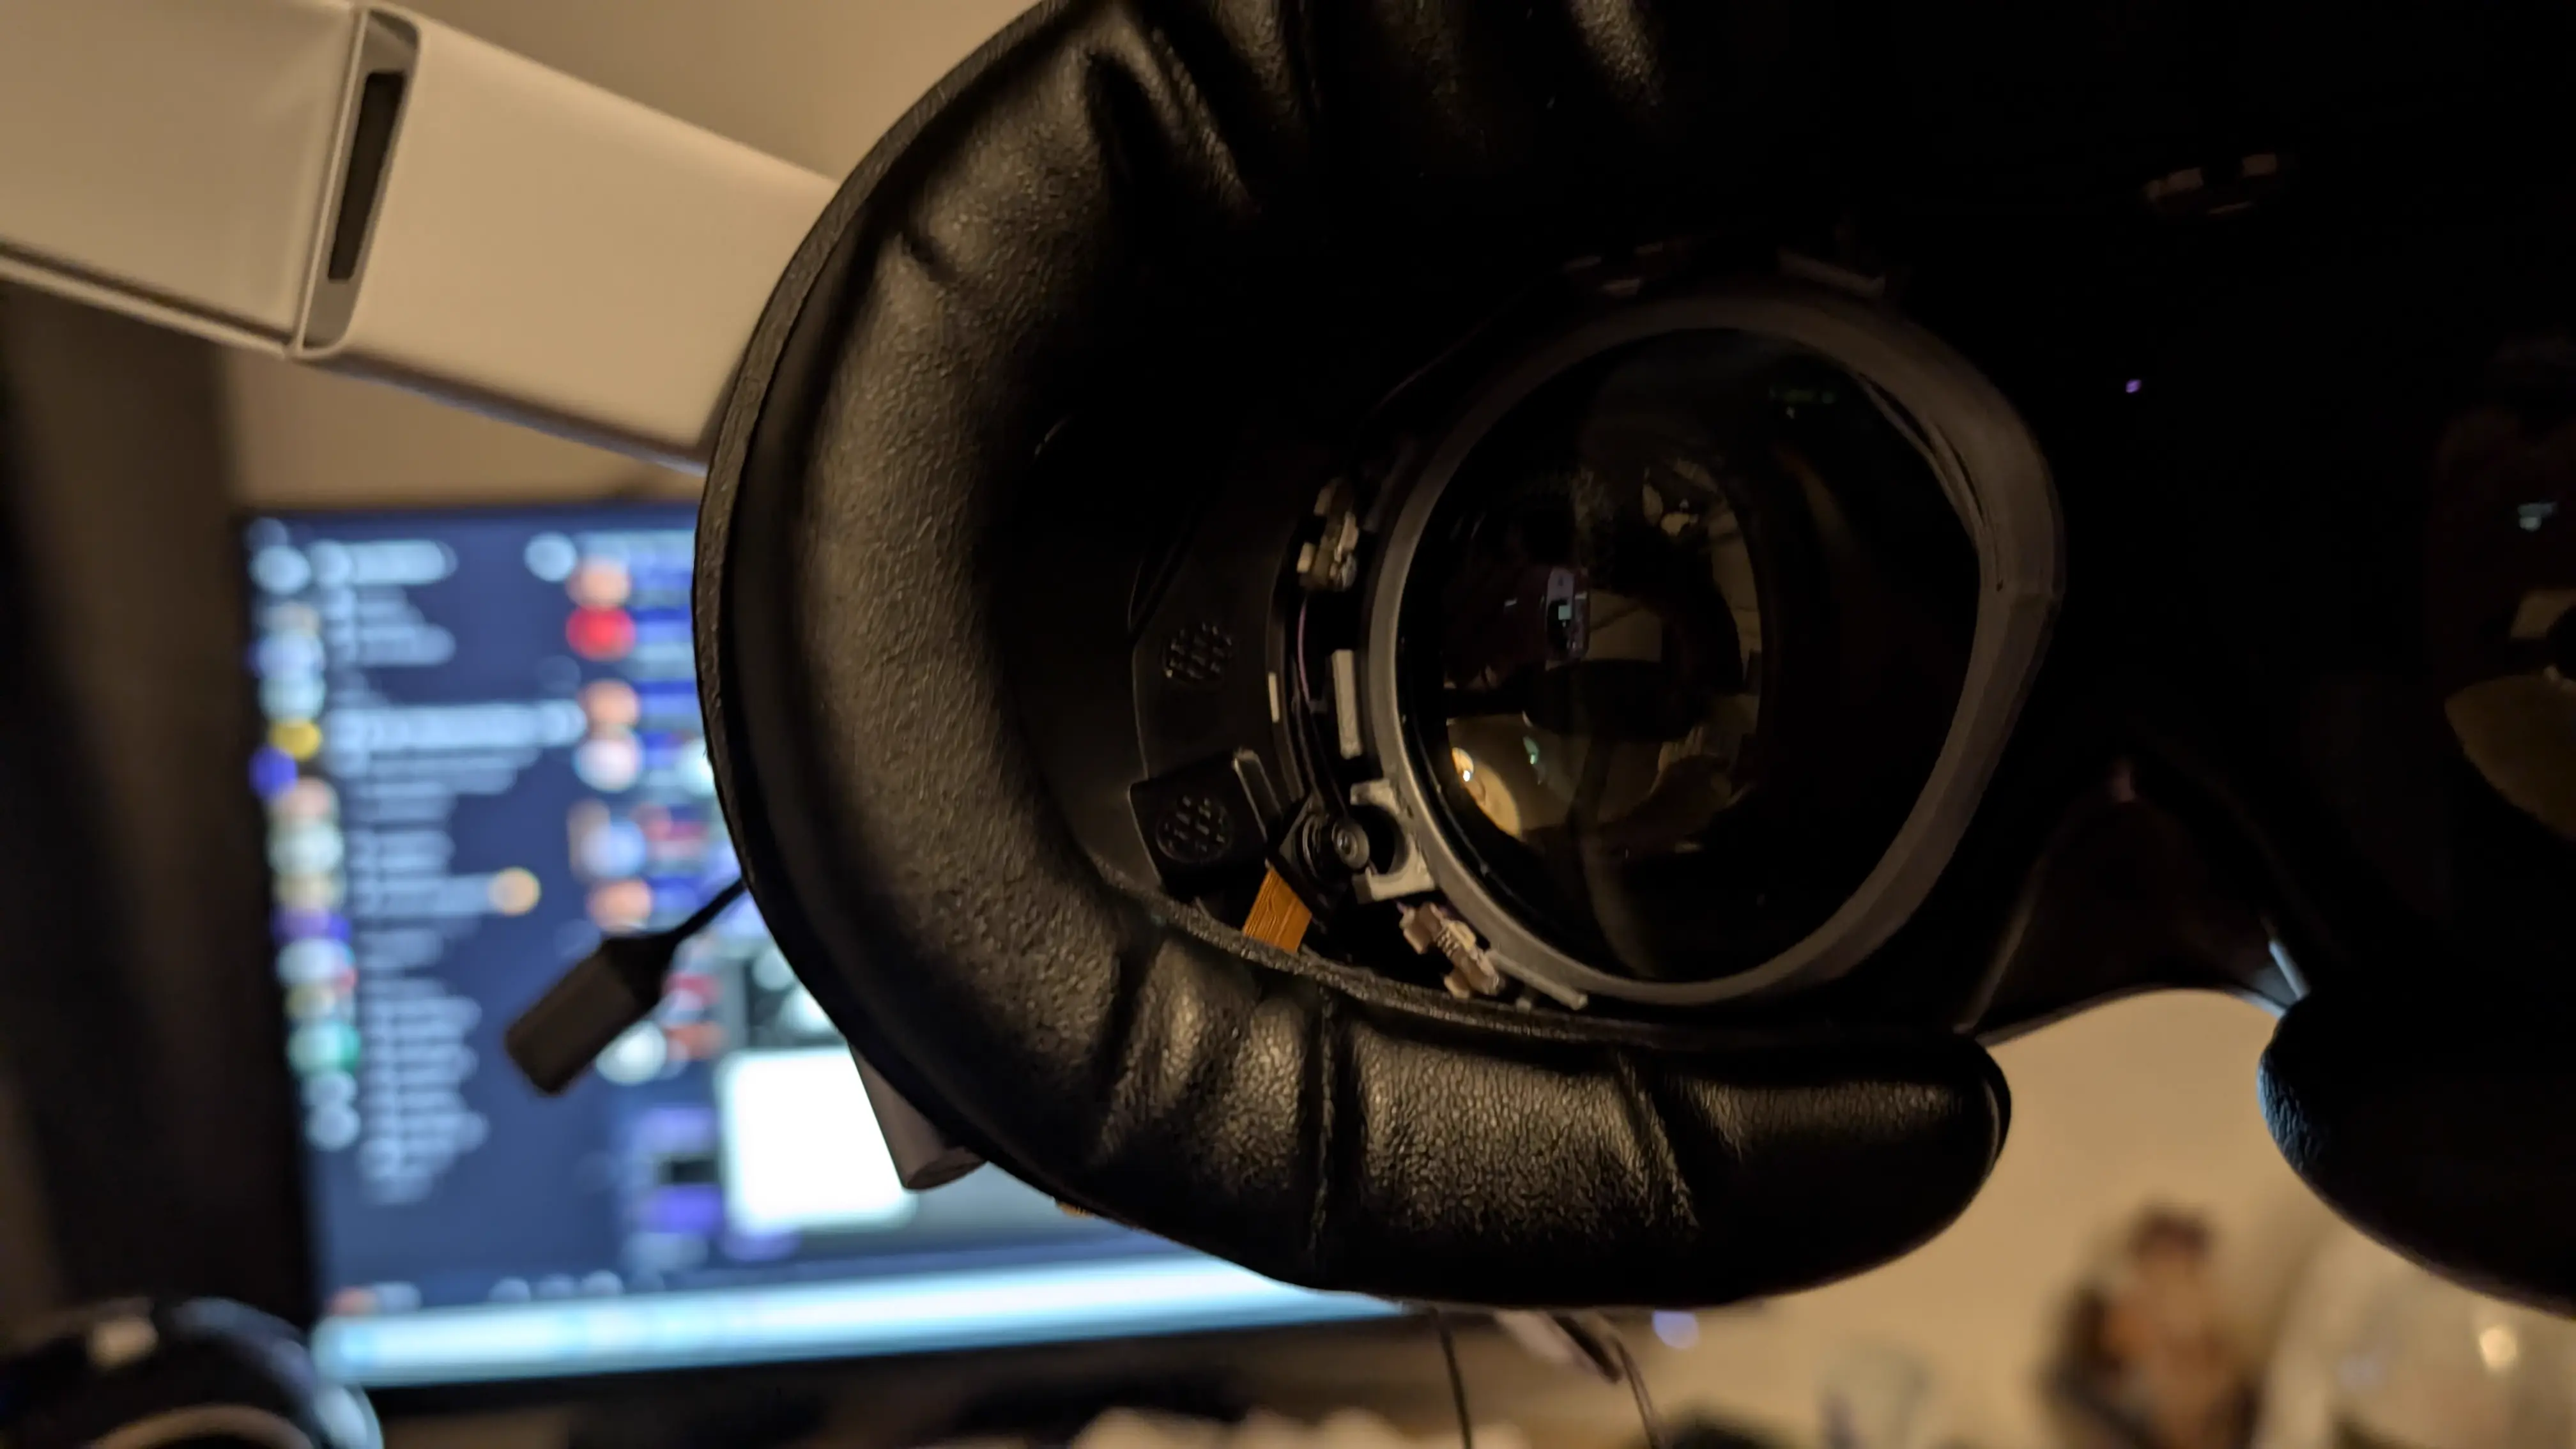
Now, you have to hit a few specific points to get these off in the least janky way possible. First, you hit the clip on the bottom, then the one on the inside, then the one on the top.
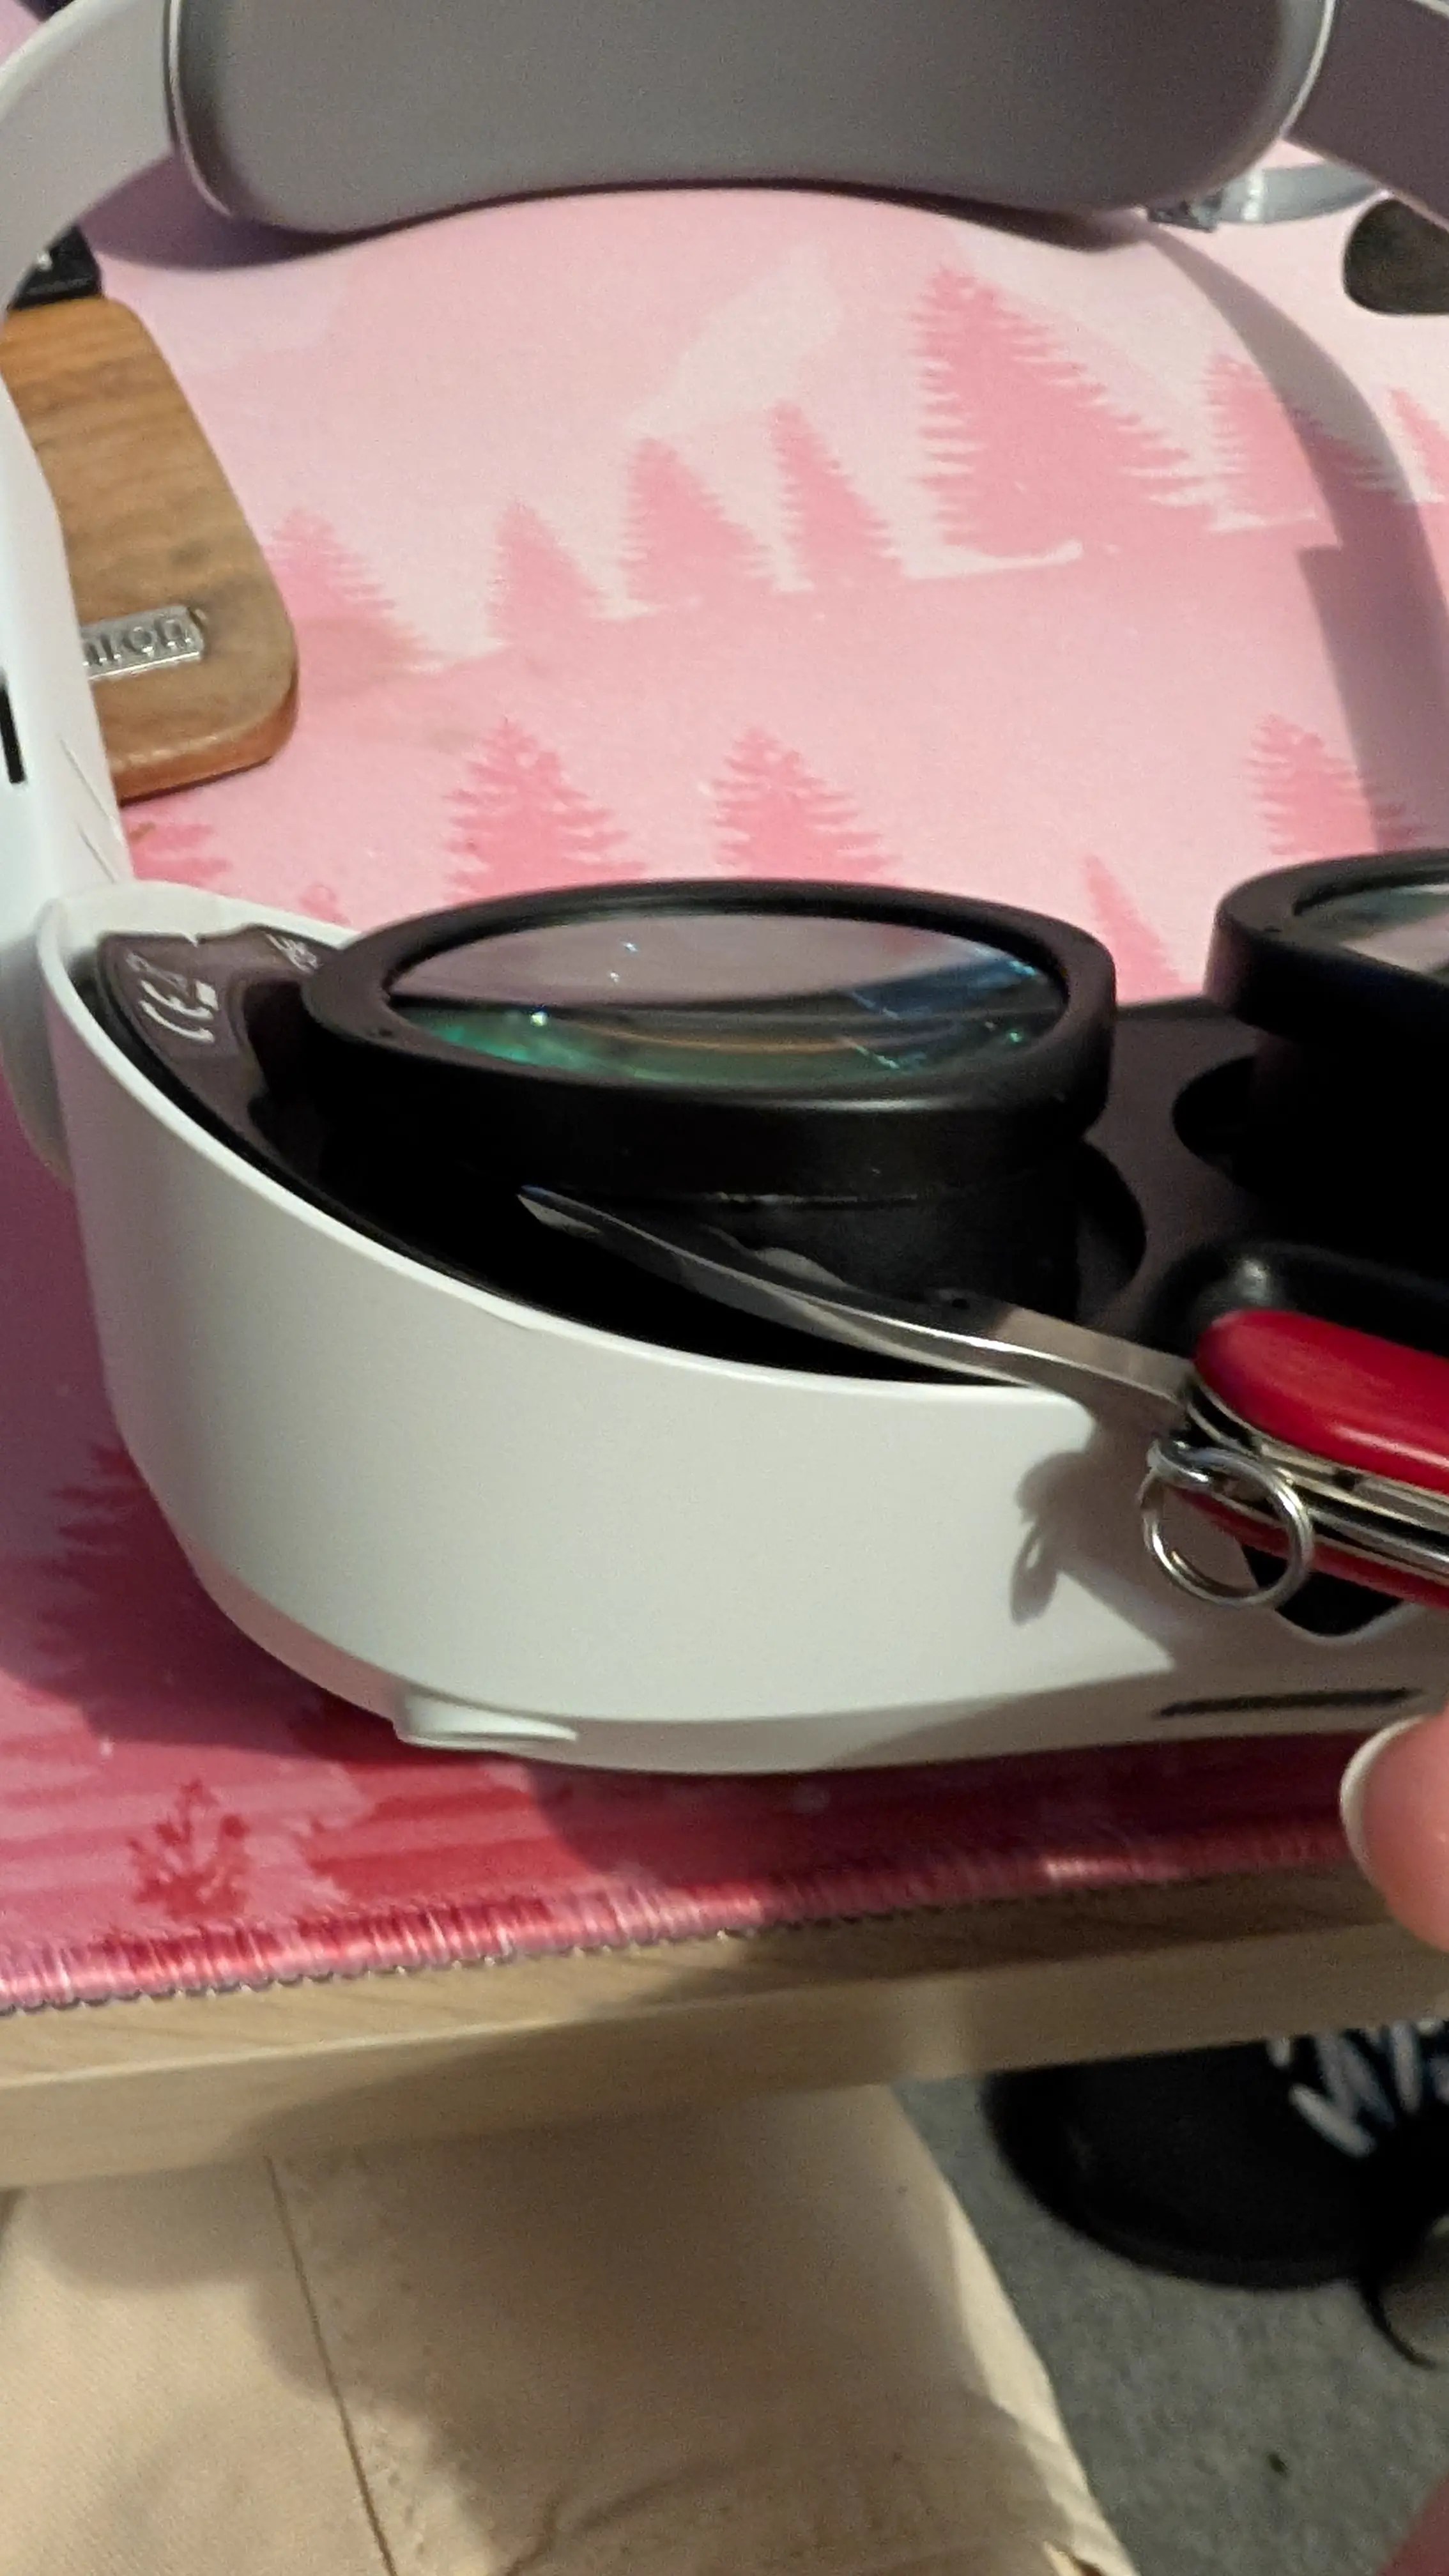
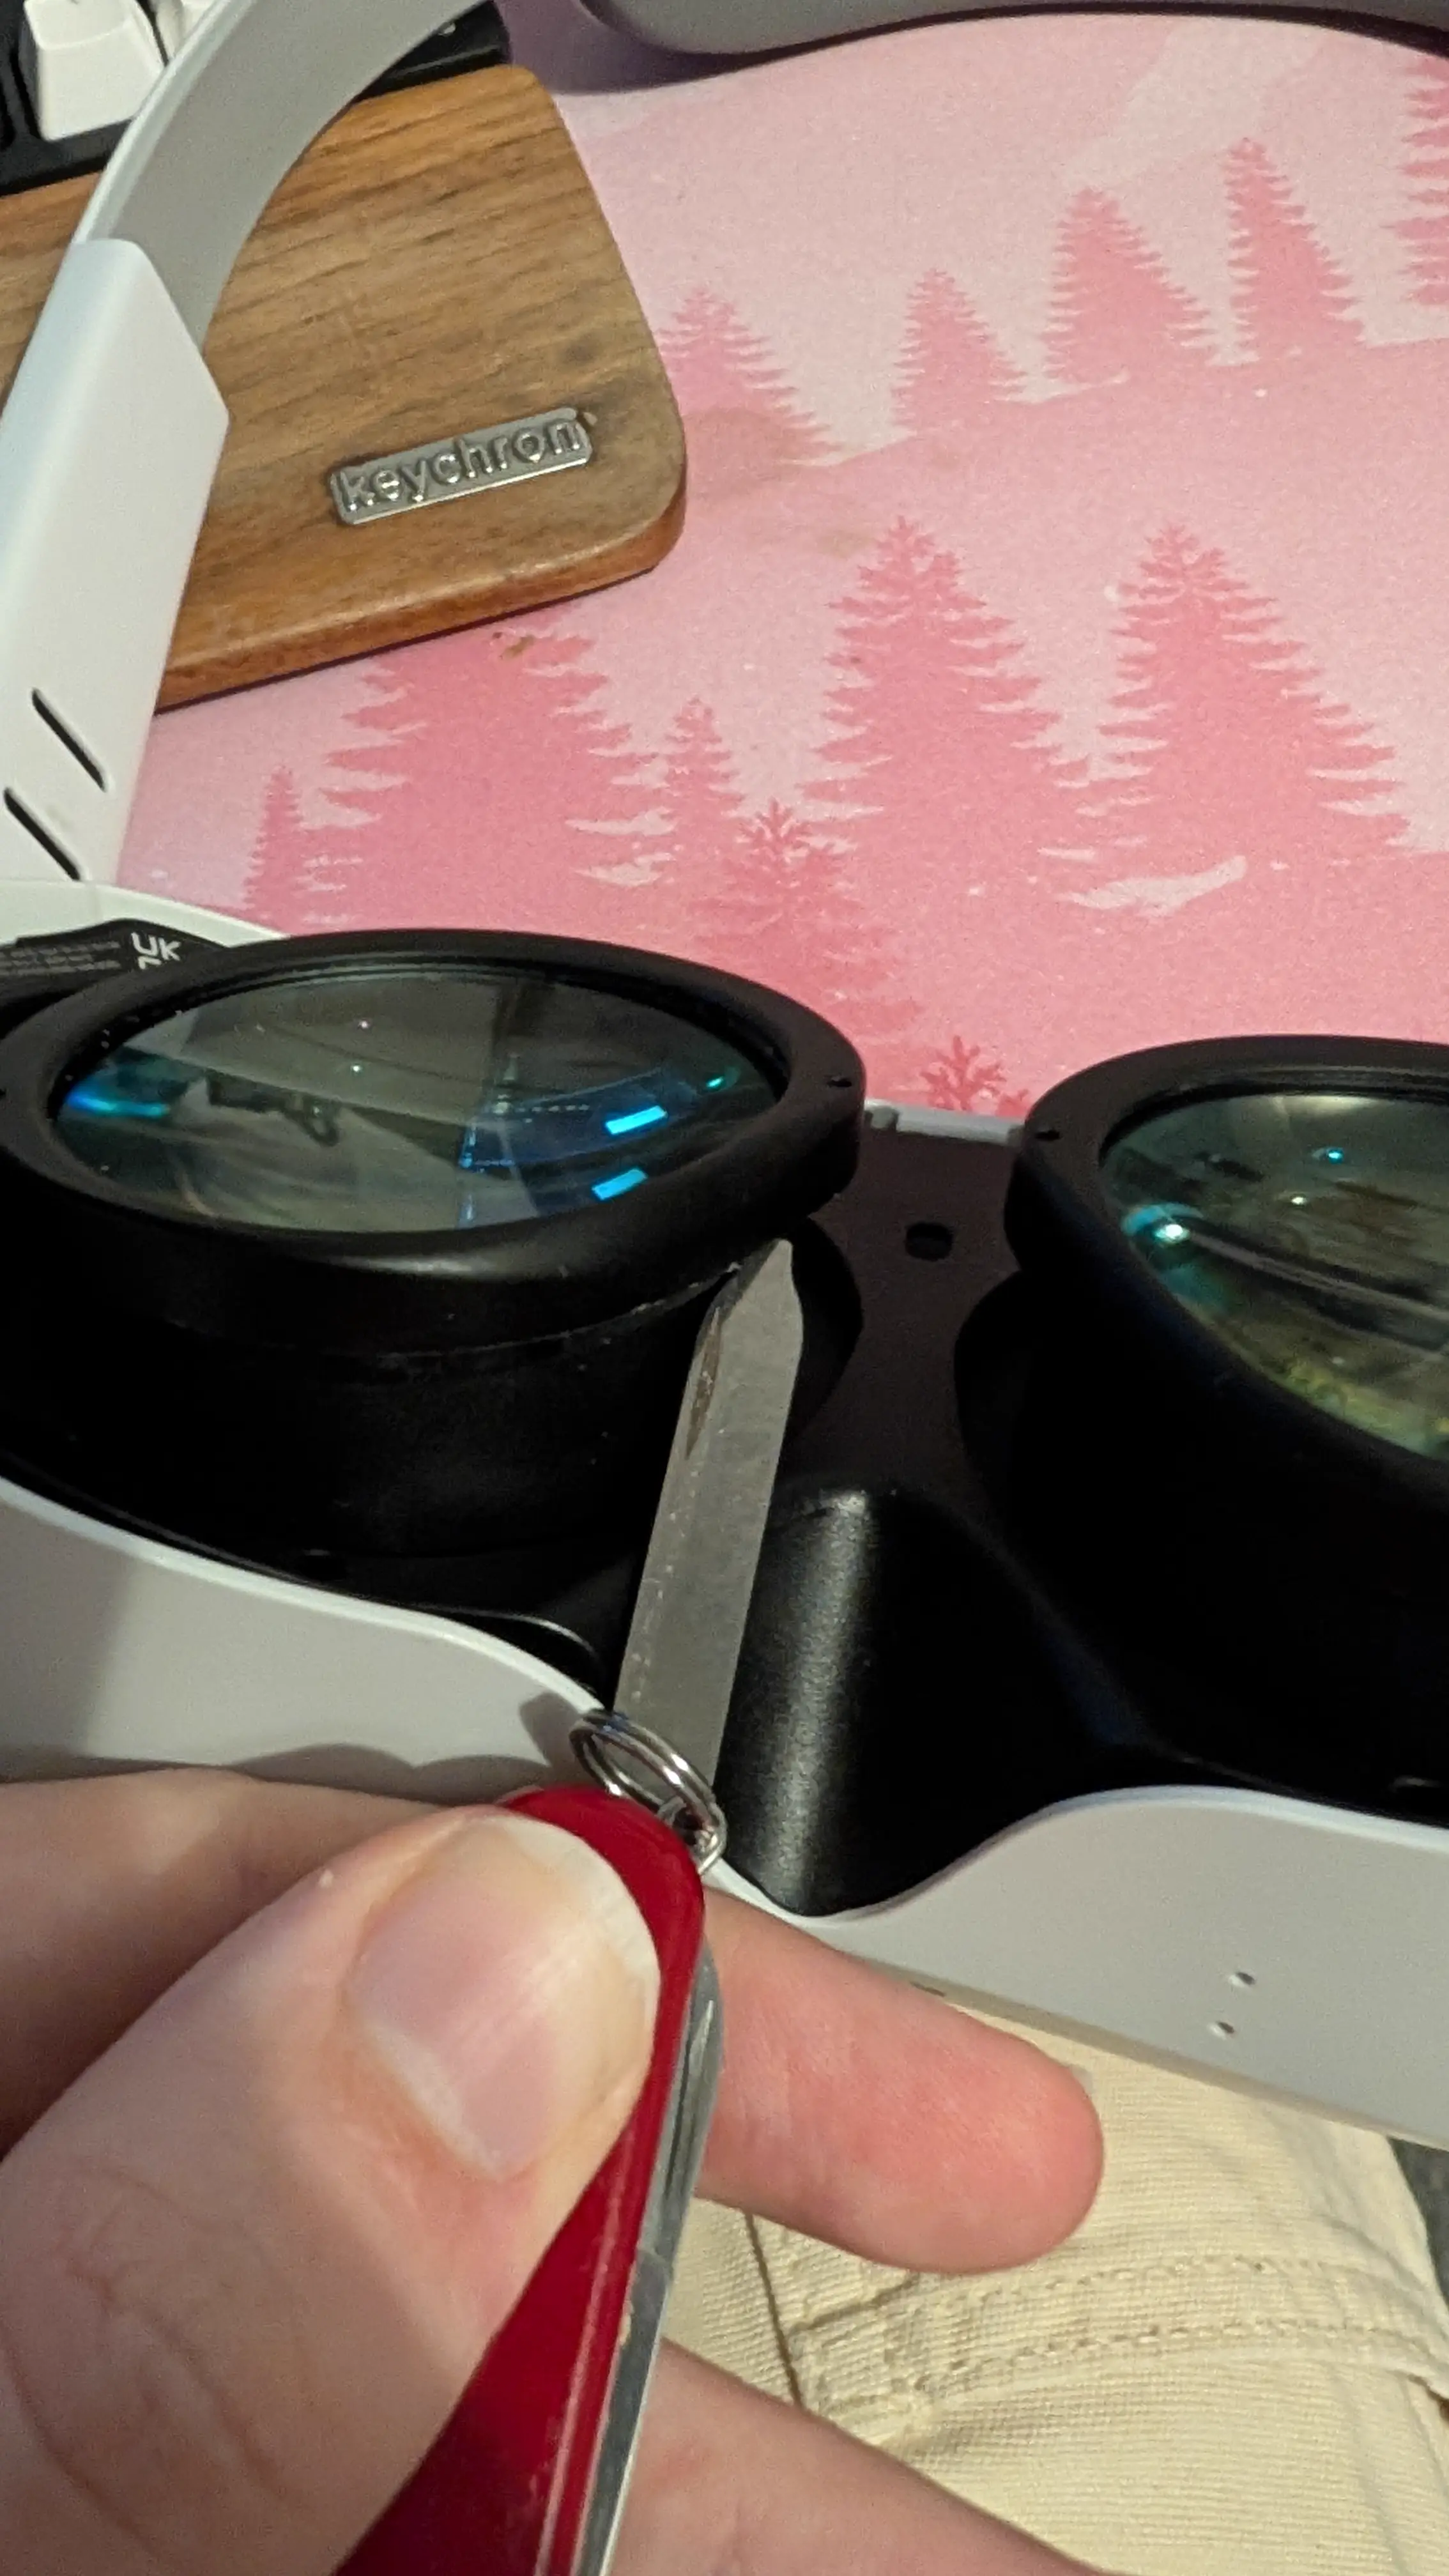
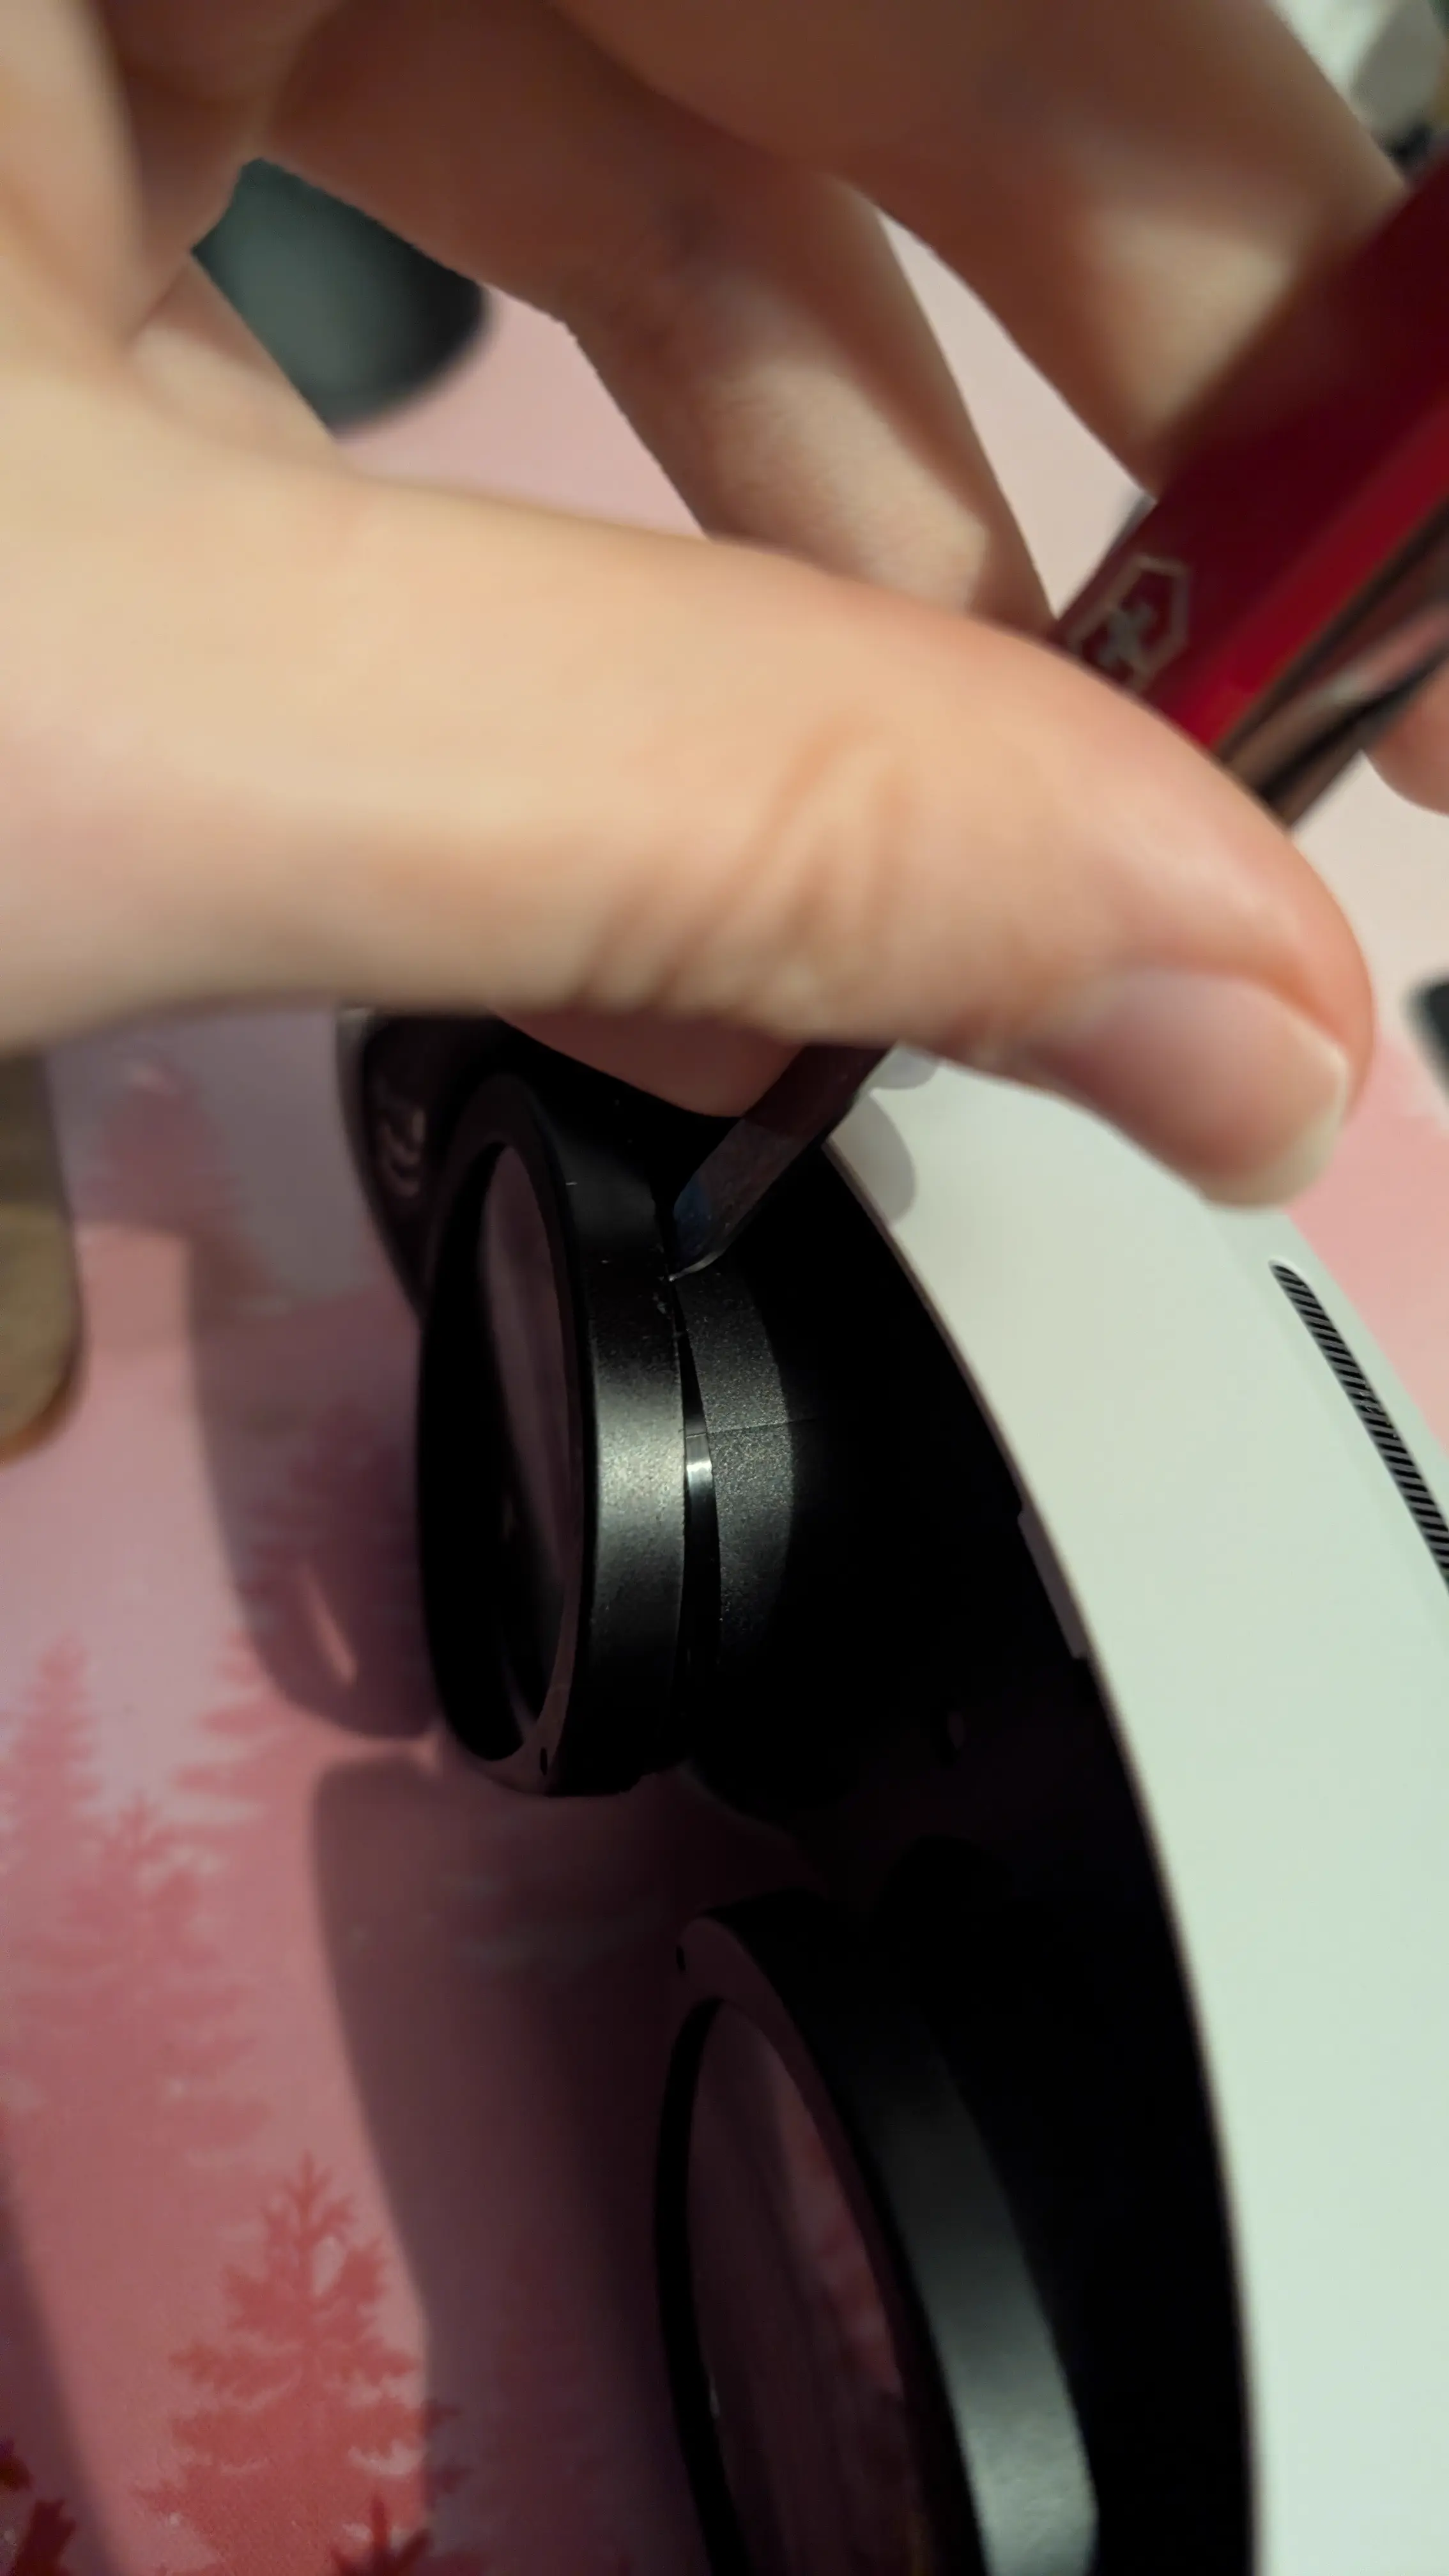
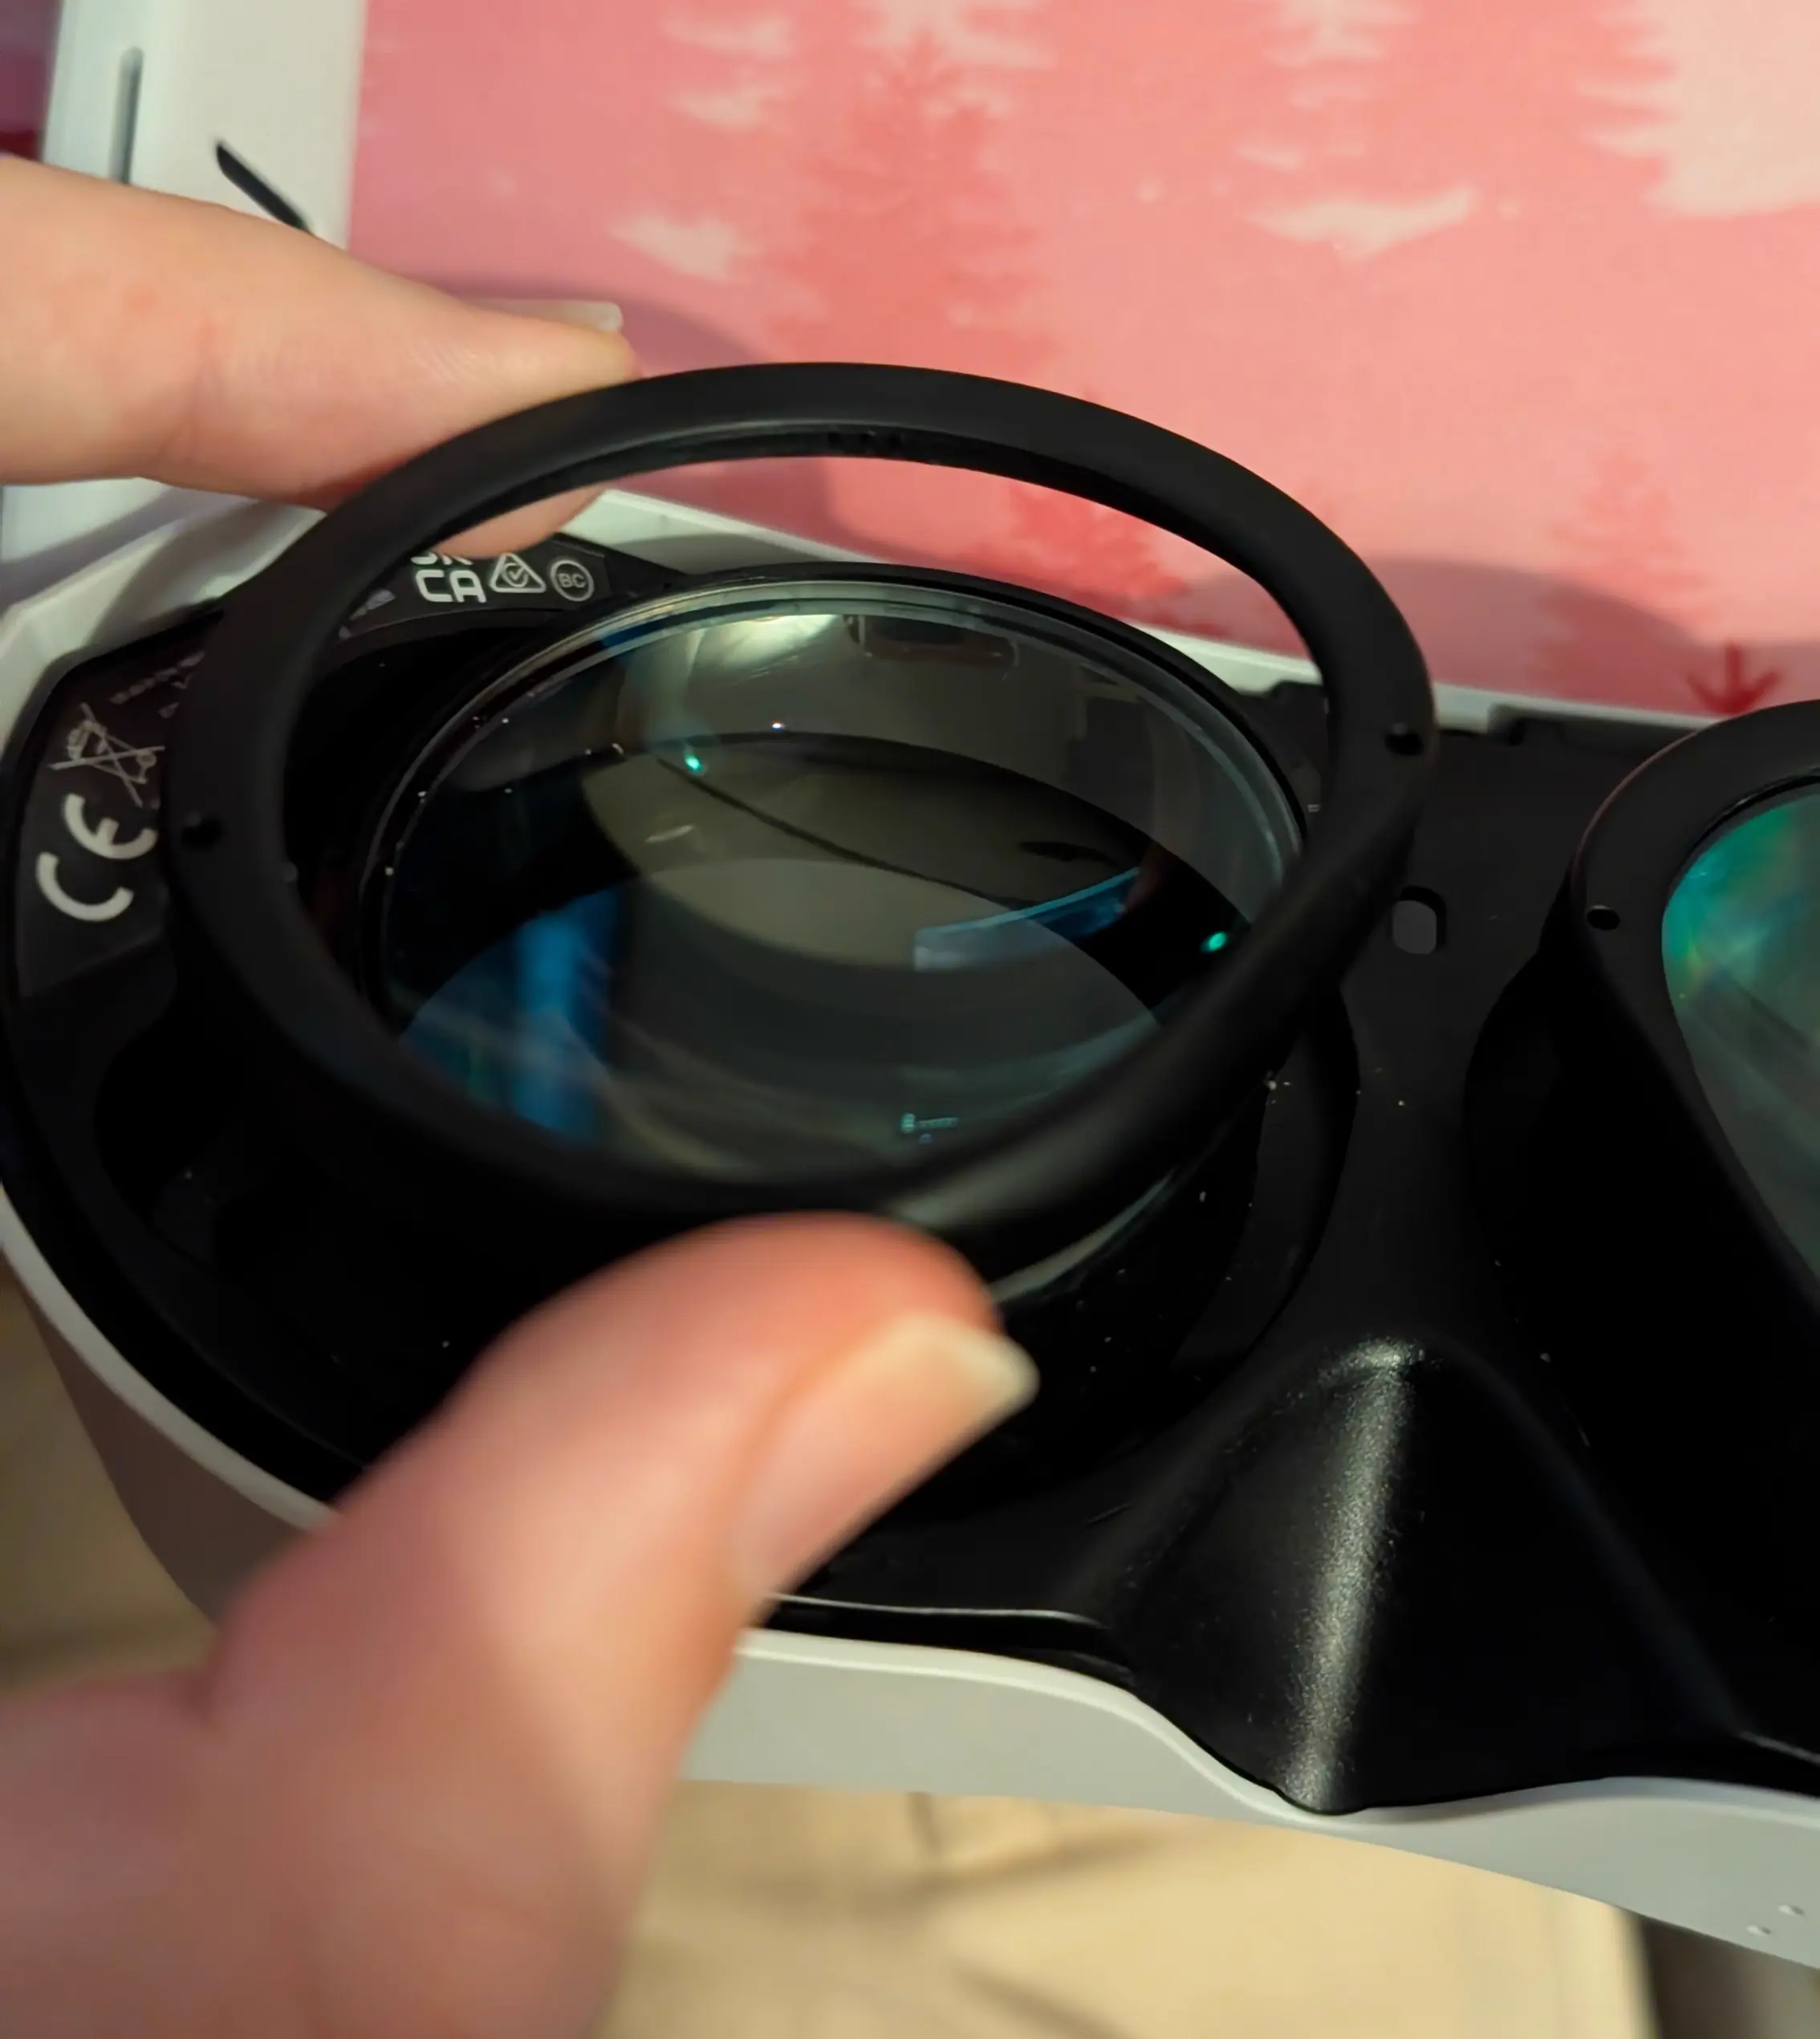
The locations of these clips are shown in these two images:
And then you can simply install your 3D printed ones in their place.
Prepping the Electronics on the Bench
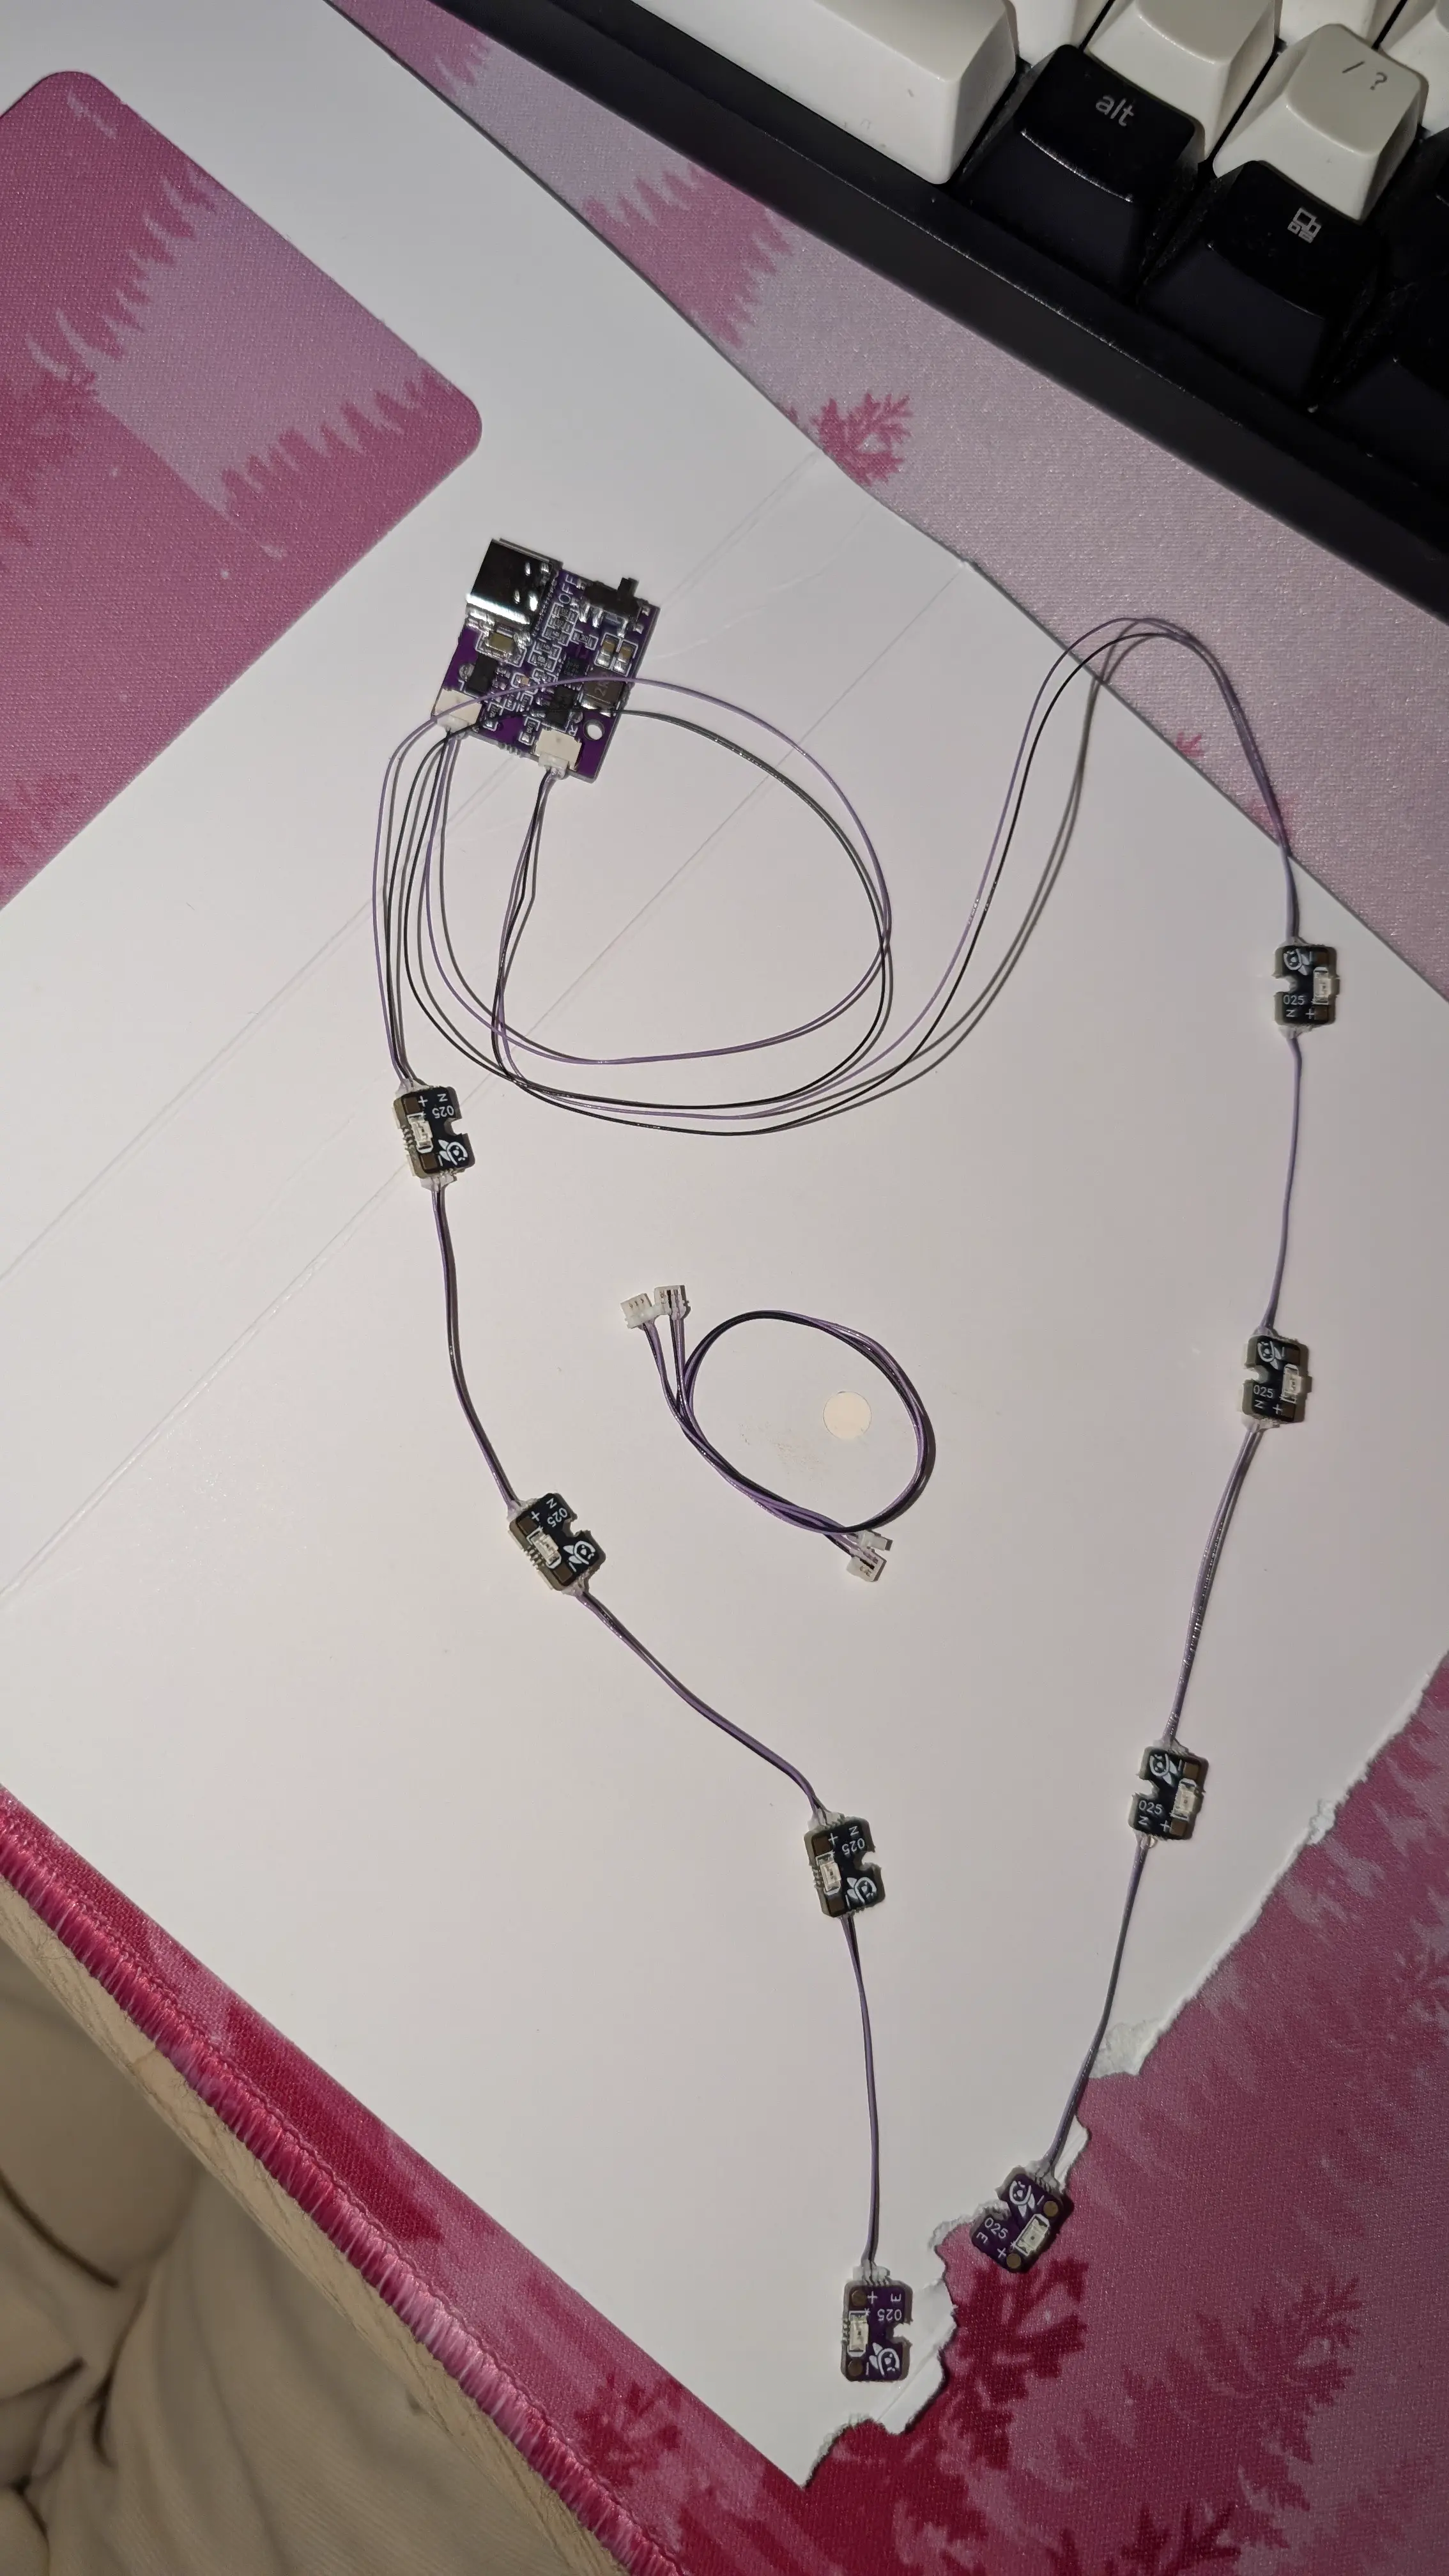
You can essentially follow the guide on the ETVR docs to build the ESP32/camera assemblies and LED boards (be SUPER careful when building these to use all the cables correctly).
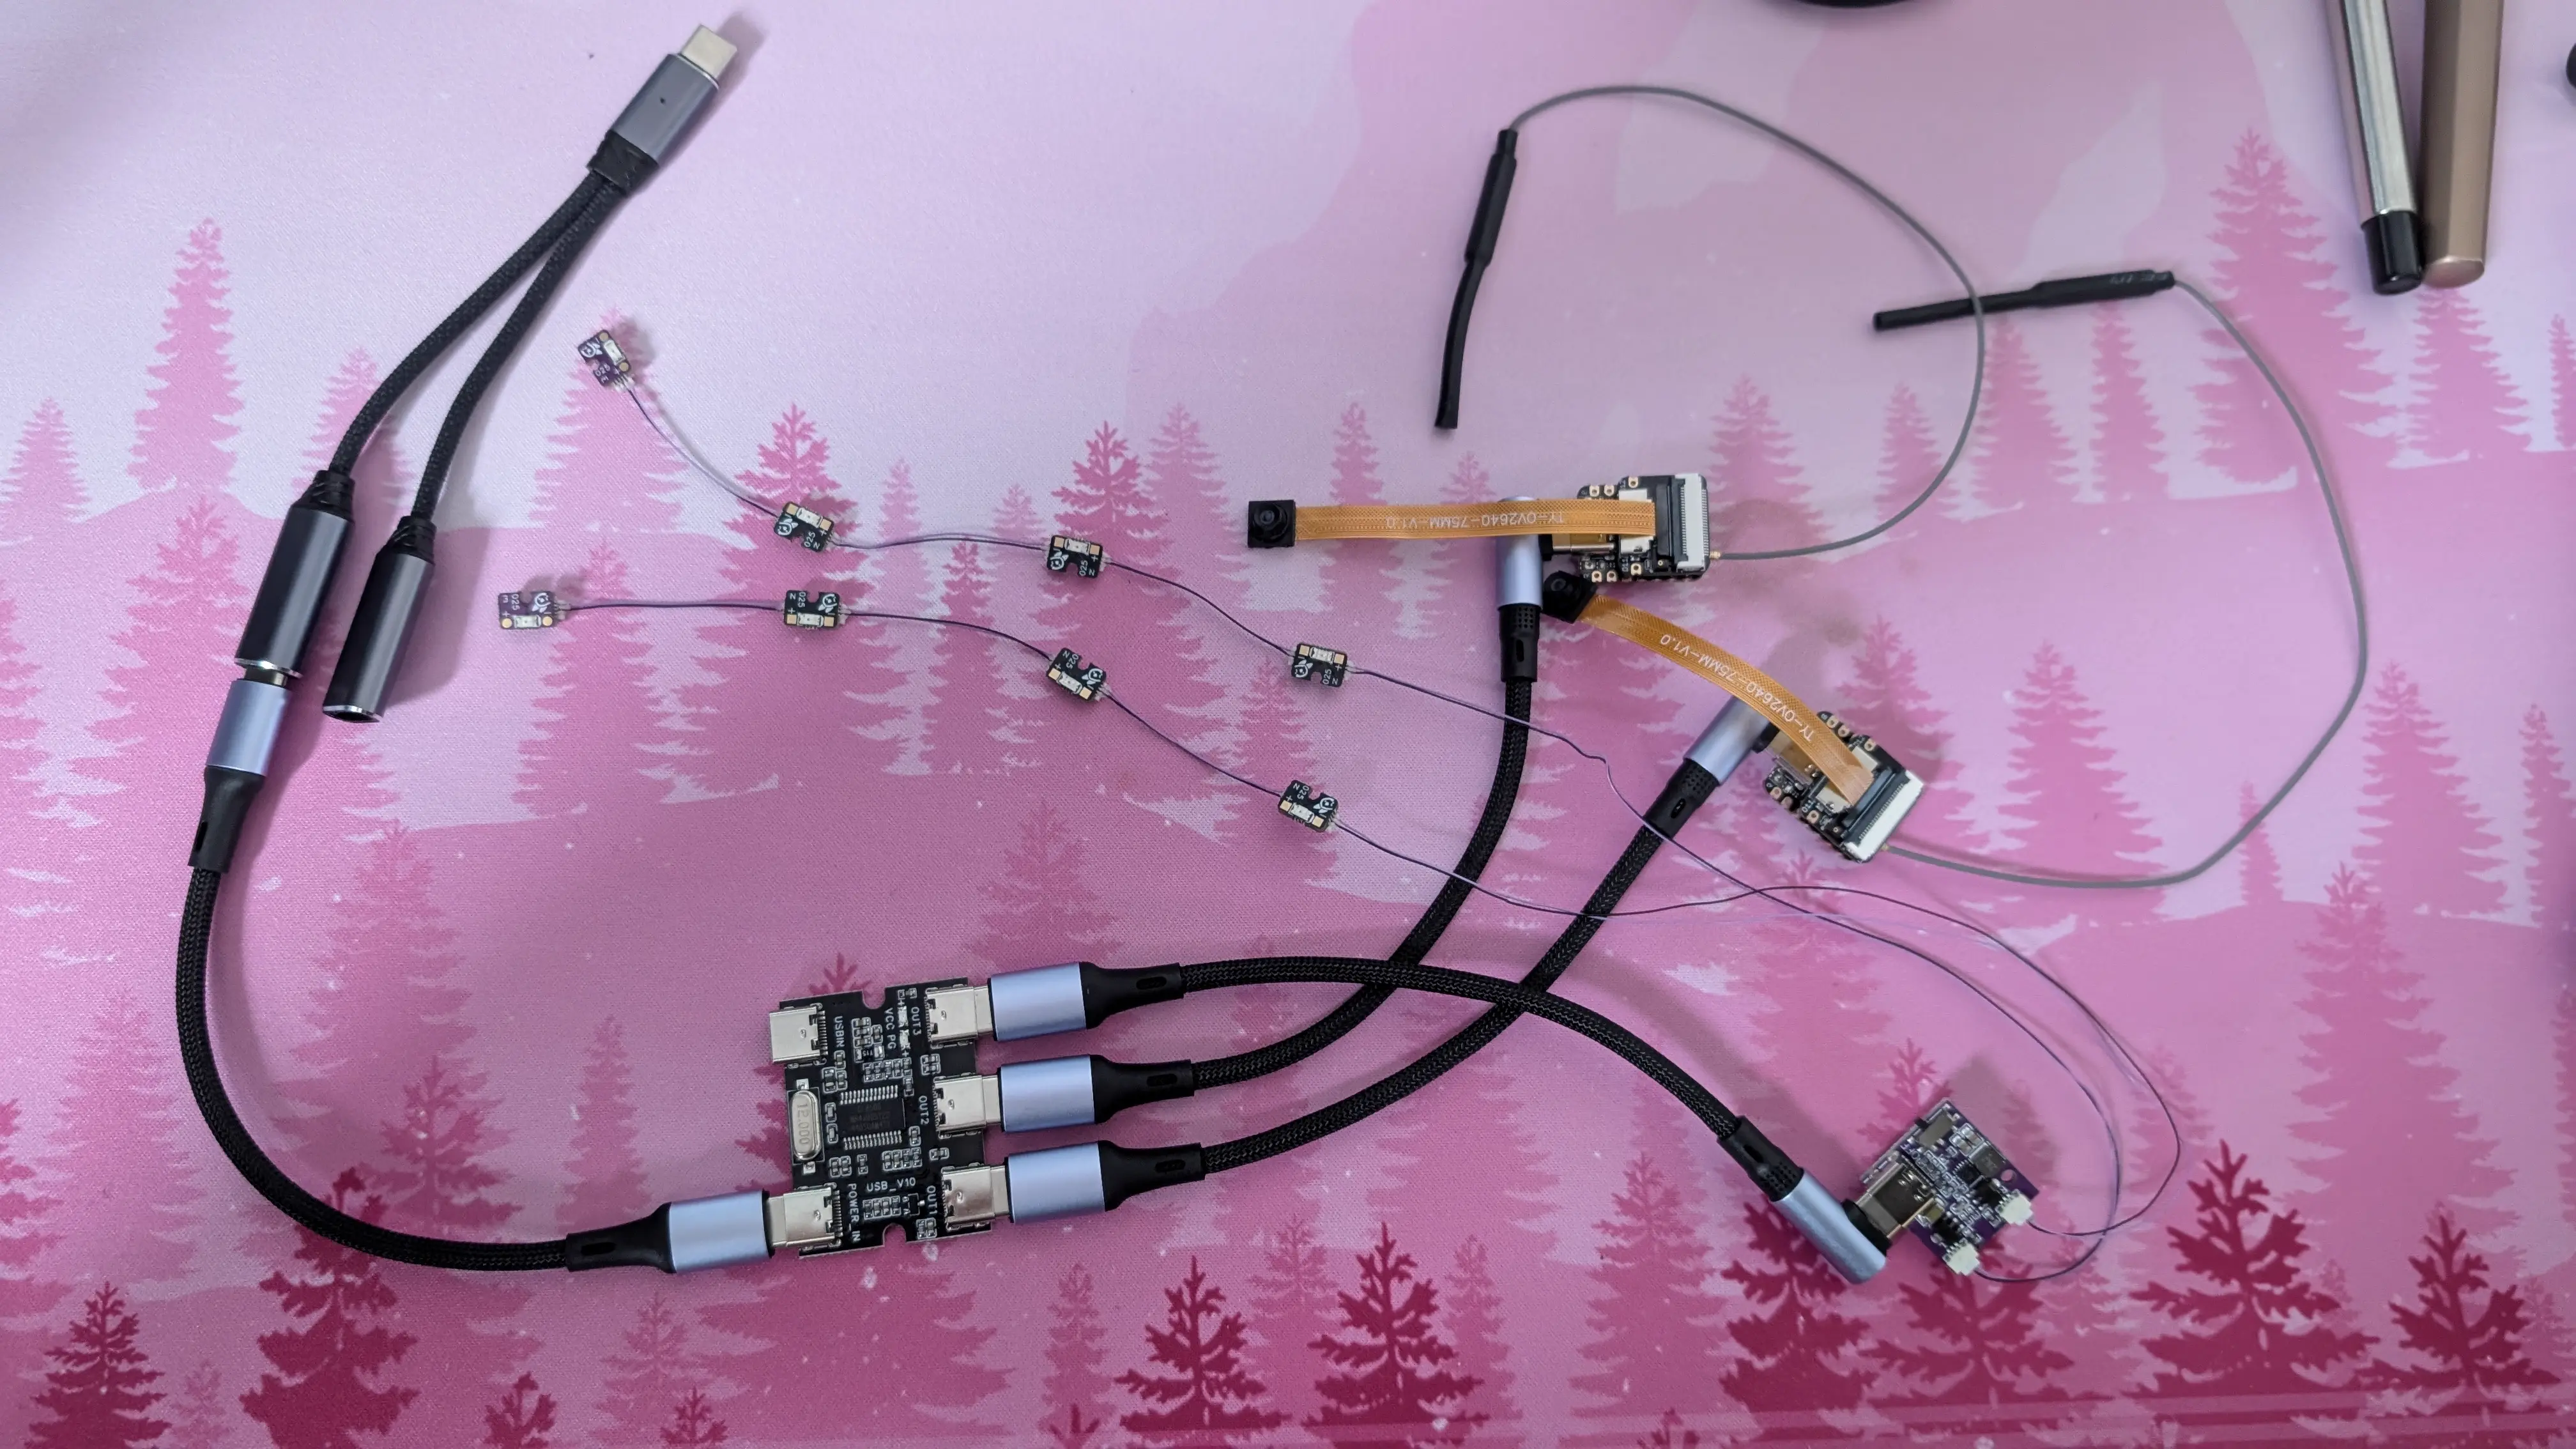
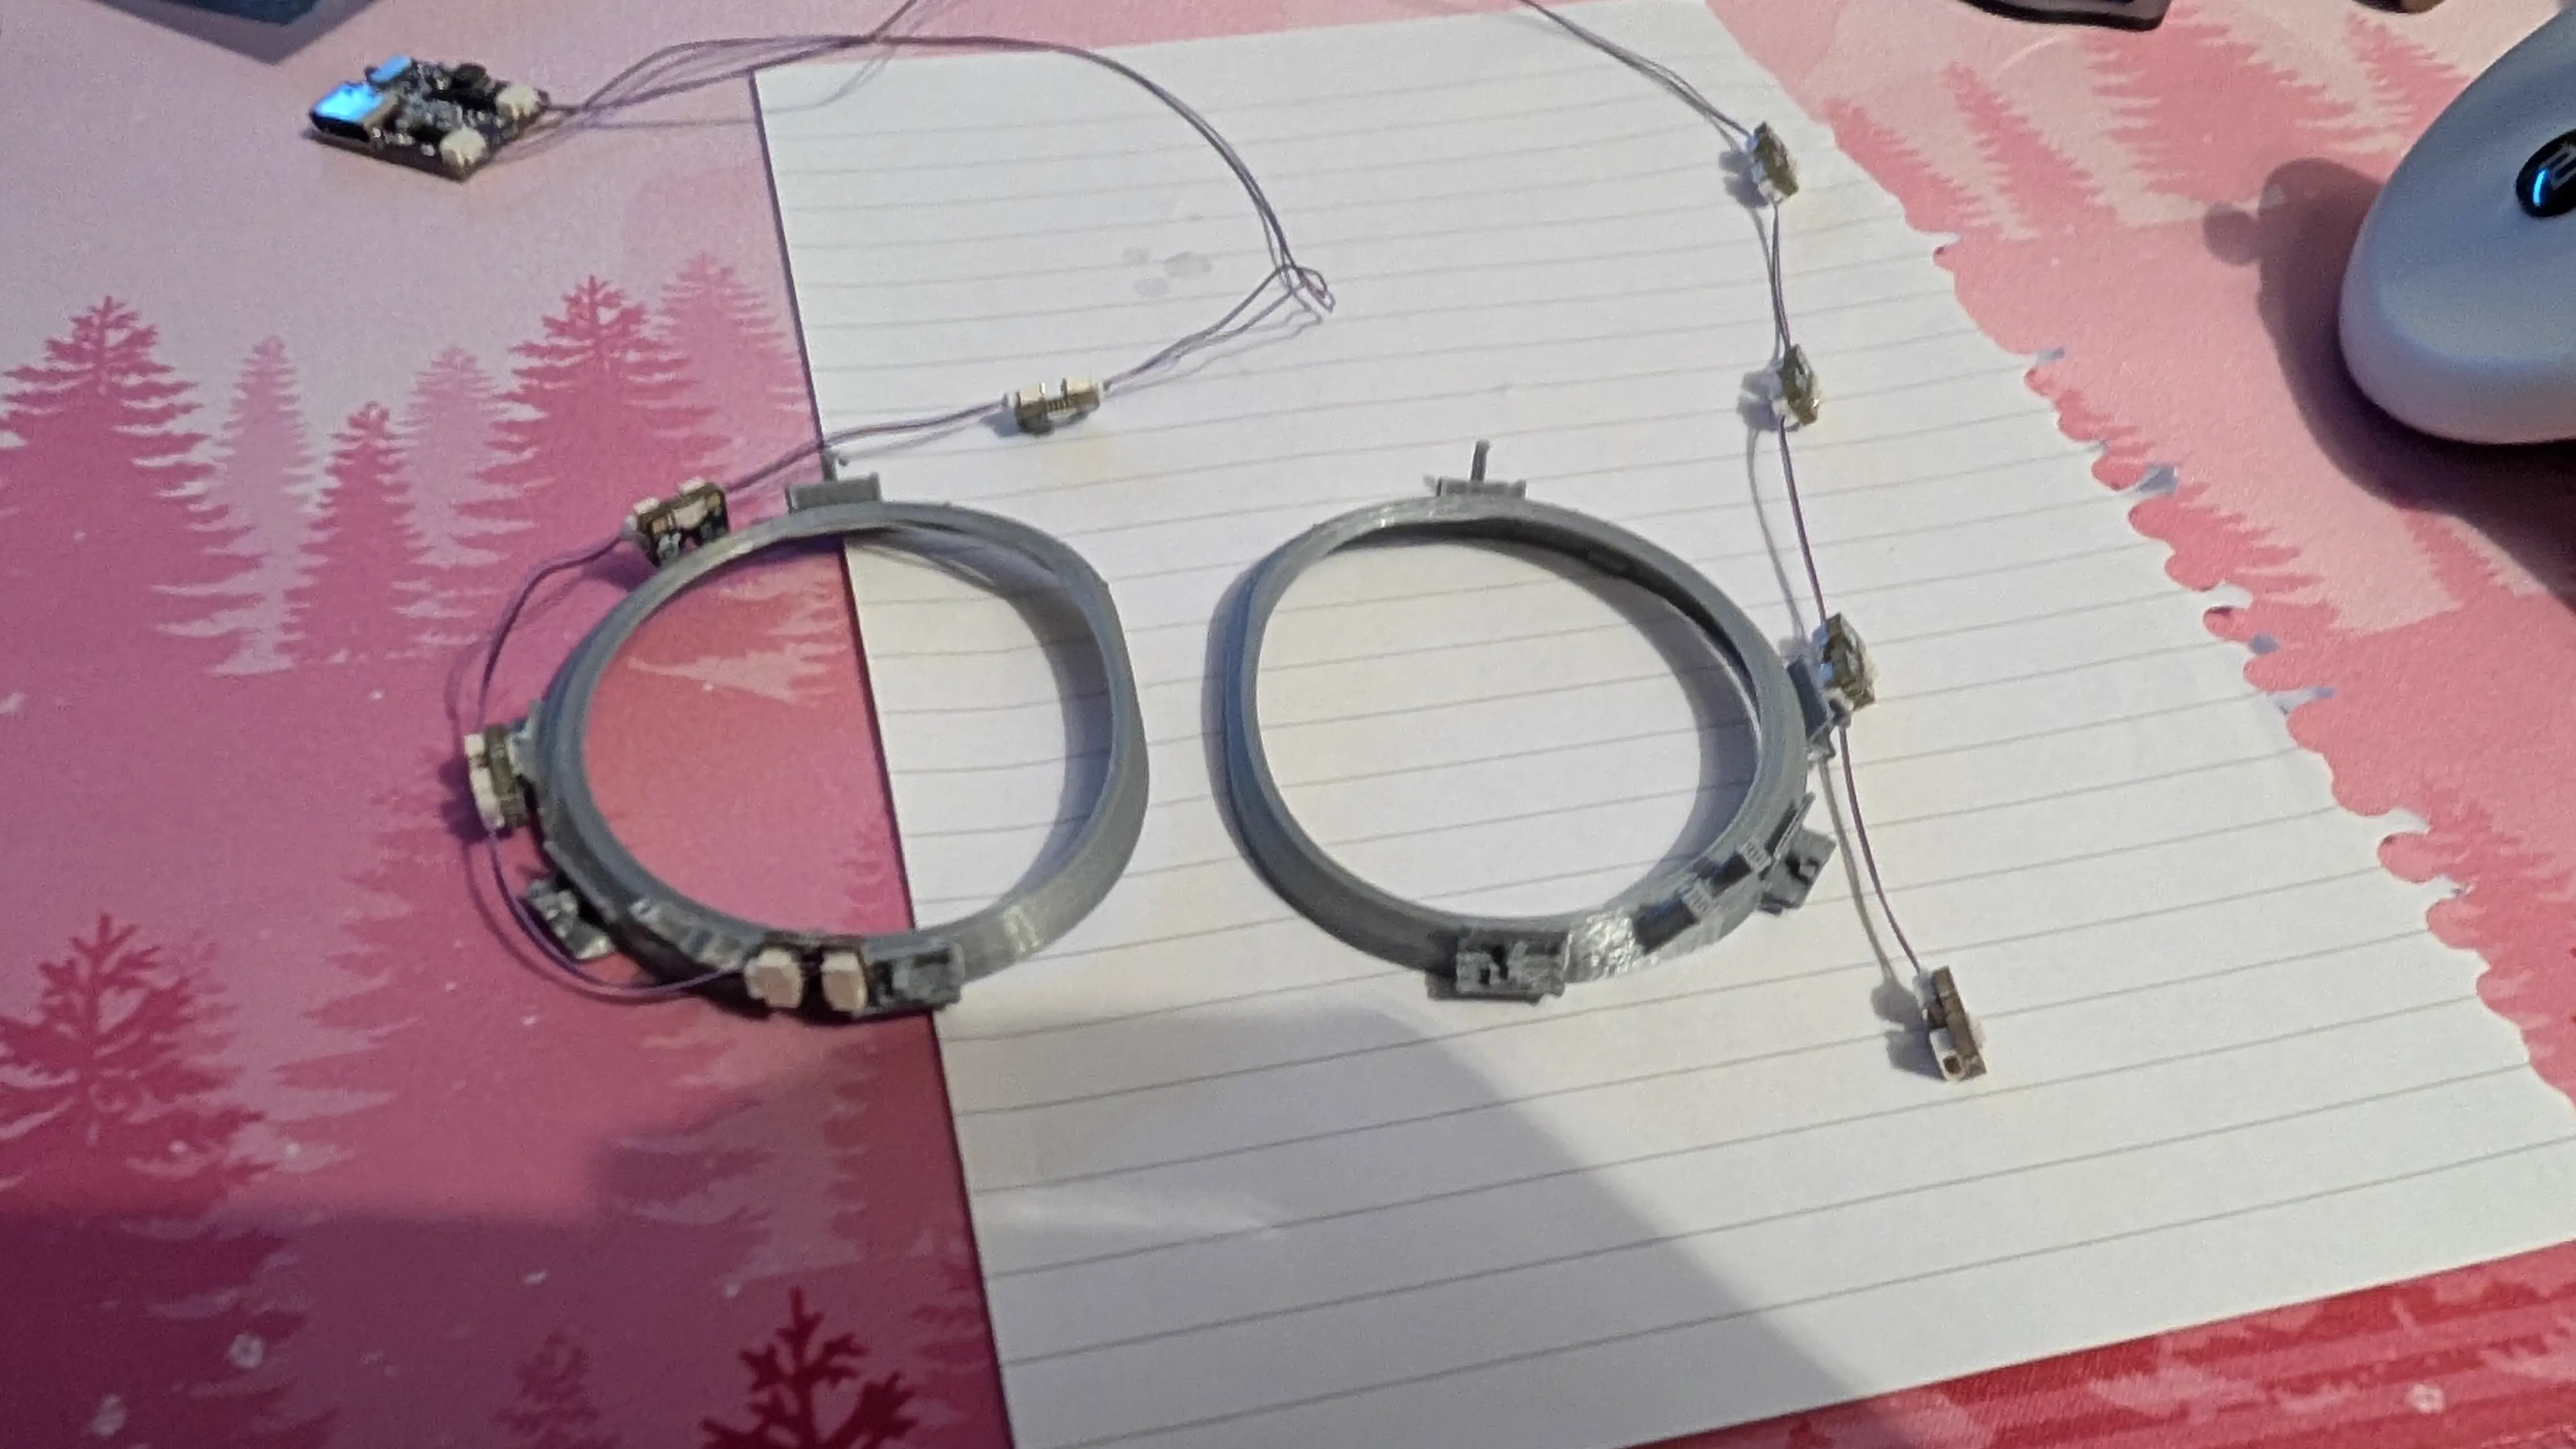
You cannot omit any of the LEDs in the chain, if you won’t be mounting all of them, just leave them in the chain taped over or something. Make sure you have the end boards on the end of the chains. Once its done it should look like the picture below.
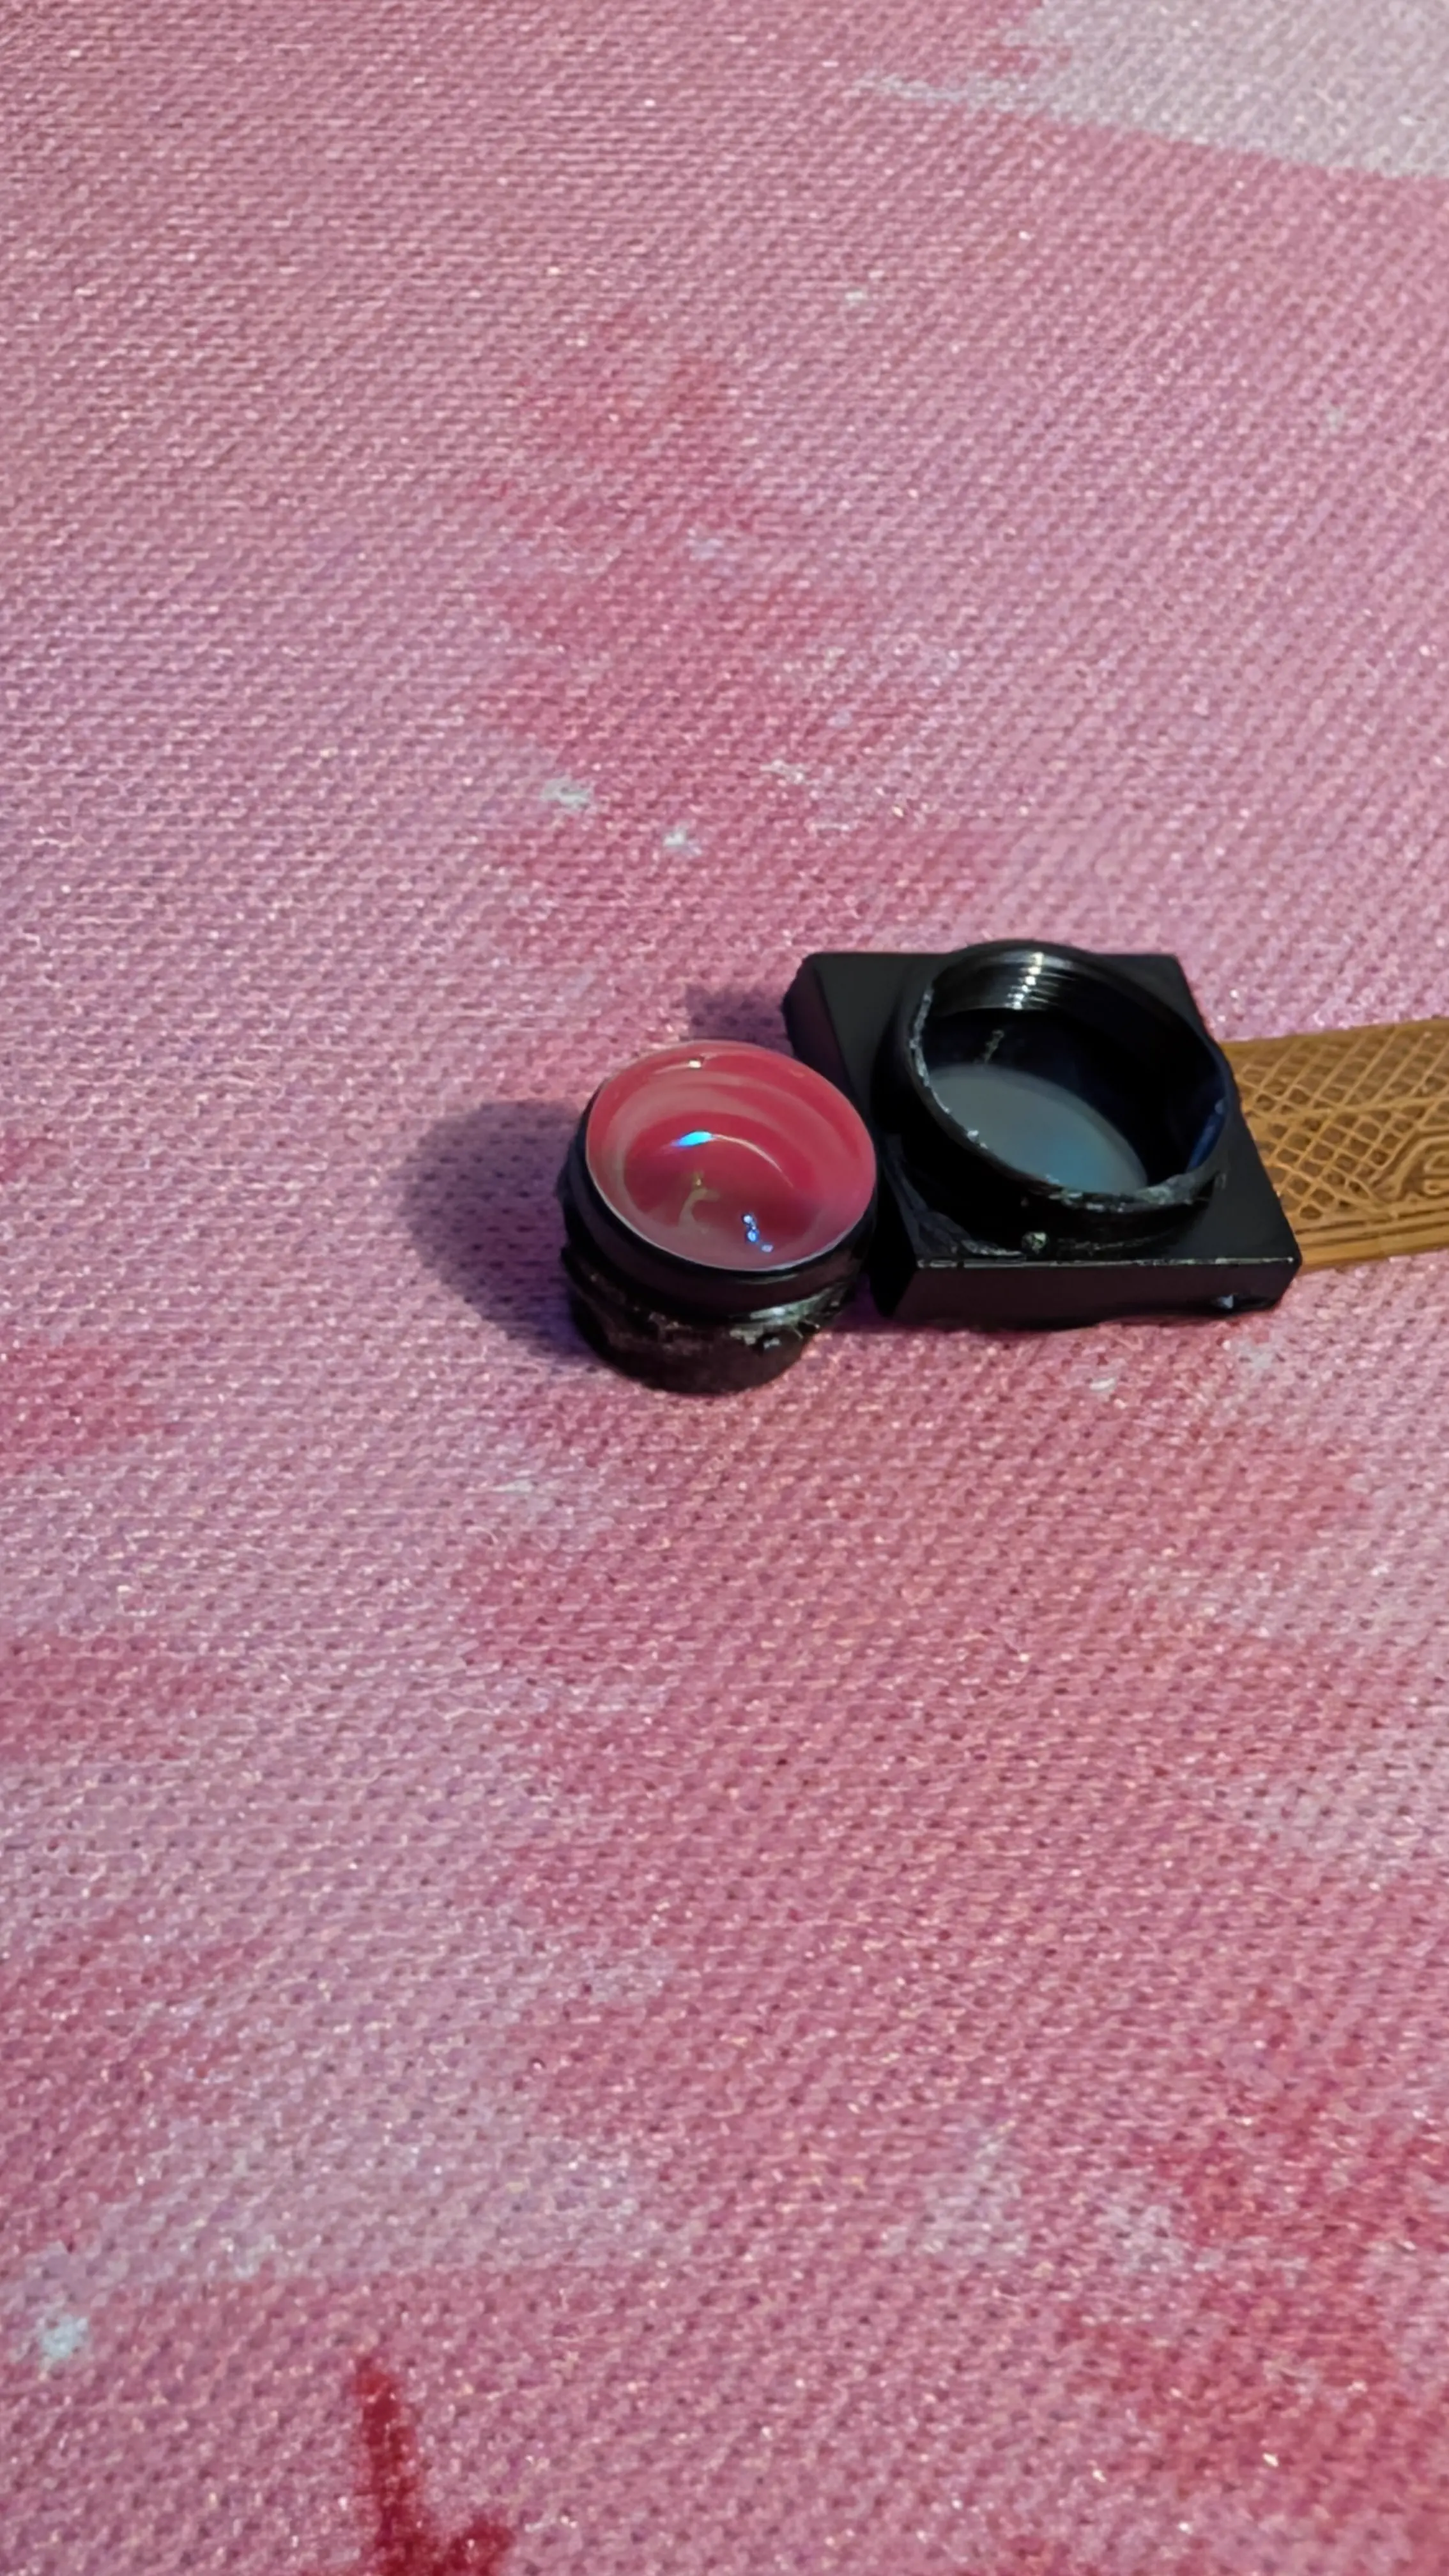
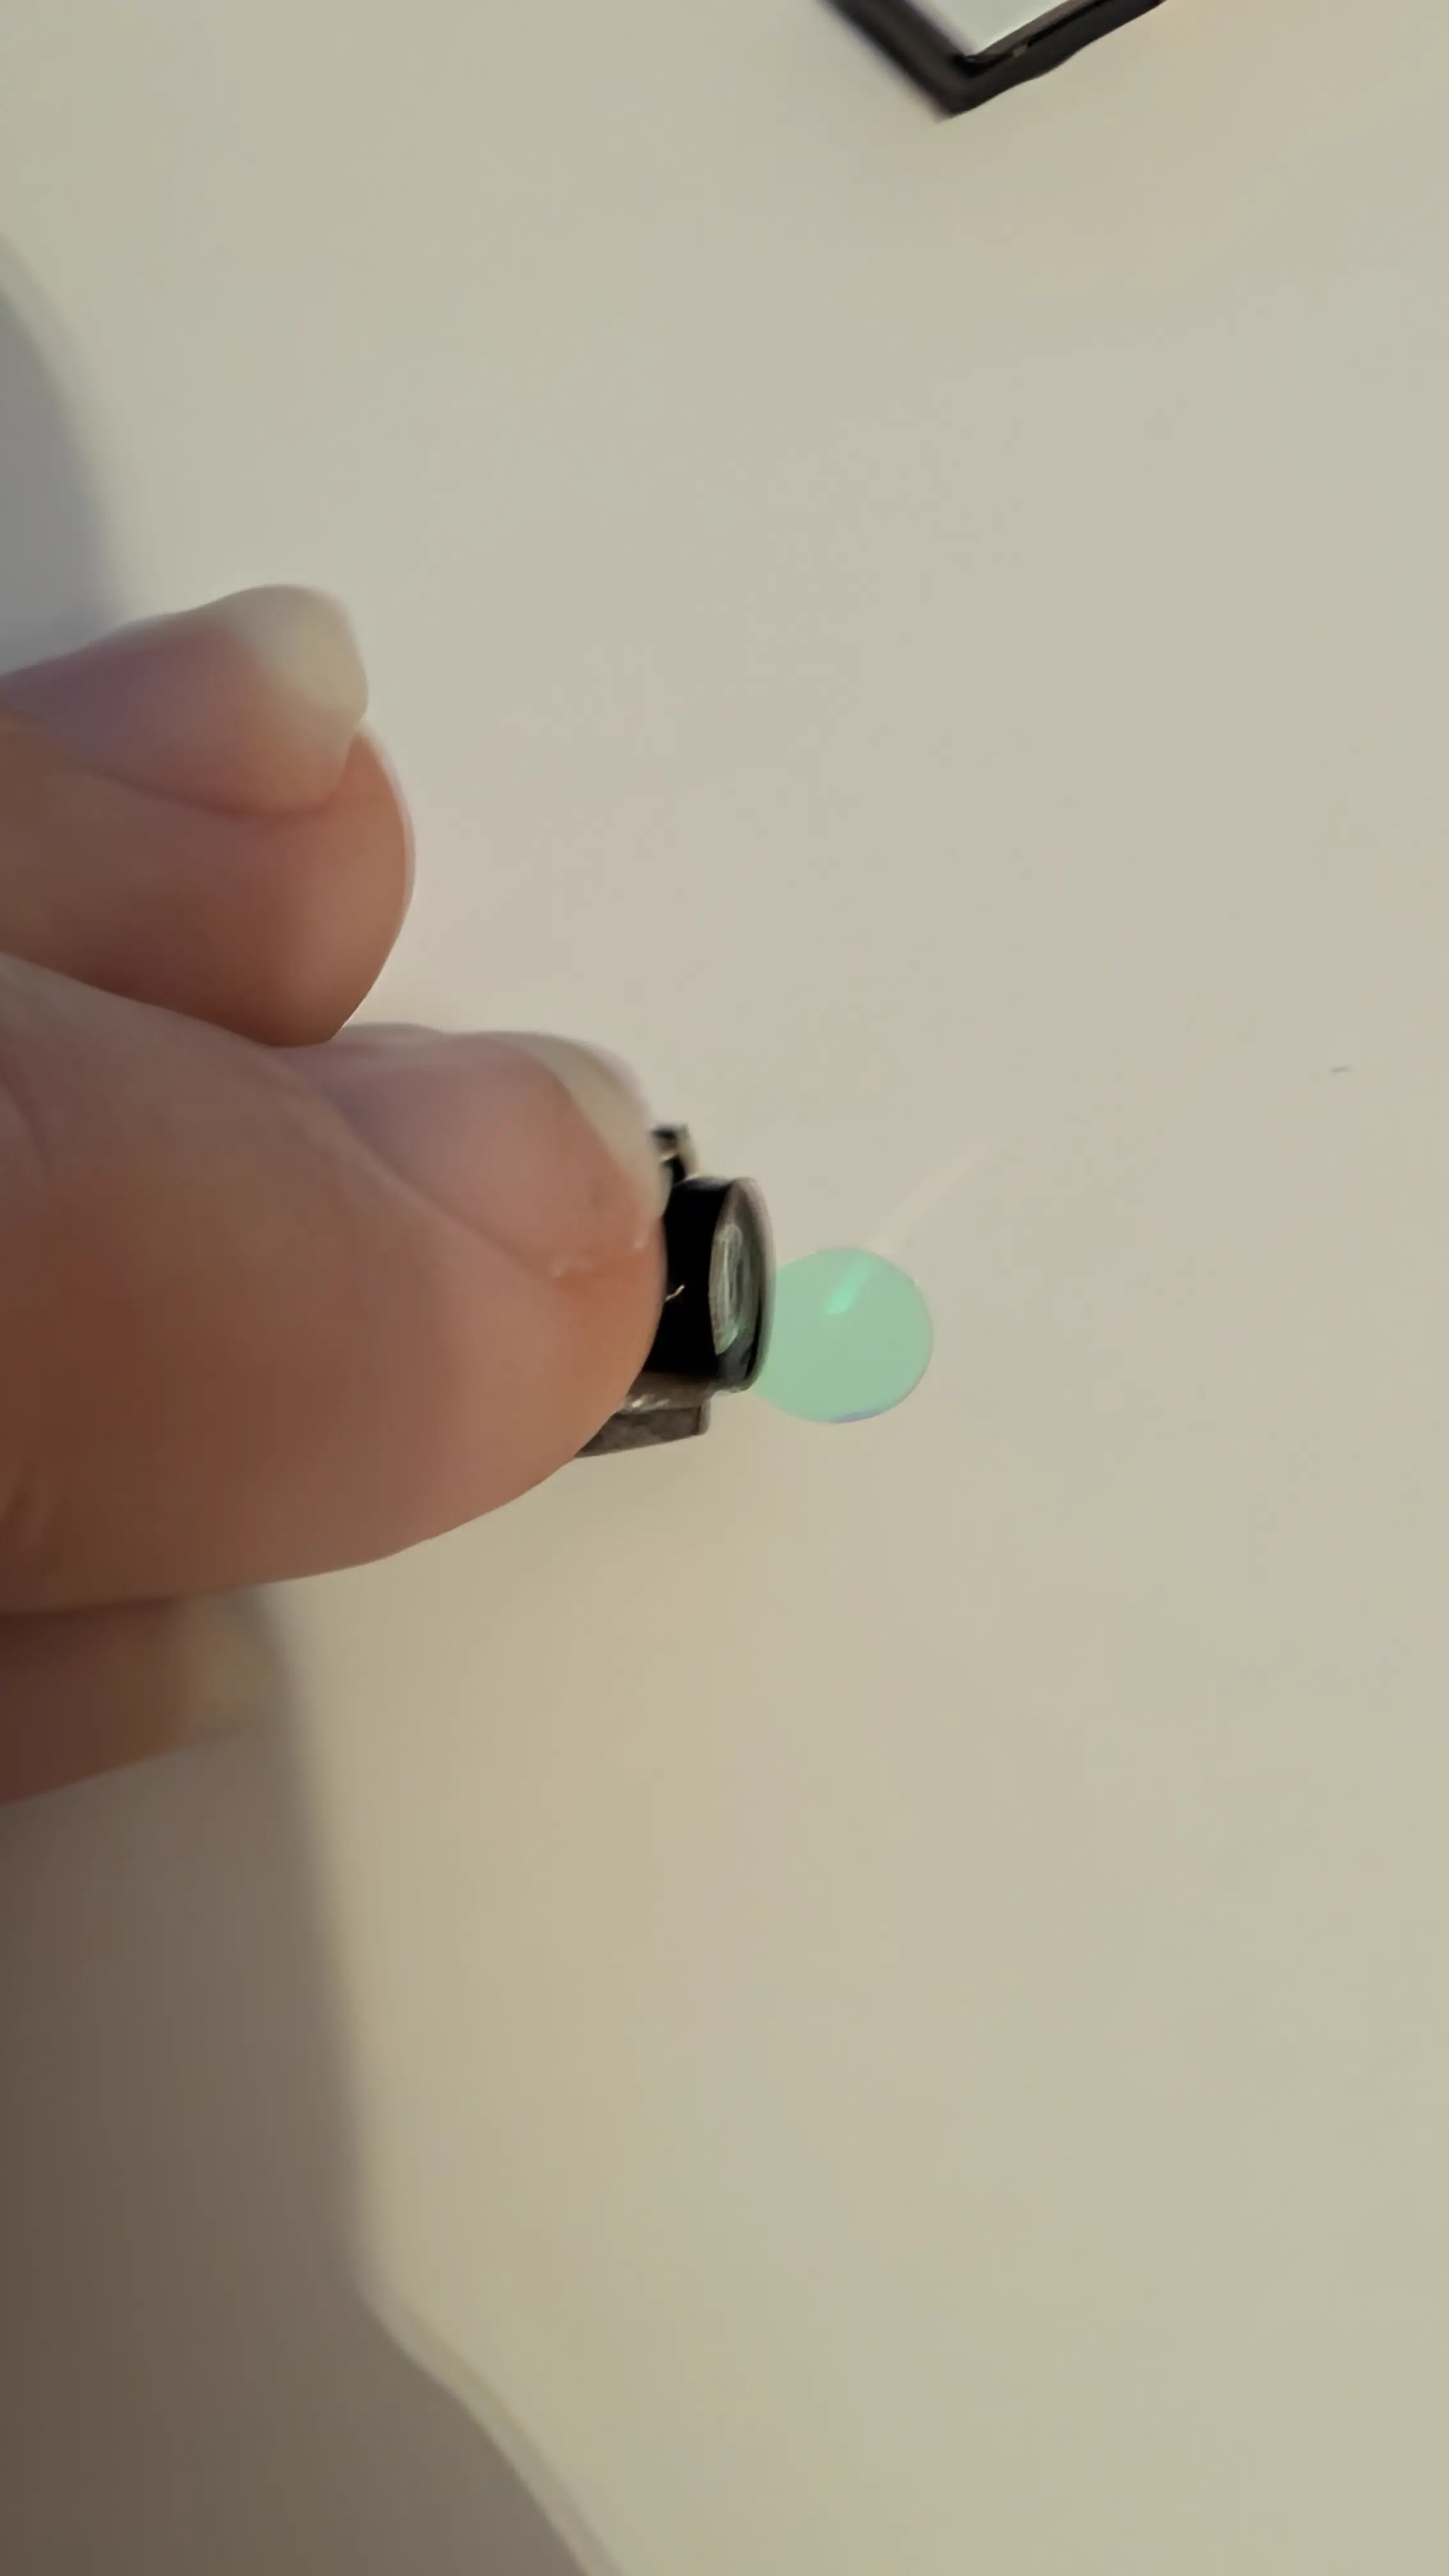
You’ll have to remove the IR filters from the cameras, again follow the tutorial for how to this. You can kinda pry the filter disc out instead of breaking it, just be careful that it doesn’t fire off somewhere never to be seen again.

Then you can plug everything into the cursed fucked up power setup:
Flashing the ESP32 Firmware
You can download the flashing tool from Github. Then select xiaosenses3 as the board target, and set the hostname to something like openiristrackerleft and enter your wifi network details. You then have to hold the tiiiiiiny button to the right of the usb port and hold it while plugging in. If you do it right, you’ll get a red LED. If you do it wrong you’ll get a red LED and a yellow blinking LED. A yellow solid LED is fine.


Click “install openiris”. Once its done, unplug and replug it, and click “send credentials”. Now, you should be able to connect the ESP32S3 to a dumb power supply (not a PC) and see it connect to your router. Check the router page to see what IP it has, and open it in a browser. You’ll see its camera feed! Yay!
Repeat this for your other ESP32S3, and I set both of mine, openiristrackerleft and openiristrackerright, static IPs using my router dashboard, I chose 192.168.8.48 and 192.168.8.49.
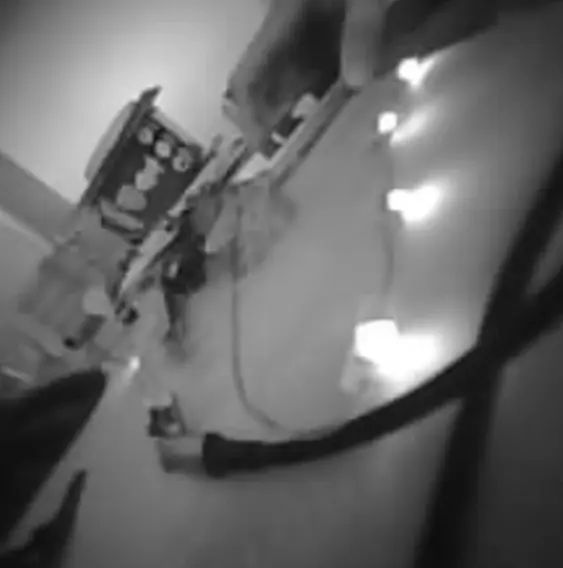
Now, you should be able to see your IR LEDs shining bright through these cameras:
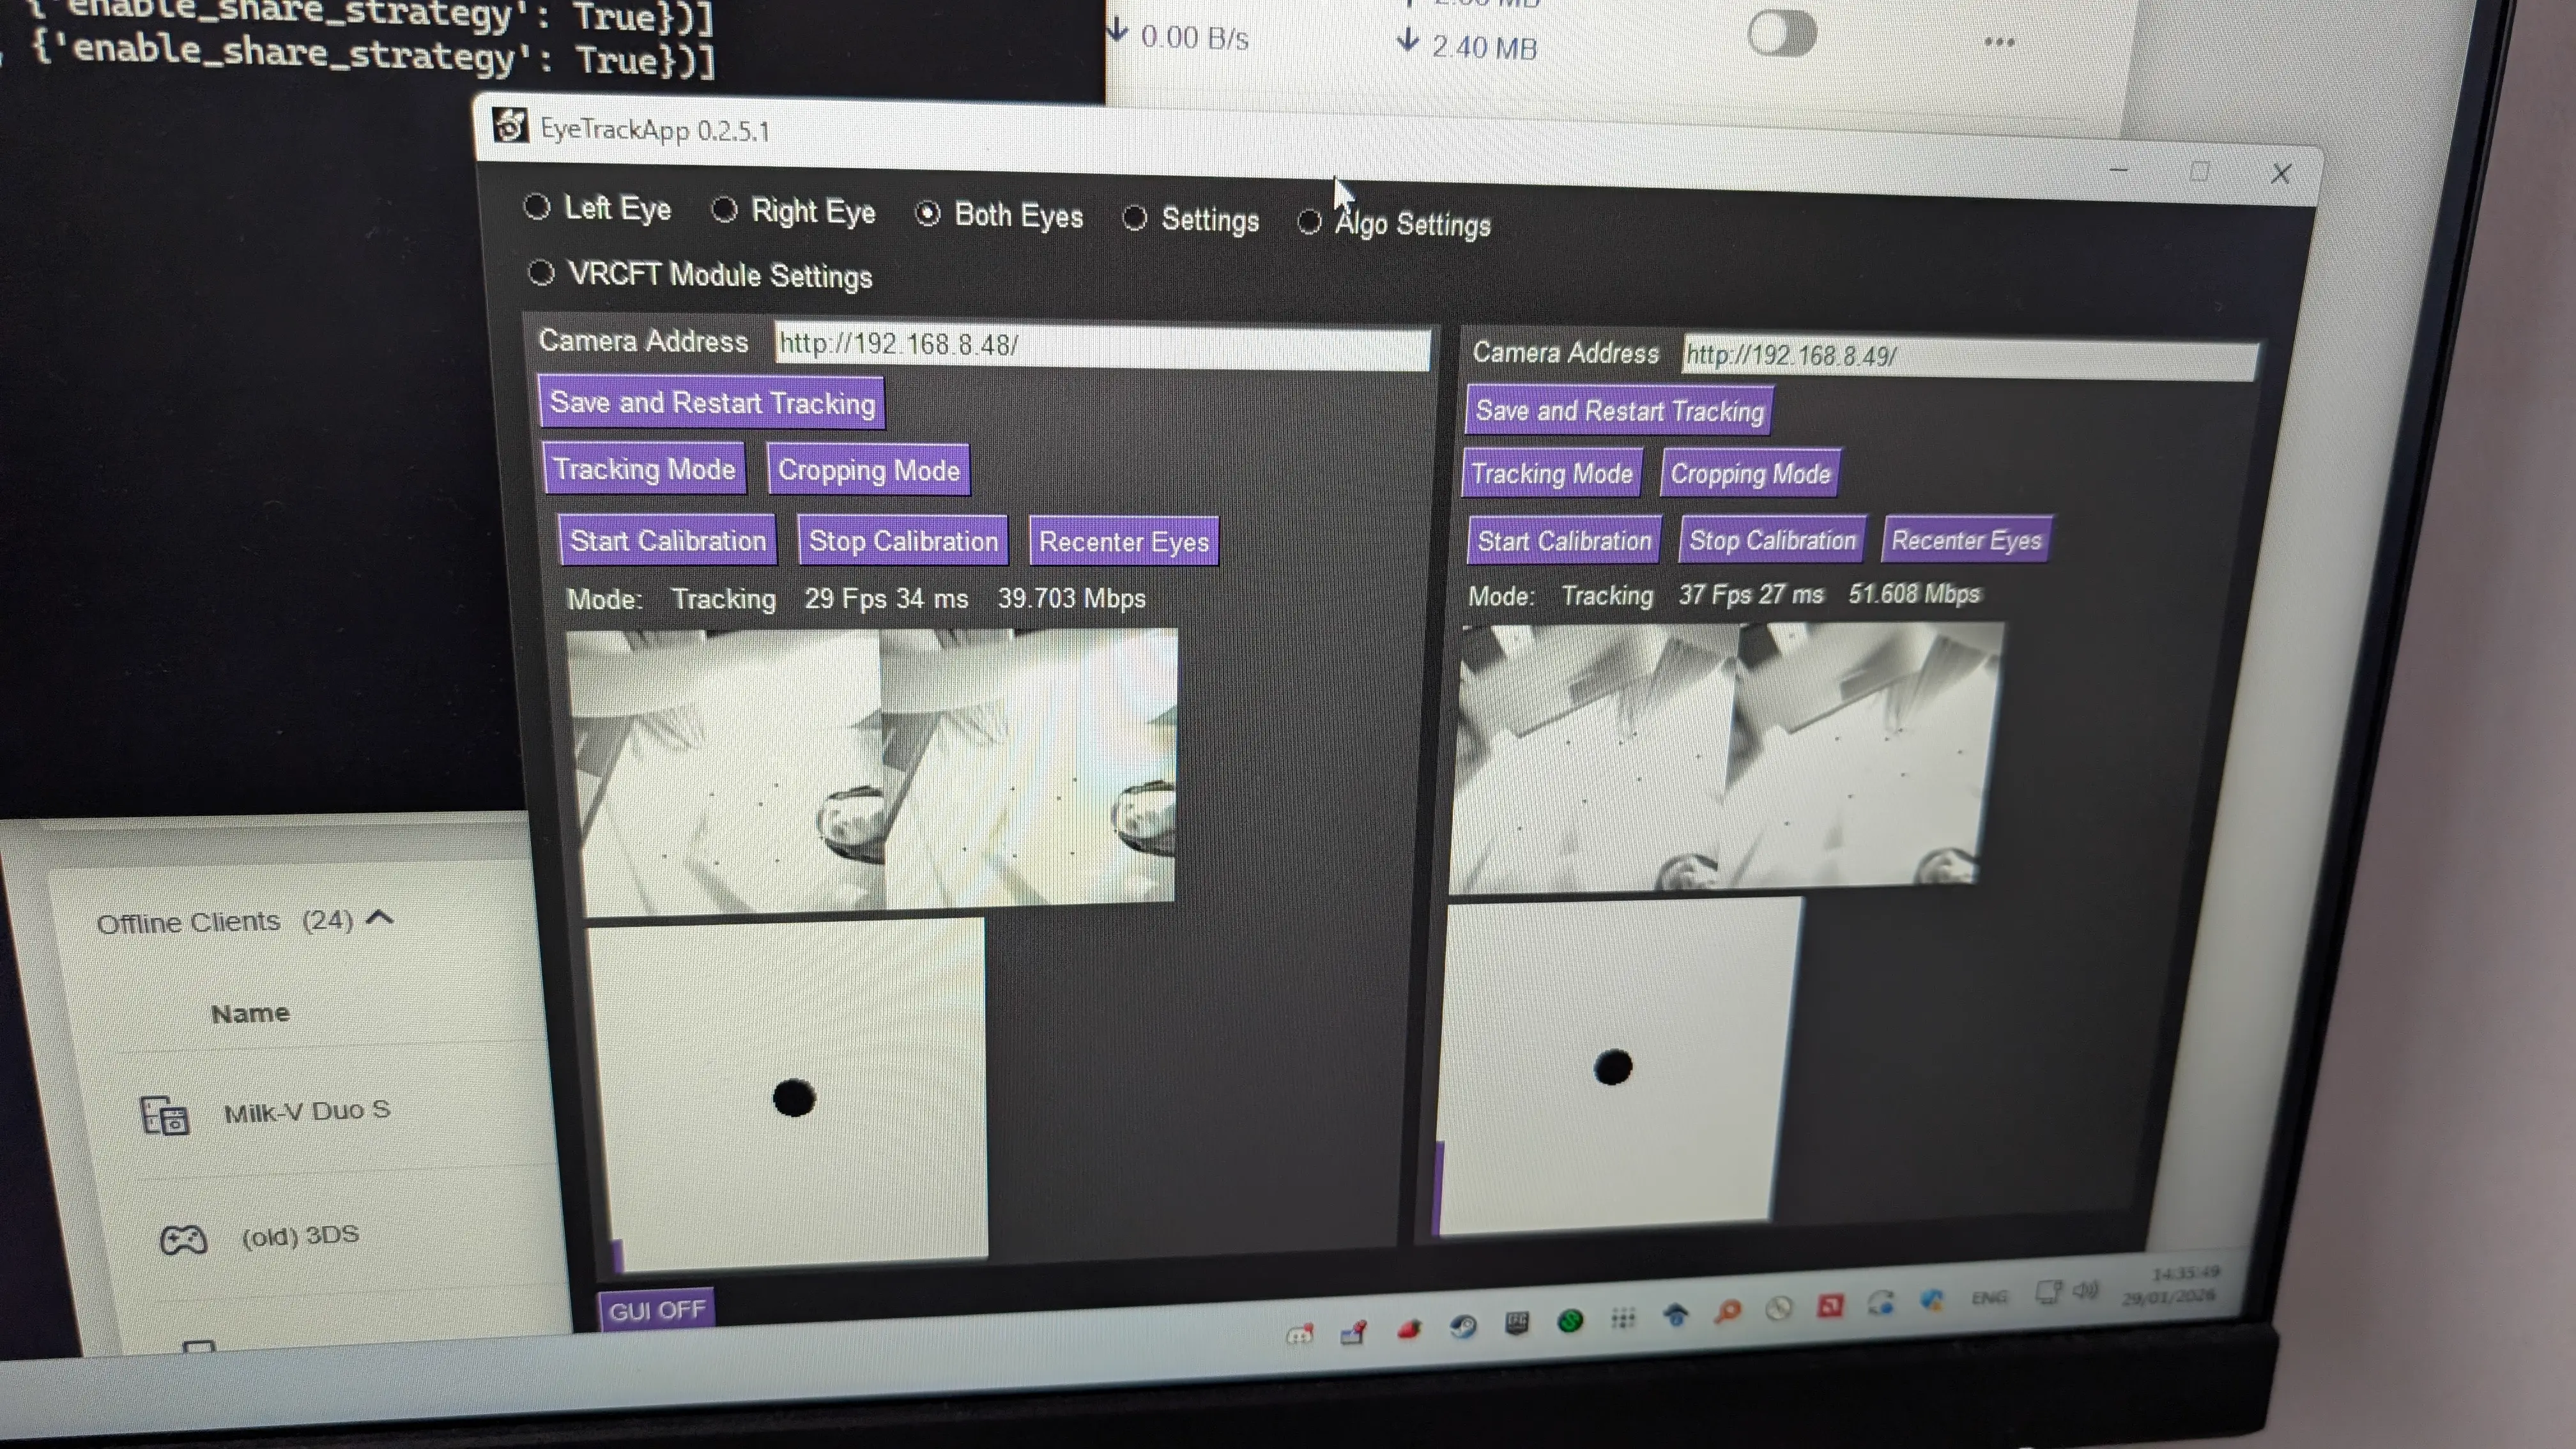
You can then install the ETVR App which will actually perform the tracking. You can rotate the camera lenses to focus them.
Positioning the LEDs
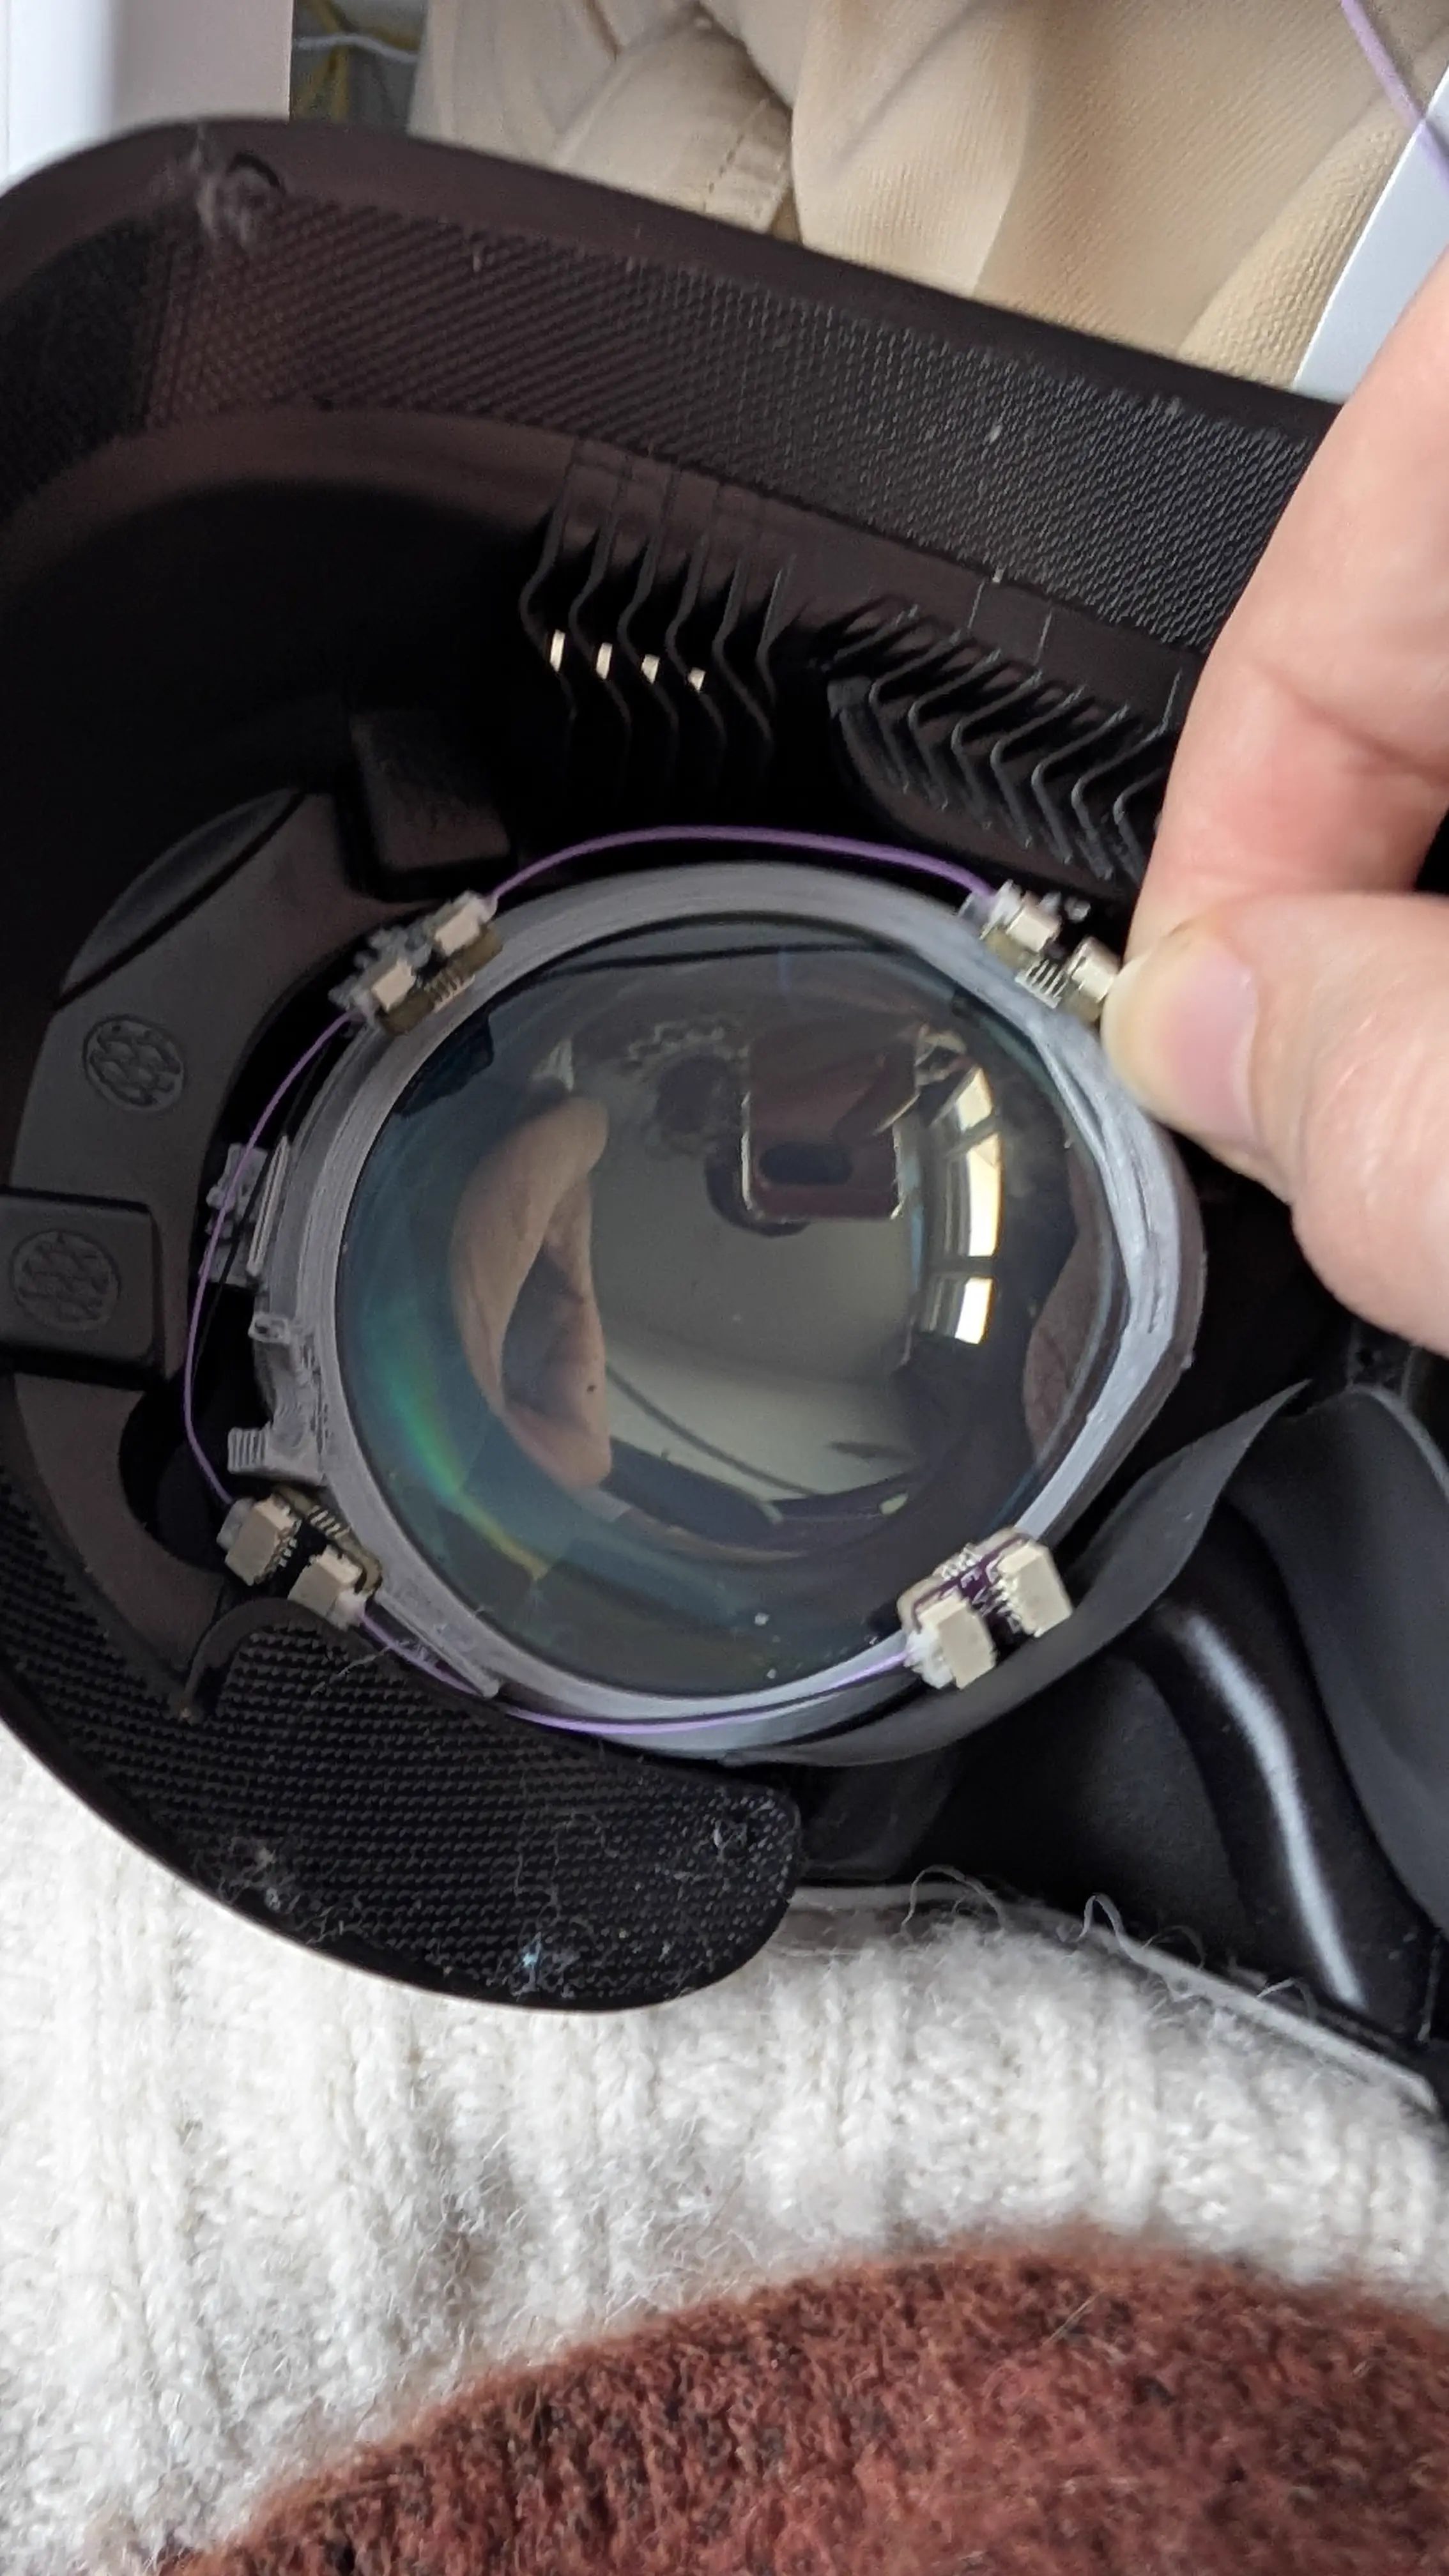
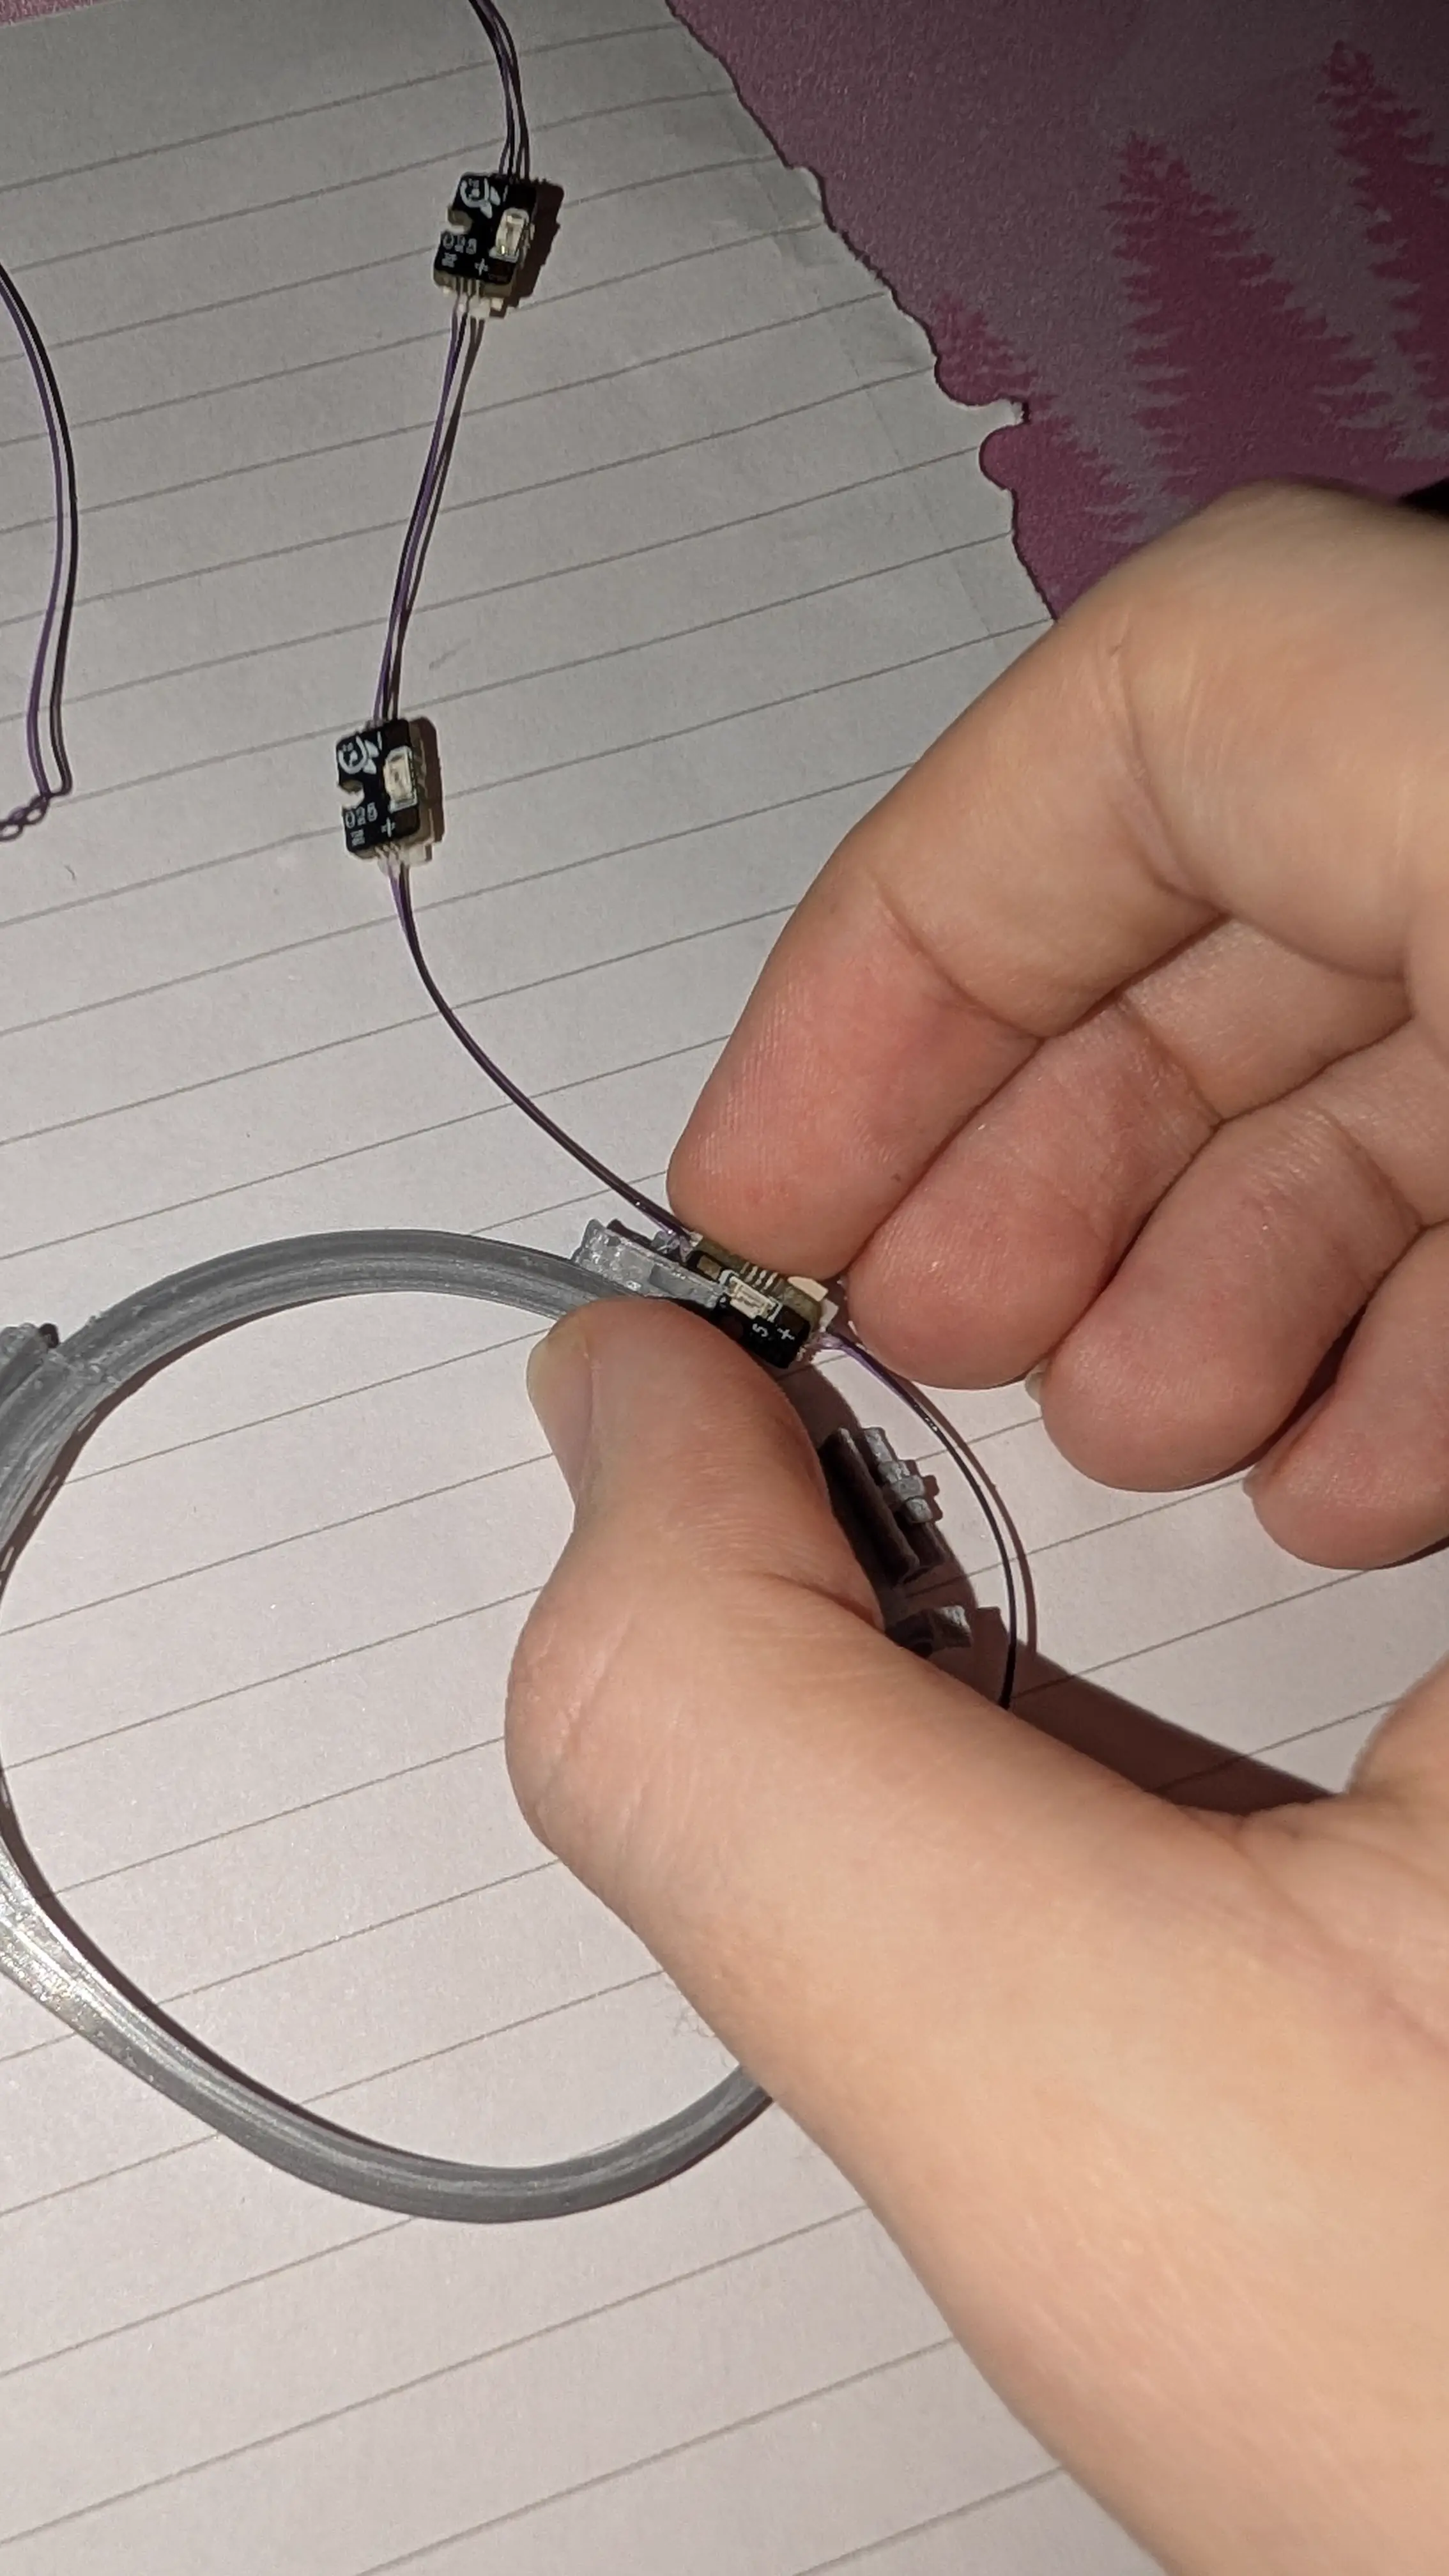
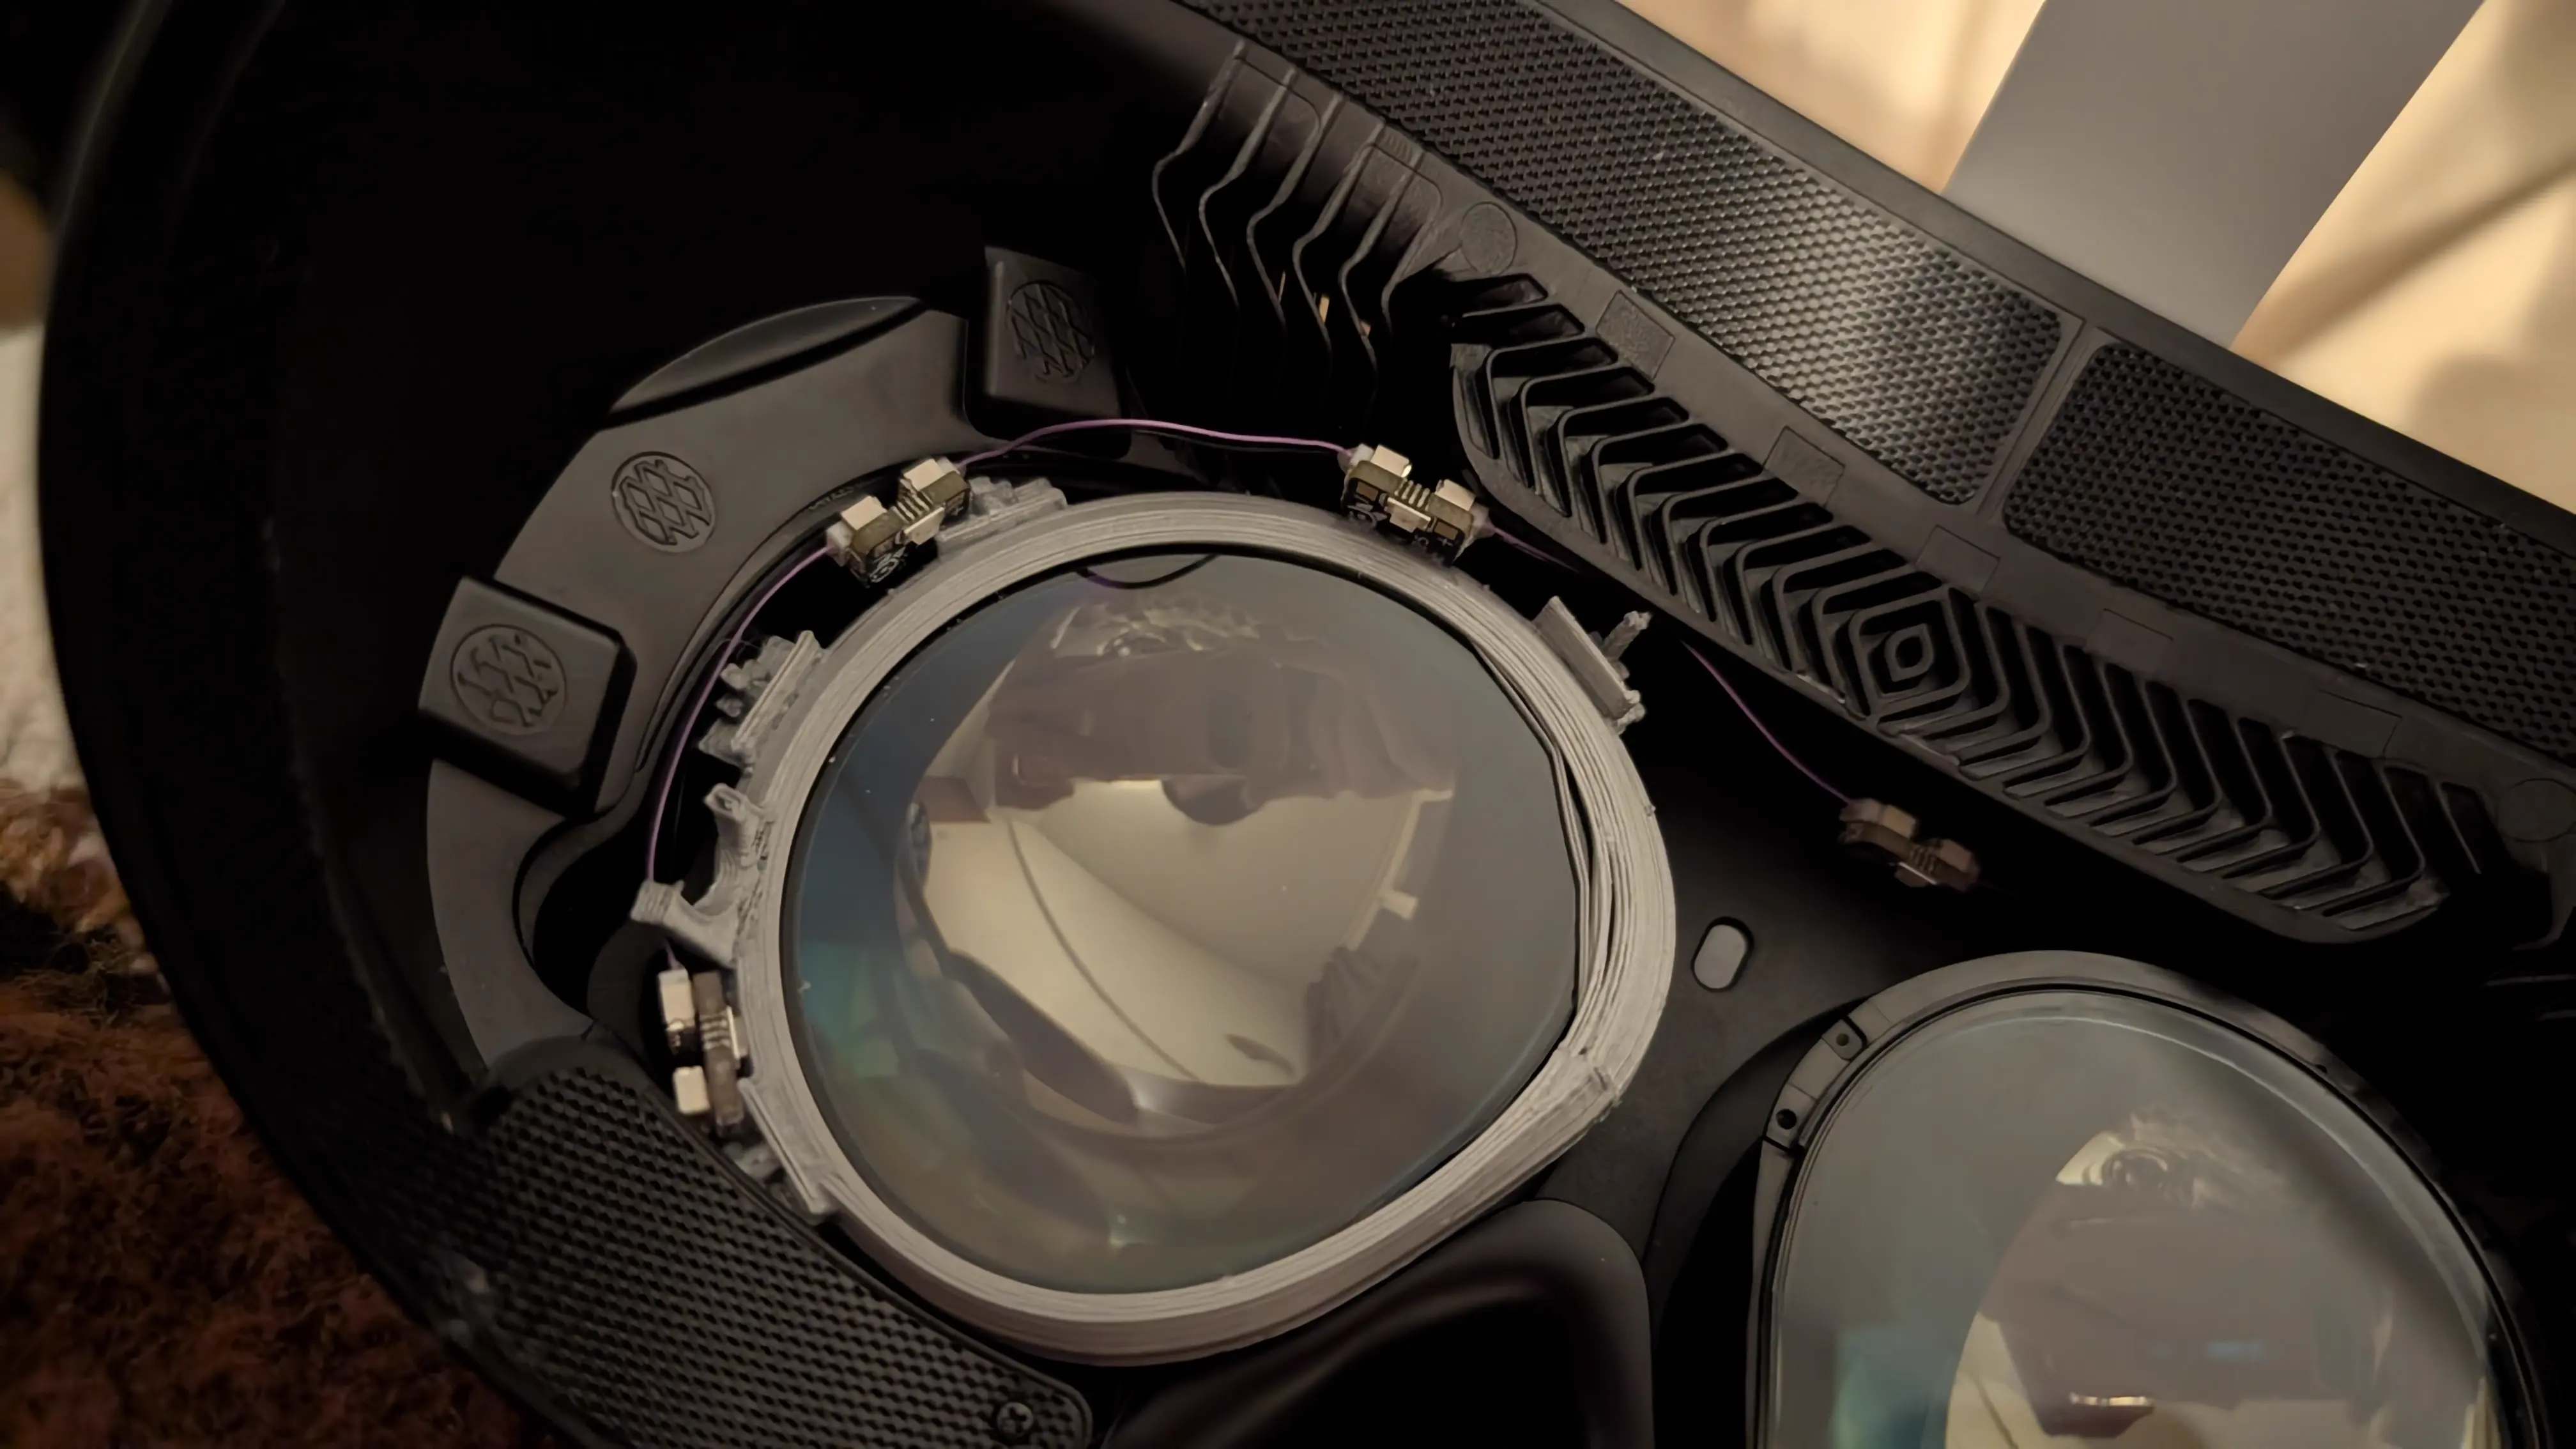
Now, to choose where to mount the LEDs, I test fit the rings in my headset and just held the ETVR LED chain up to them, after deciding on where everything was going, I simply superglued the LEDs to the mounting rings wherever the fuck I felt like:
I hope you enjoy holding small things in exactly the same spot for multiple minutes while it cures enough to hold itself through the longer hardening stage. And three cheers for ethyl 2-cyanoacrylate!
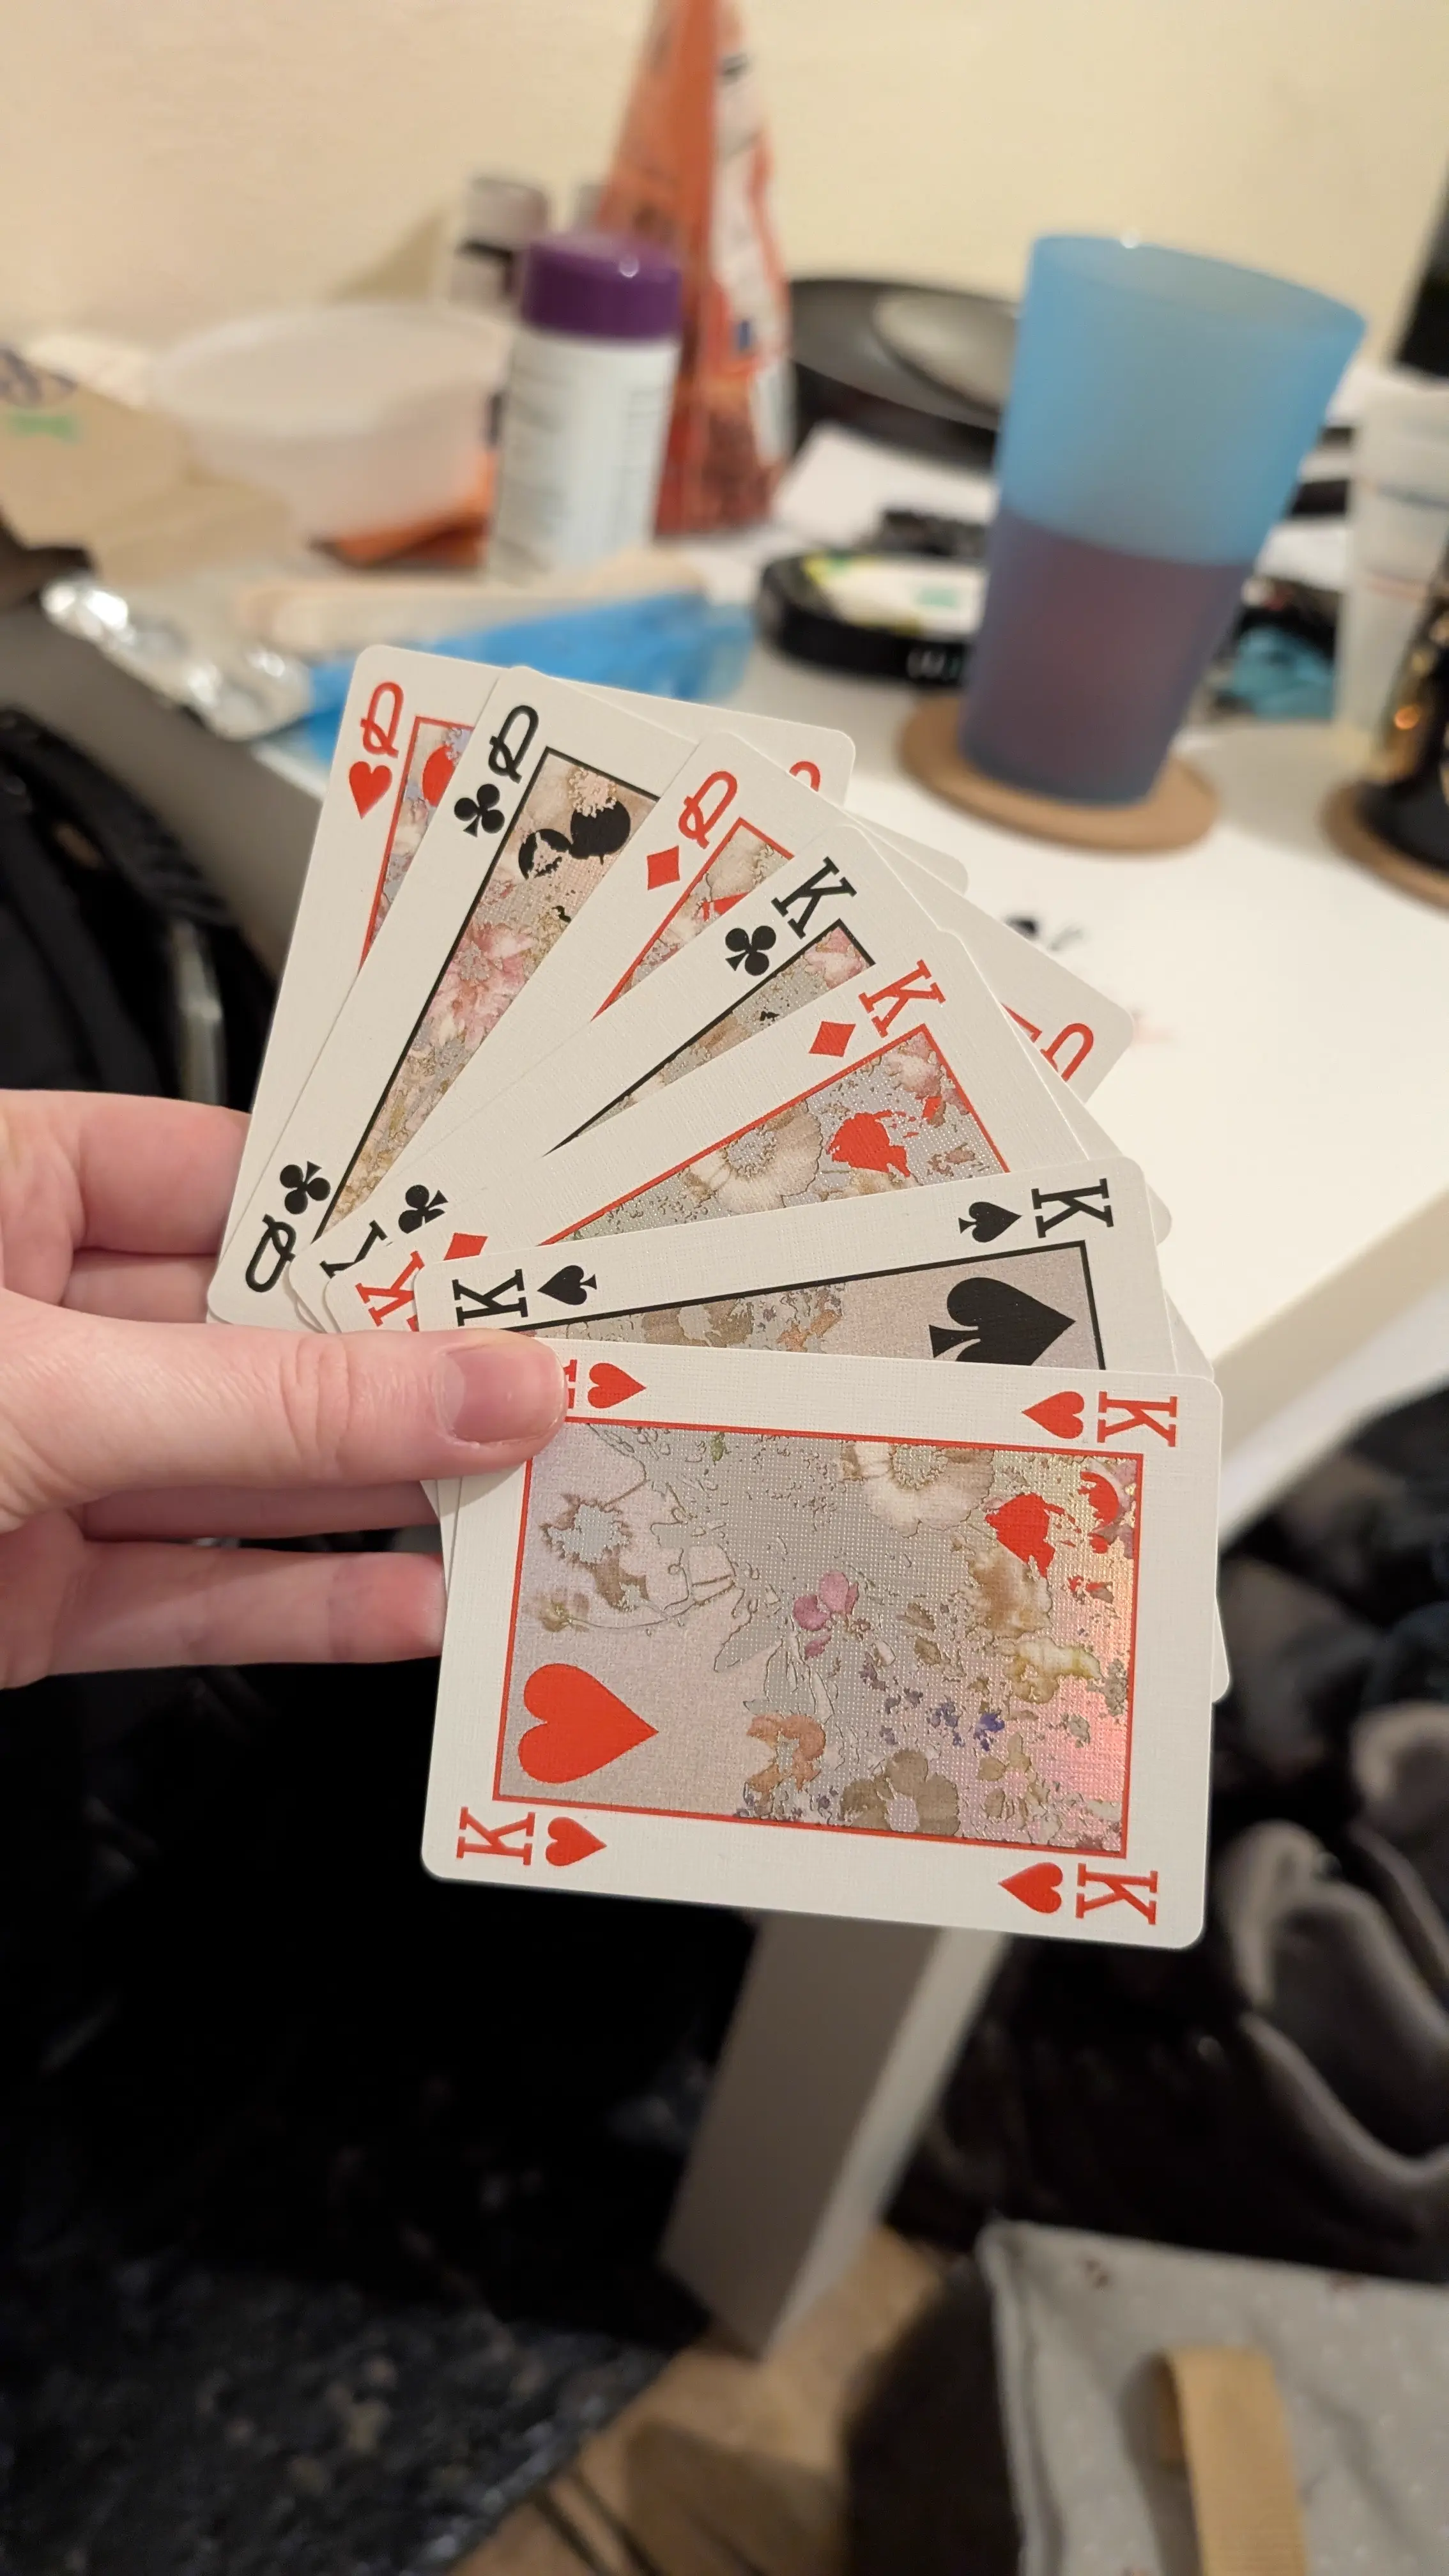
I suggest you play a nice game of Rummy with a friend or family member while you wait. Given you’re going to be spending a bunch of time in VRChat later it might be nice to do something off-grid. :) And yes, that is a real hand they actually won with. I can’t believe it.
Test It
There’s now enough pieces of the puzzle here to throw everything very jankily and haphazardly into the headset and give it a quick go. This setup looks even more like a homemade bomb than the final one.
You may notice only the left eye is here. I fully glued up and tested just one half of the setup to verify it before building the second eye, in case I’d fucked it up. It was fine :)
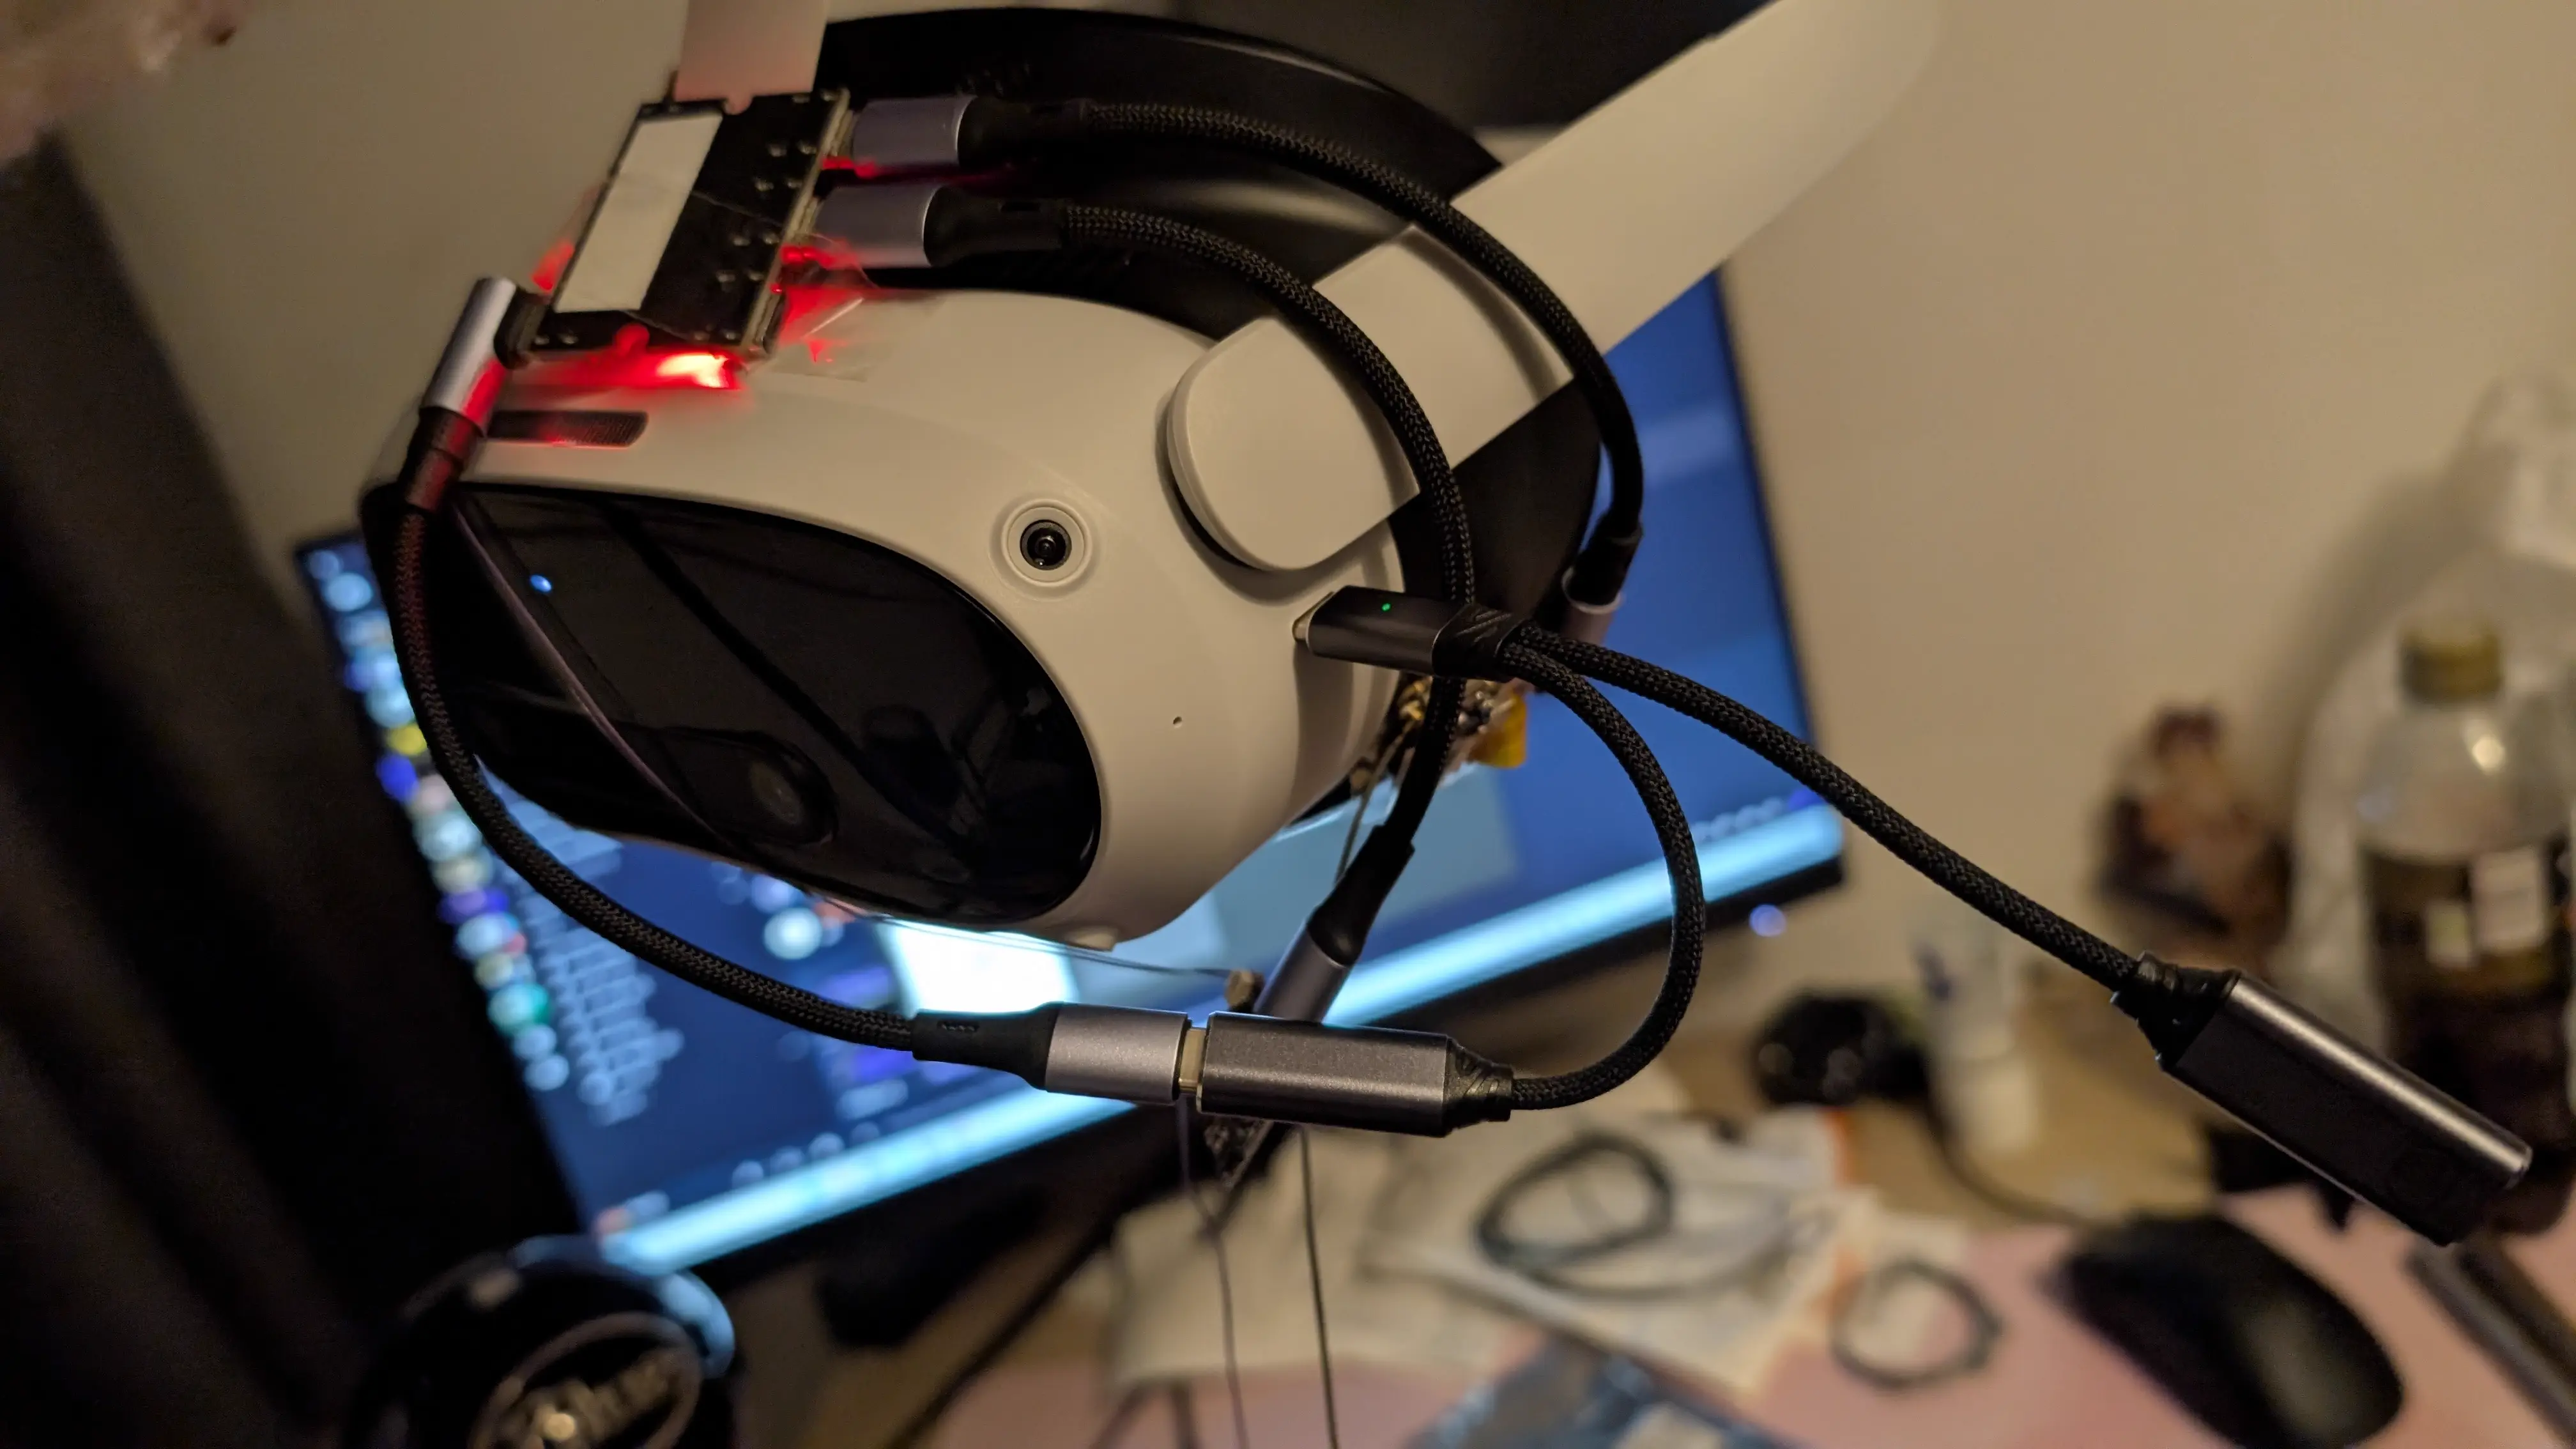
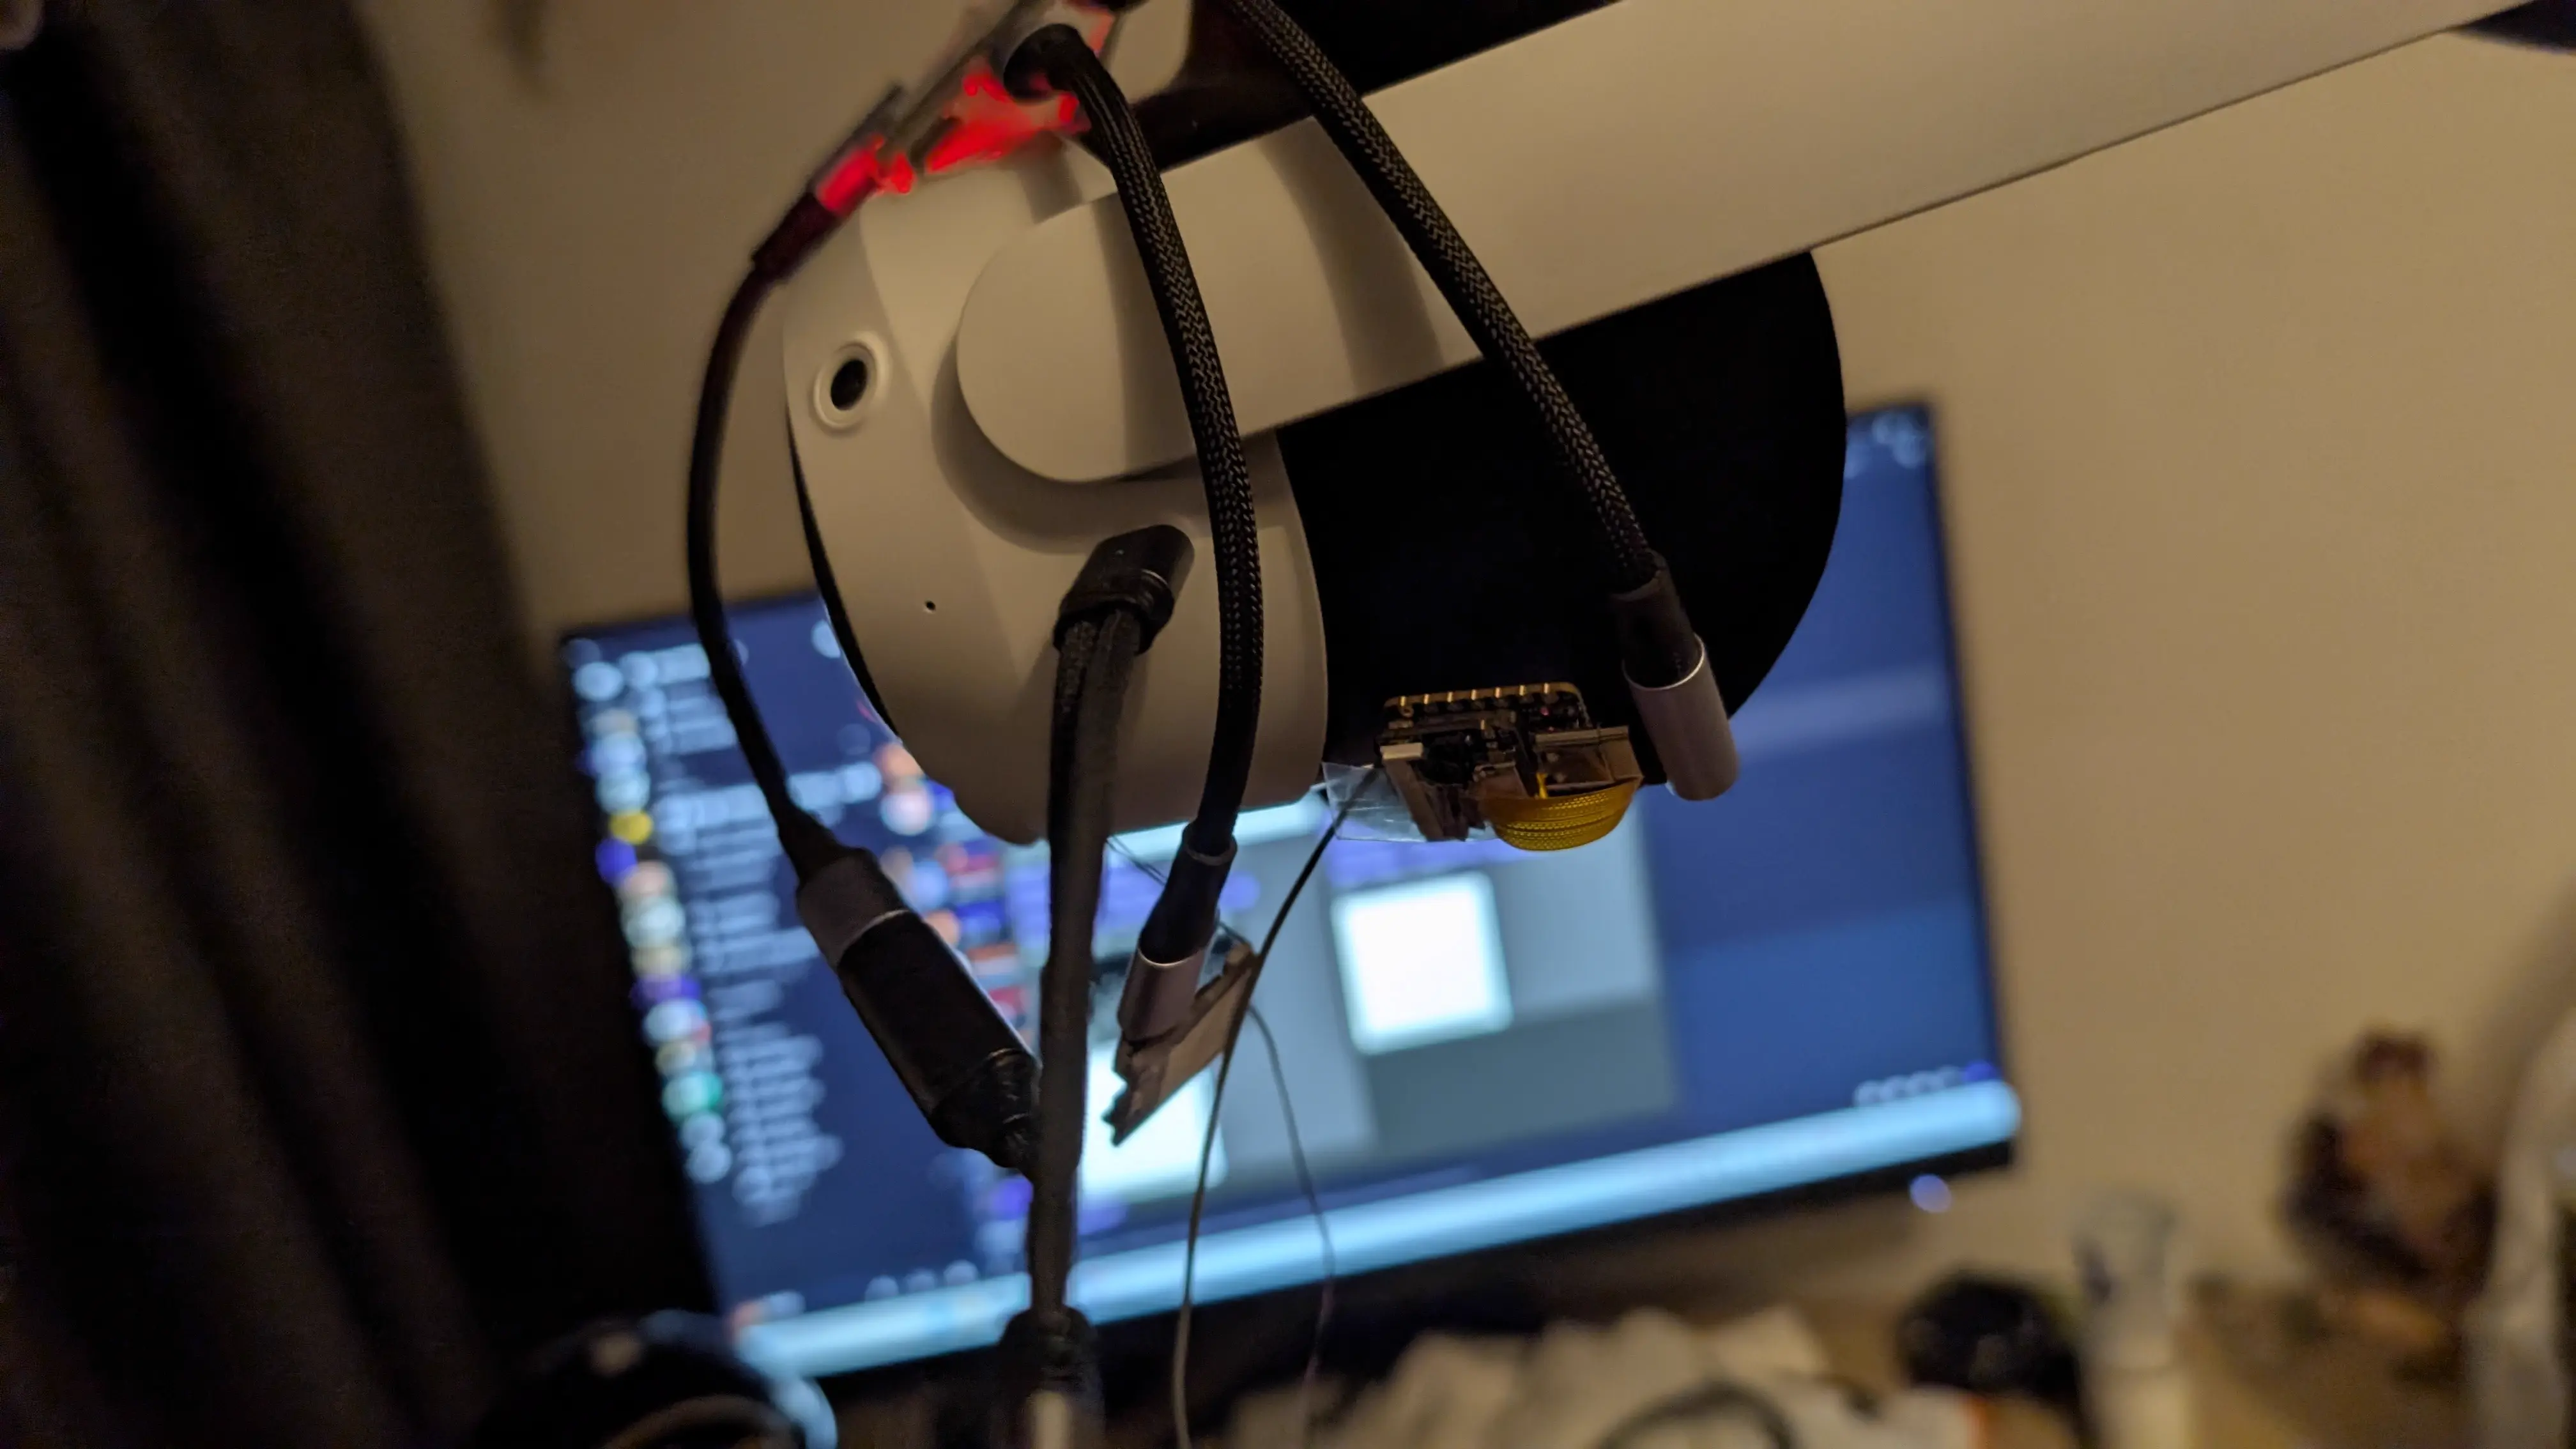
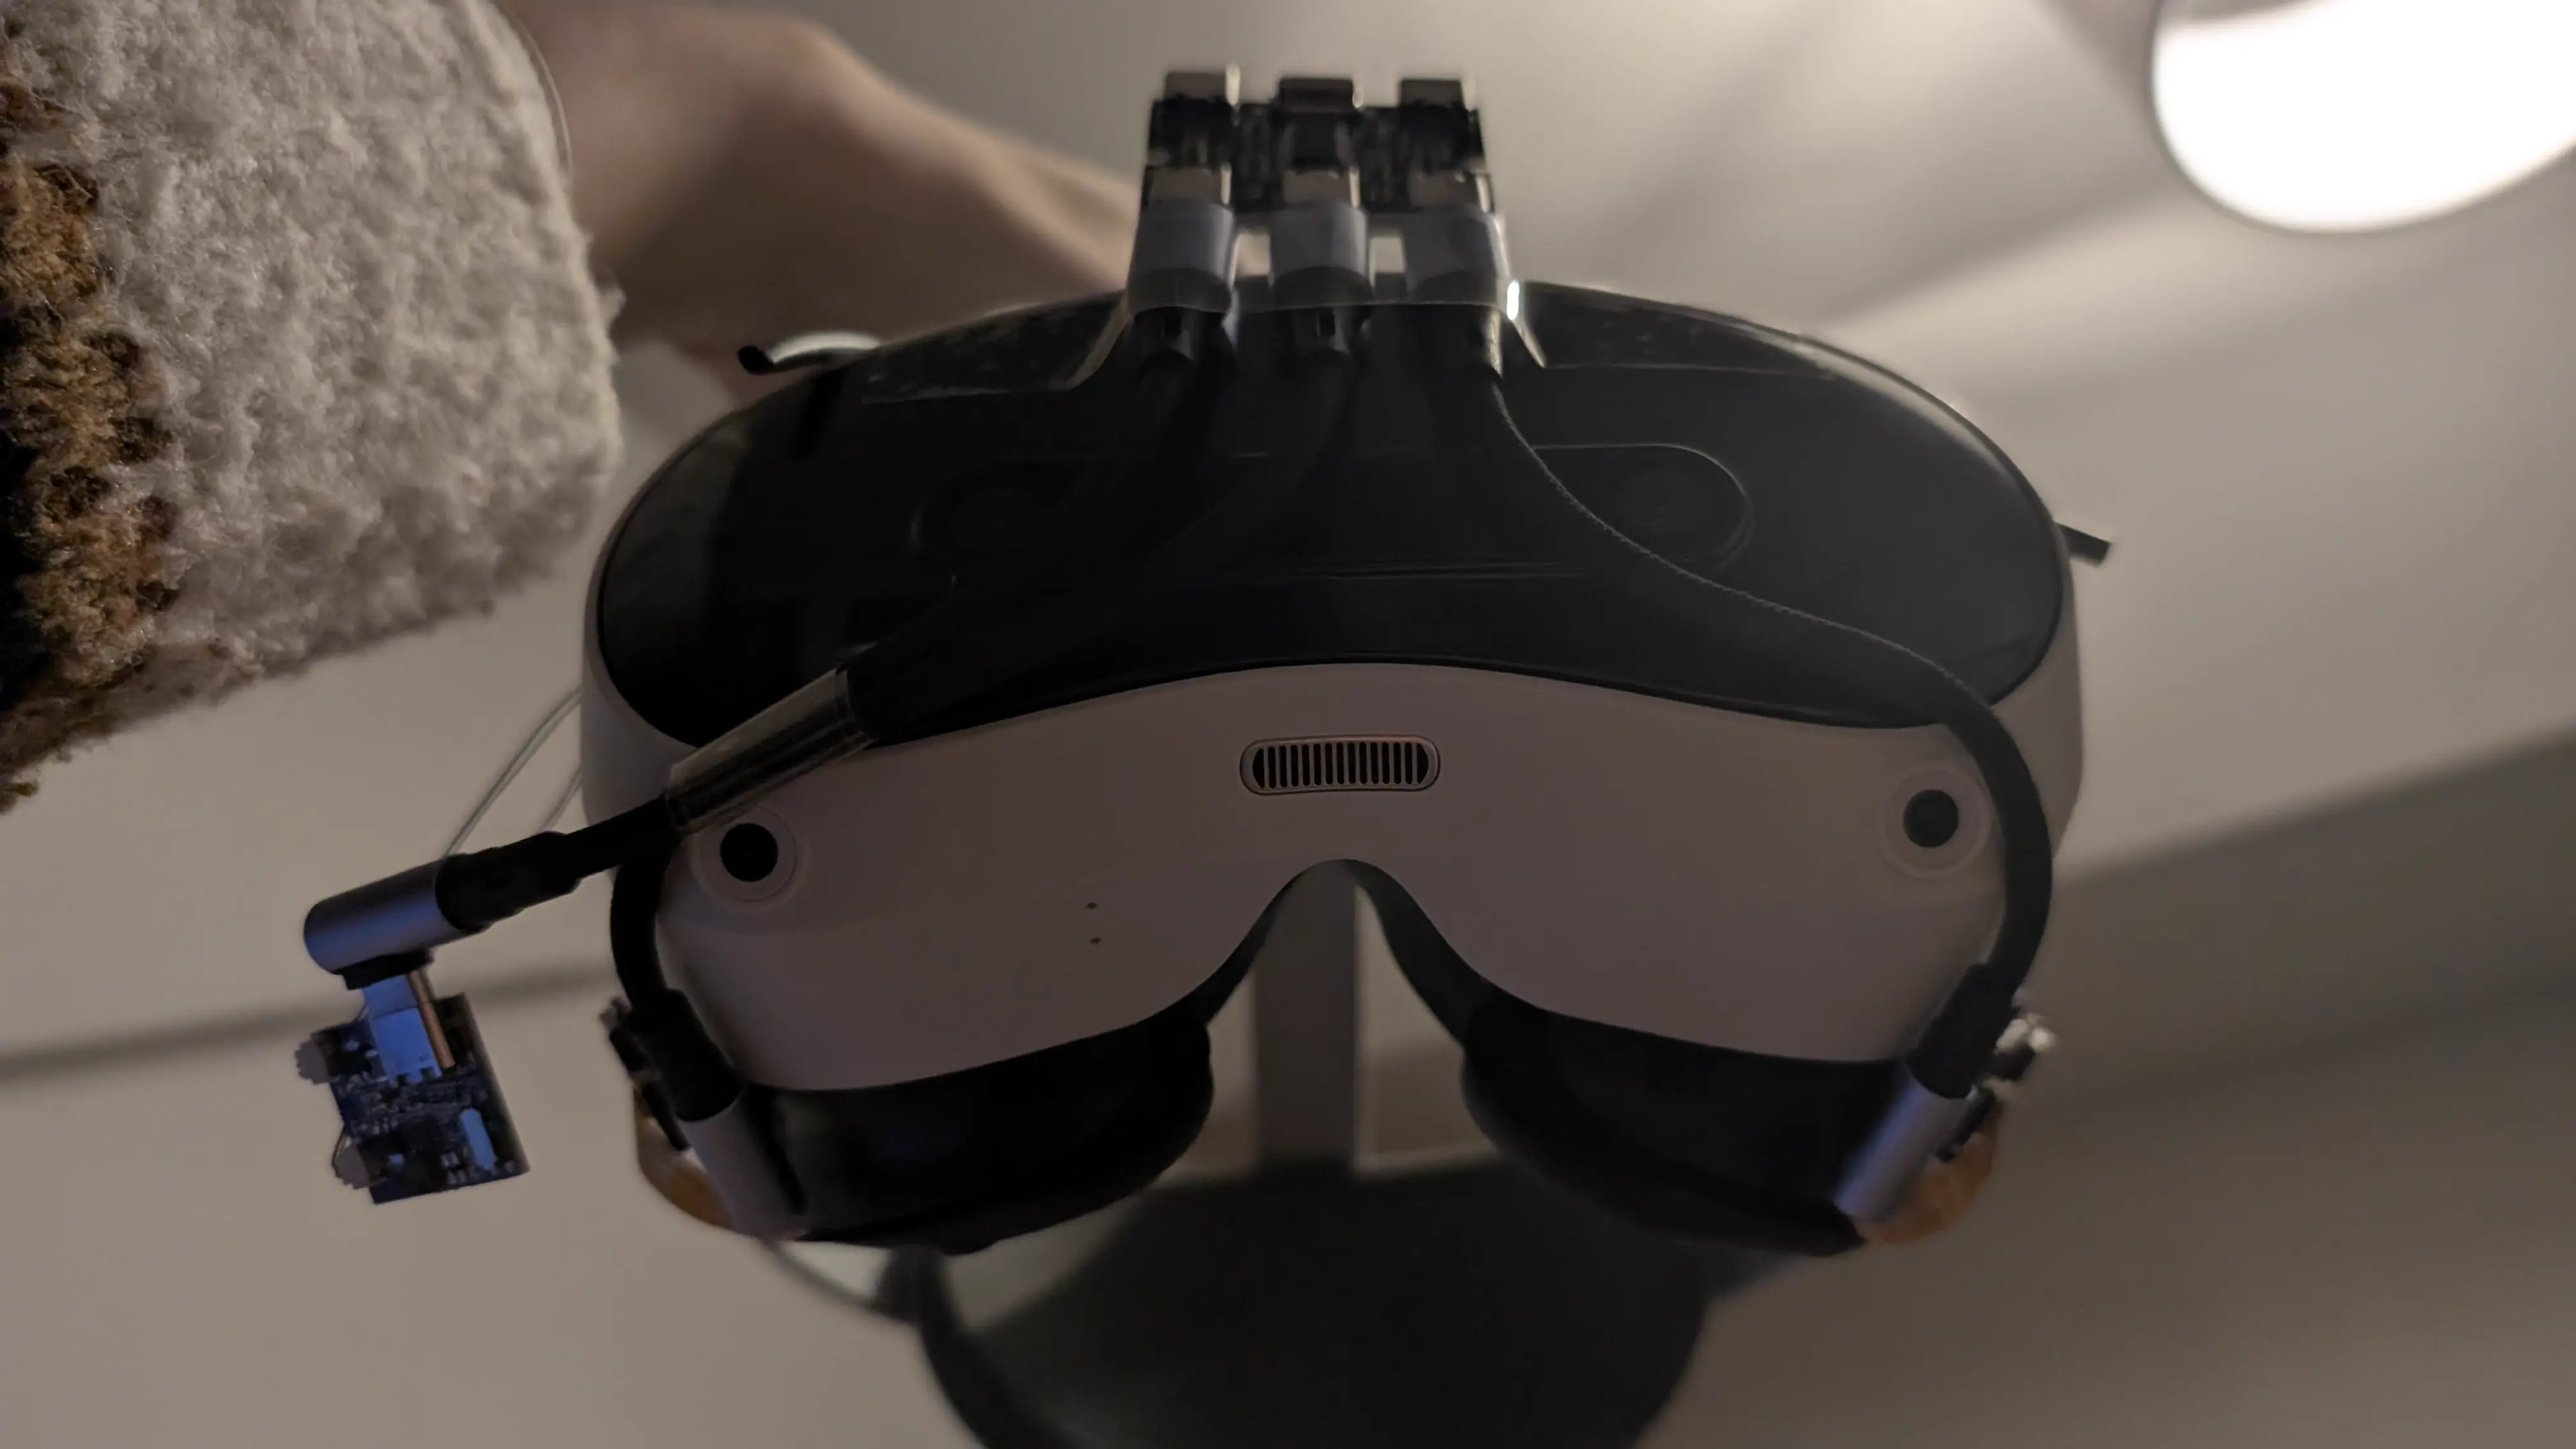
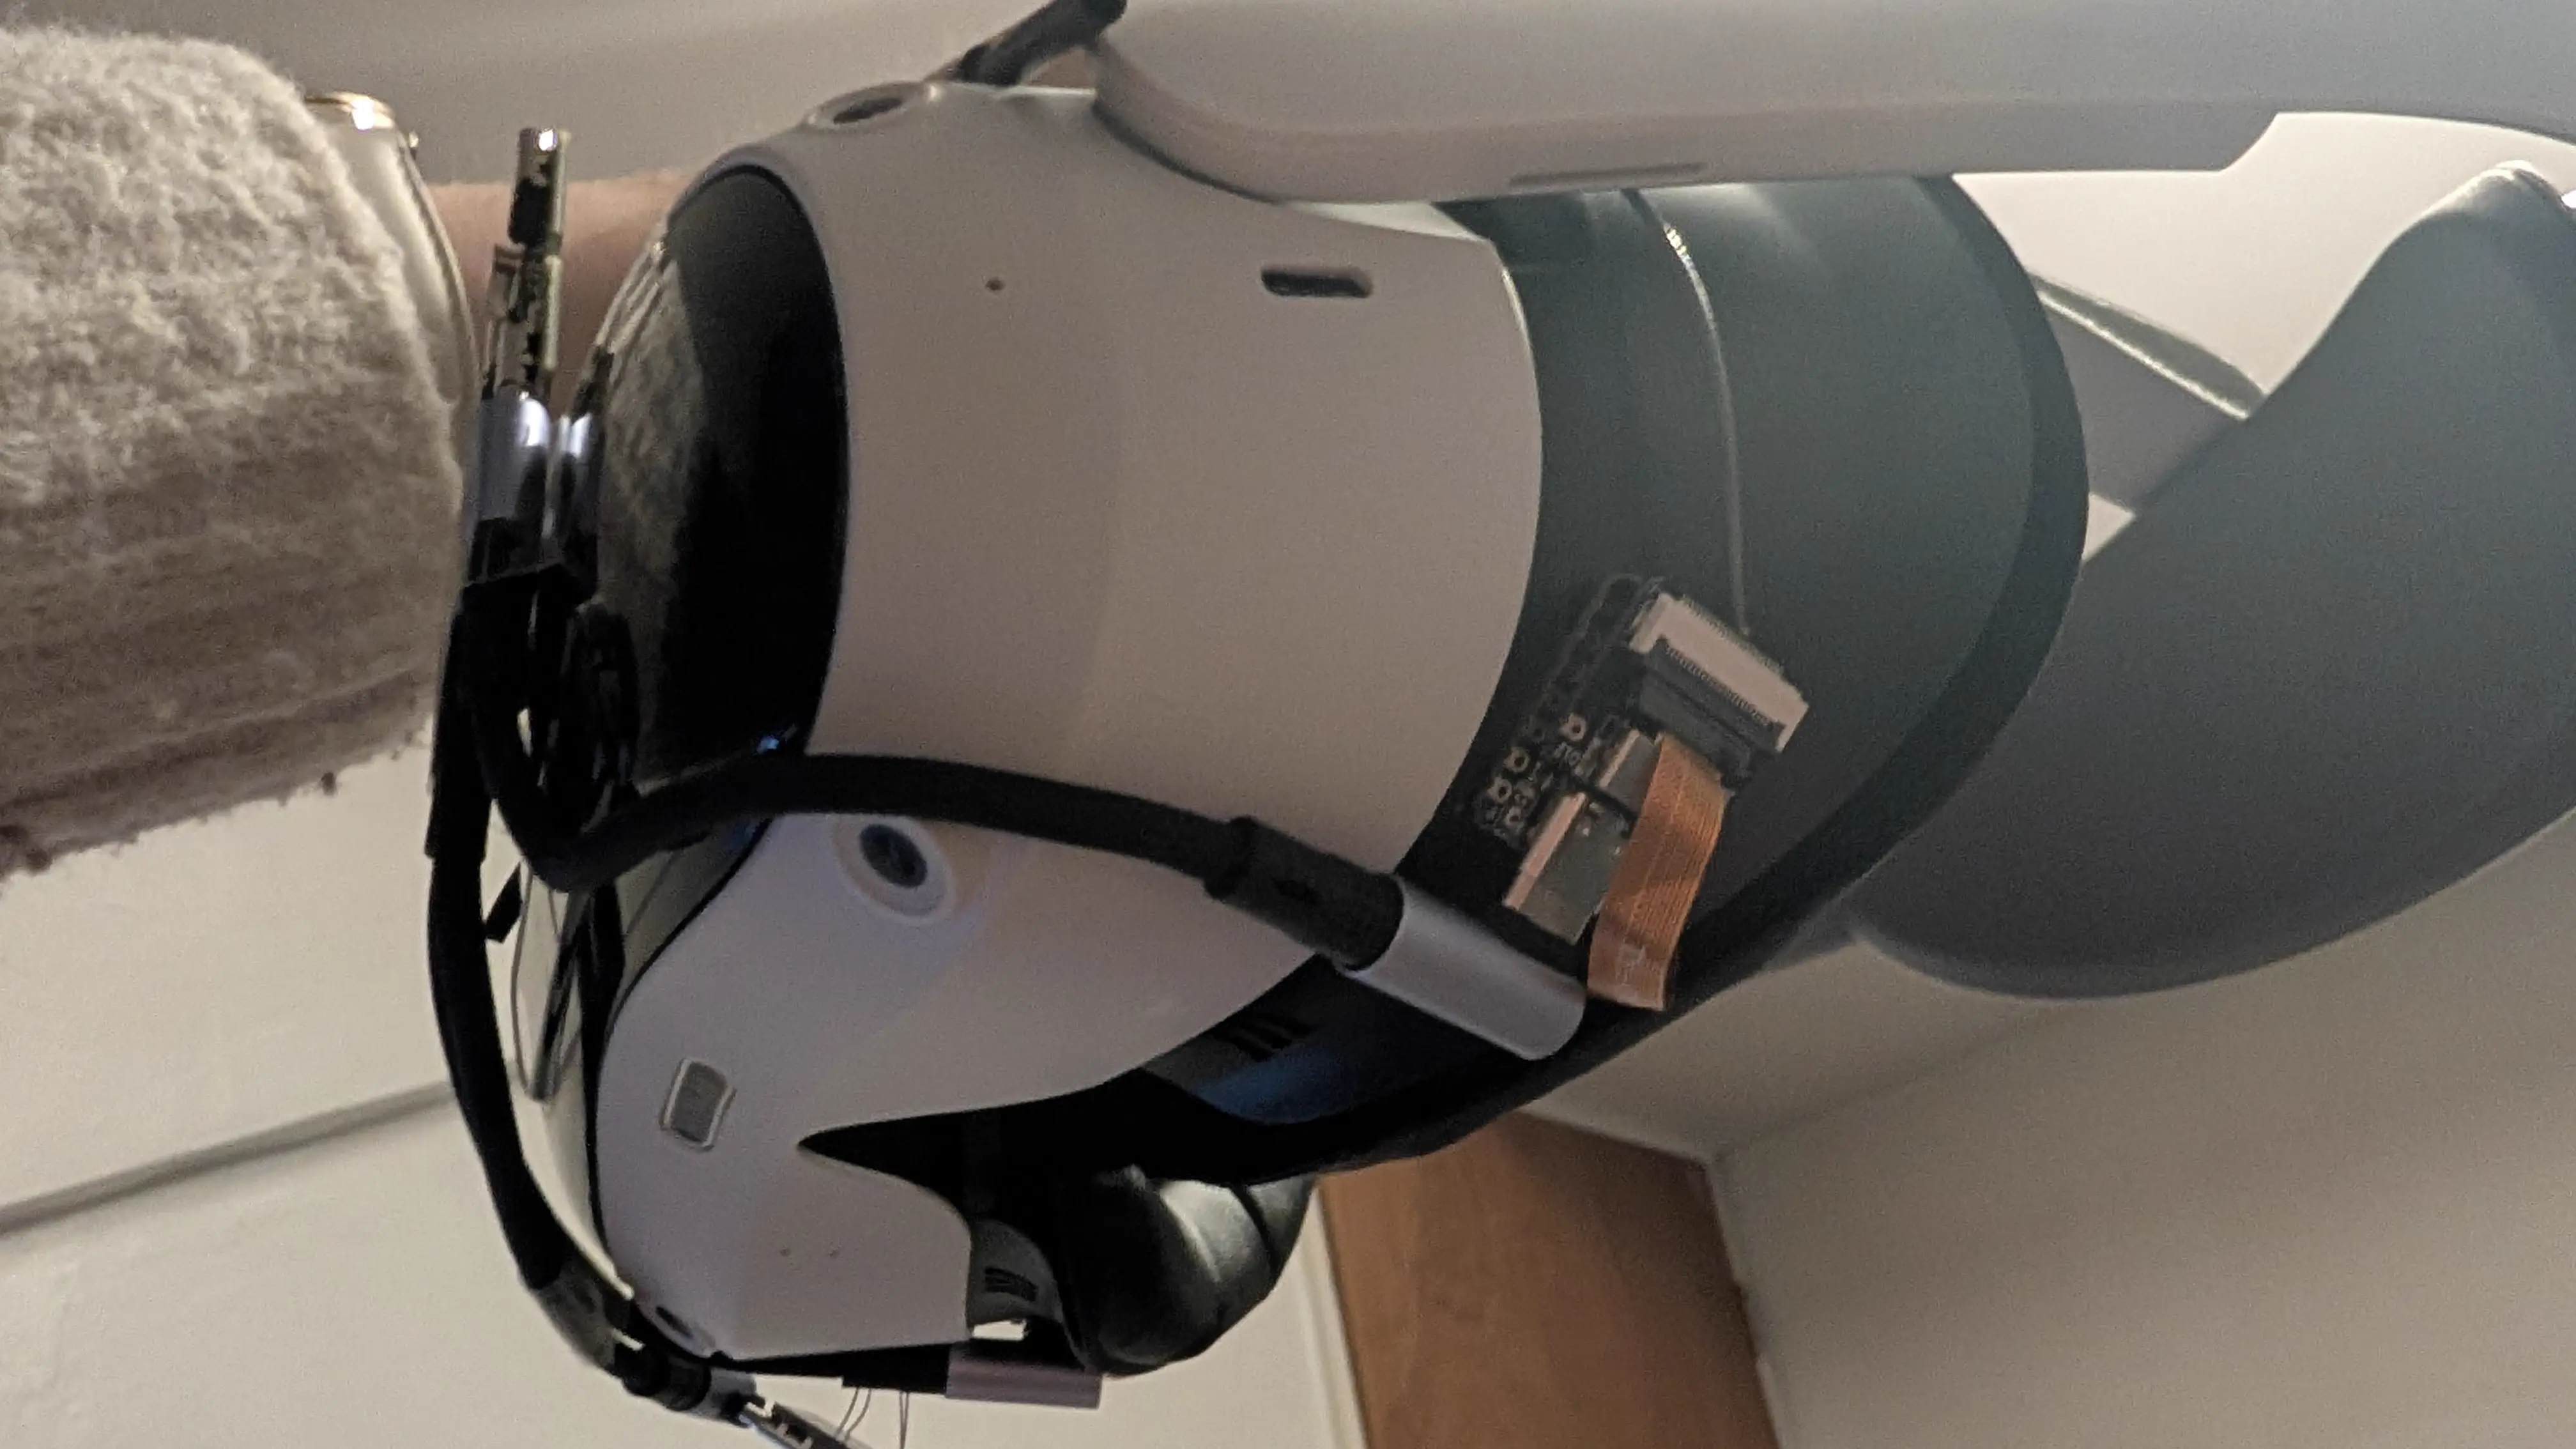
Hardware Mounting
So, LED mounting is sorted, we have all the hardware working on the bench. Let’s mount it to the headset permanently.
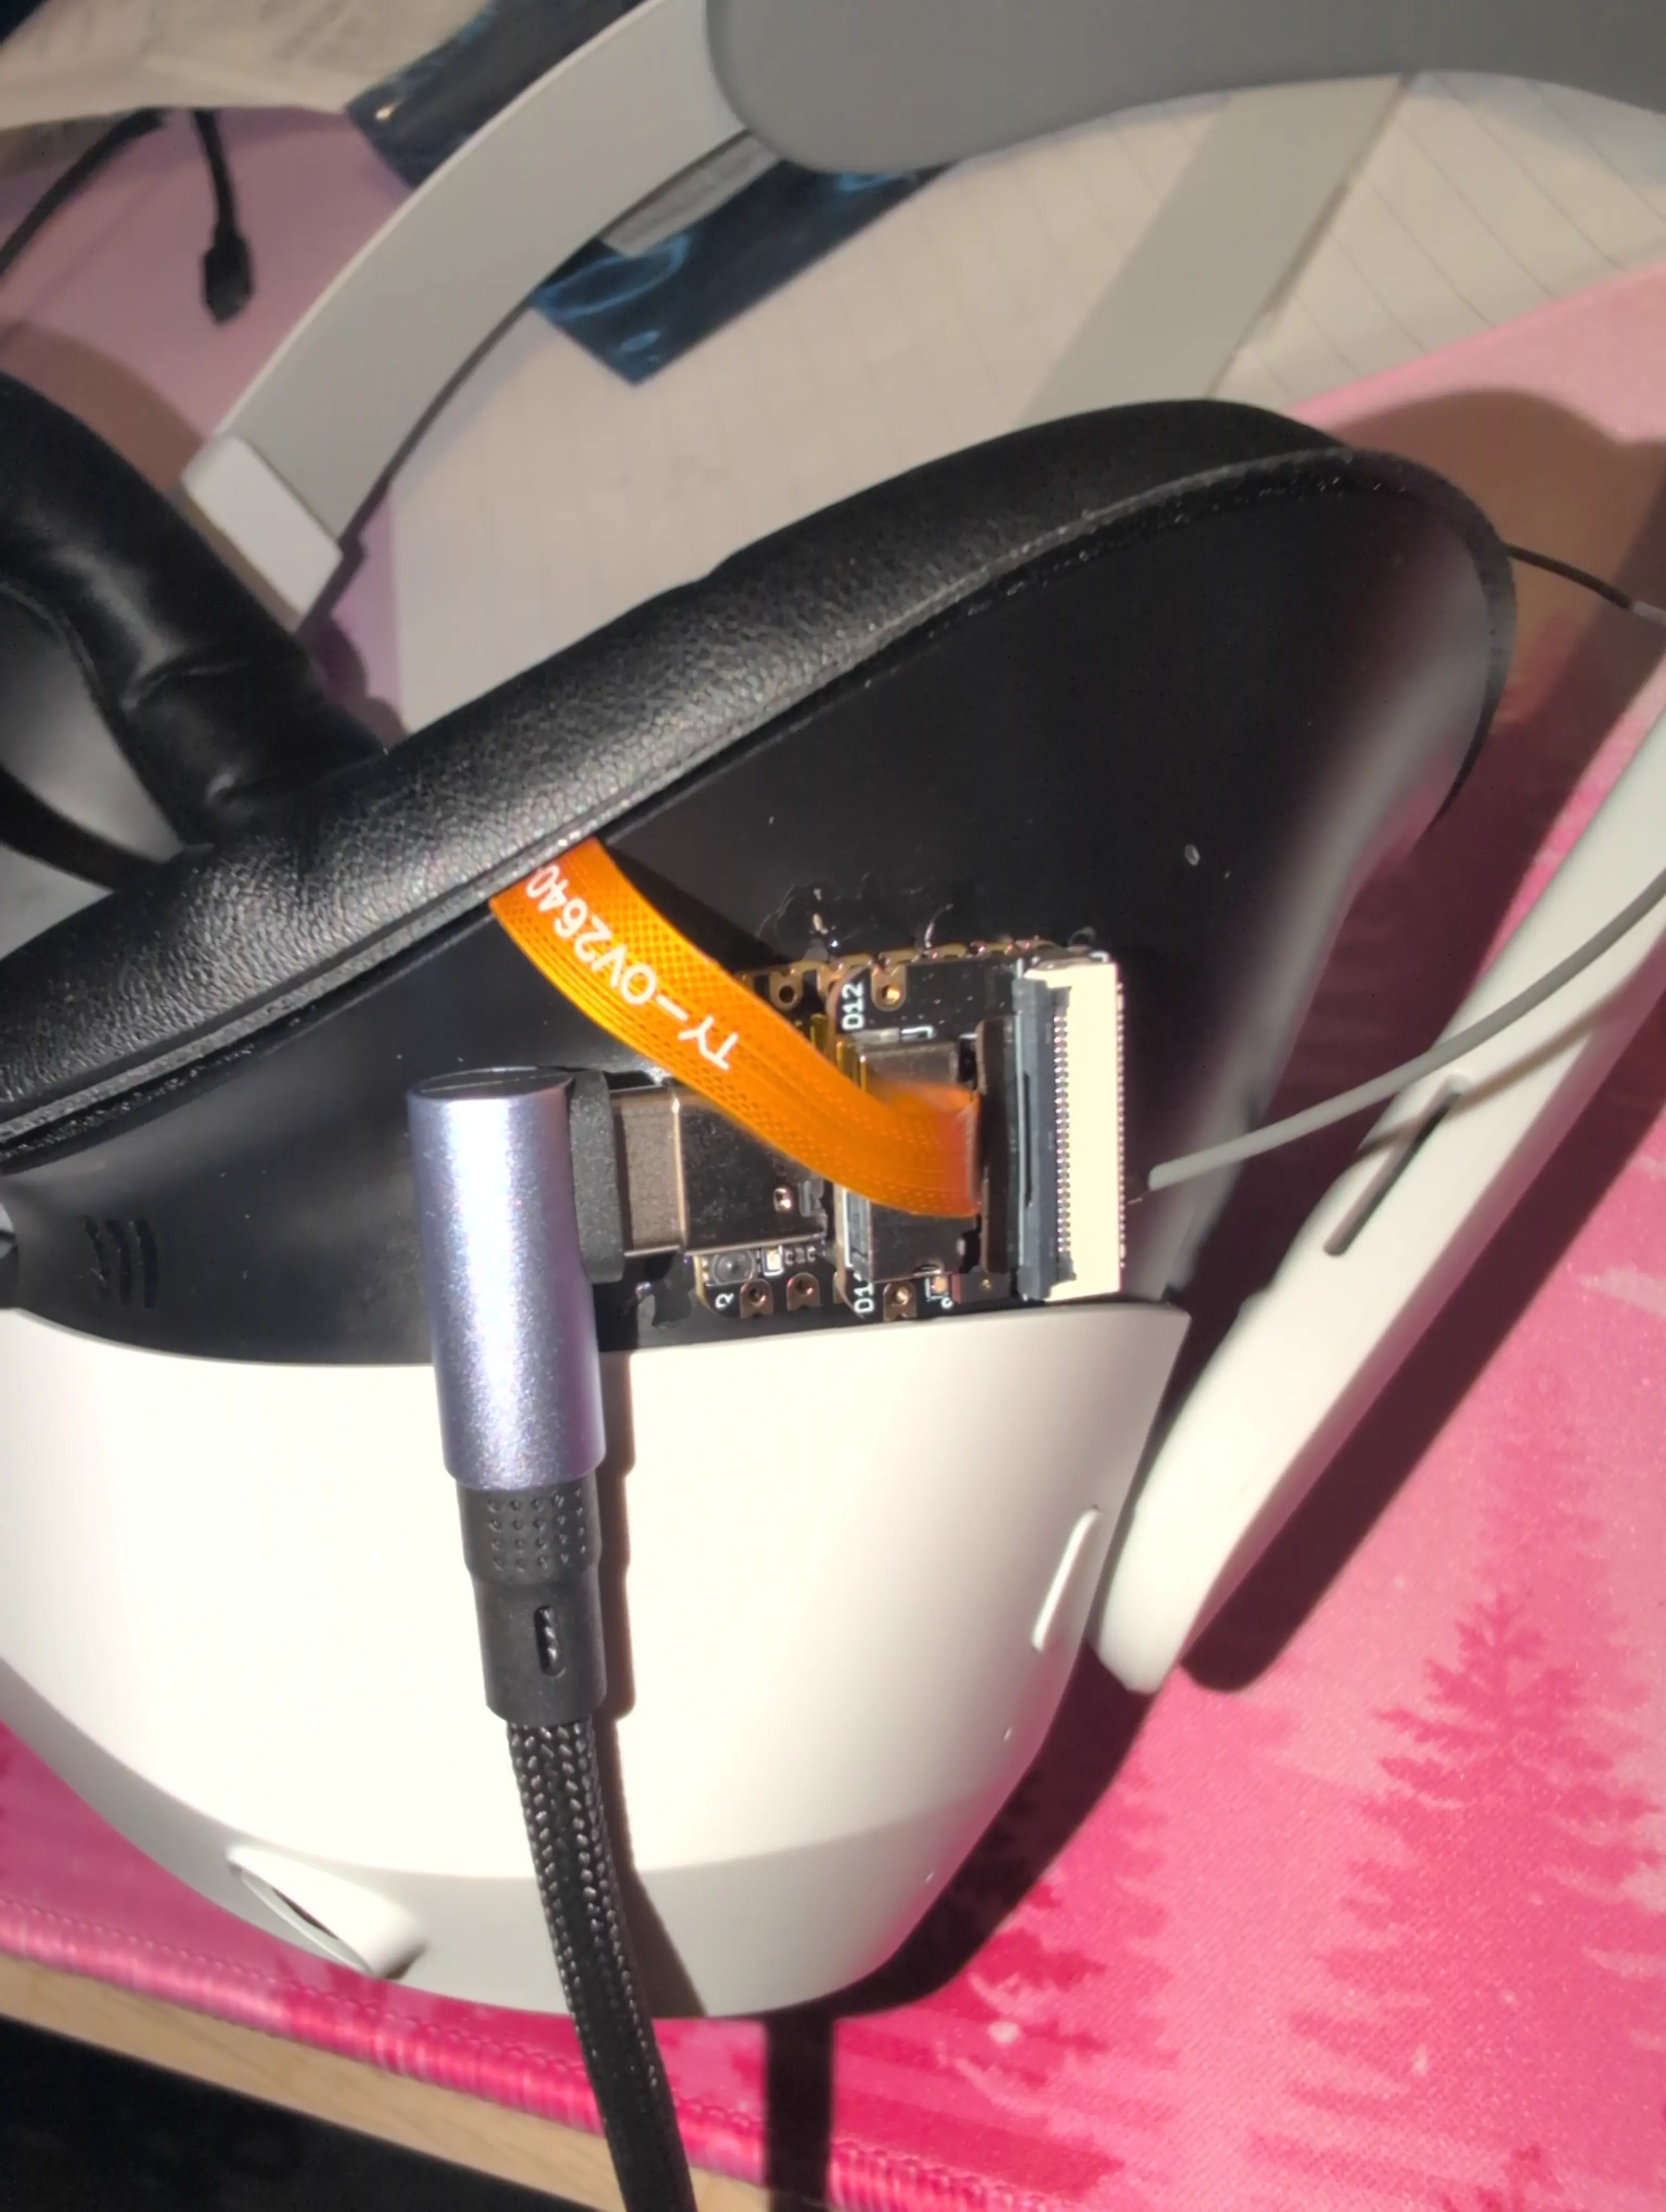
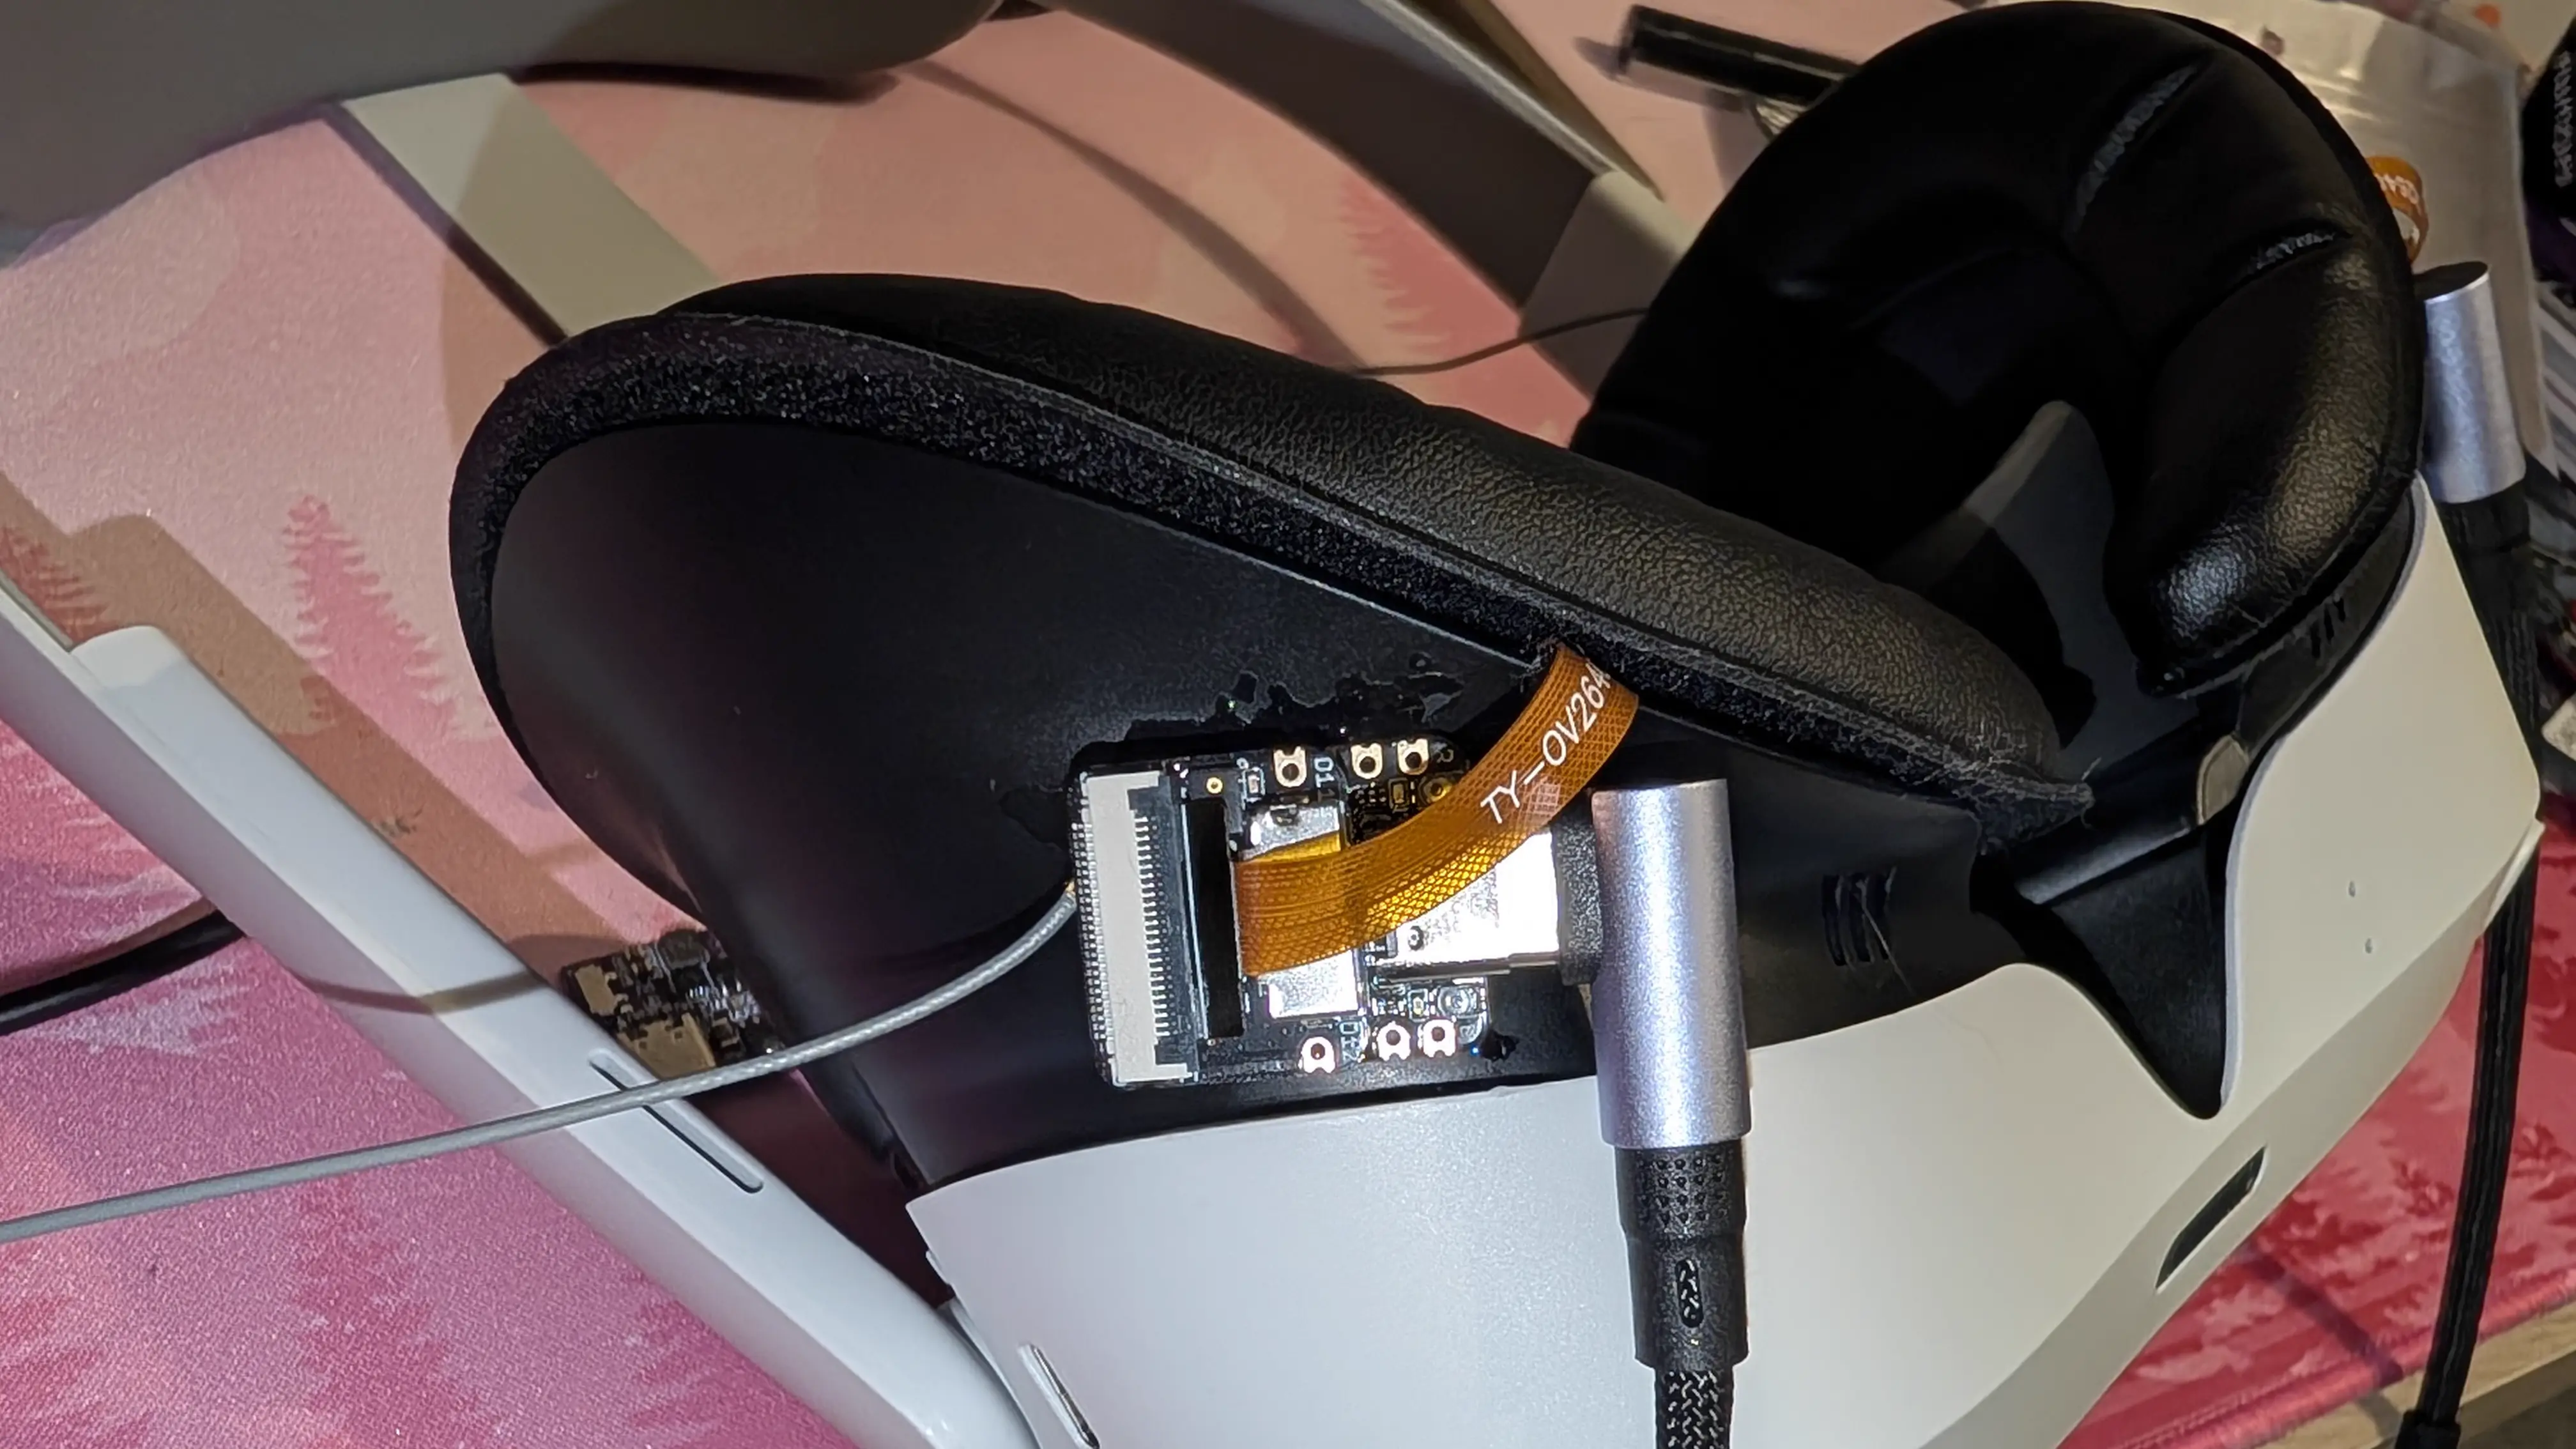
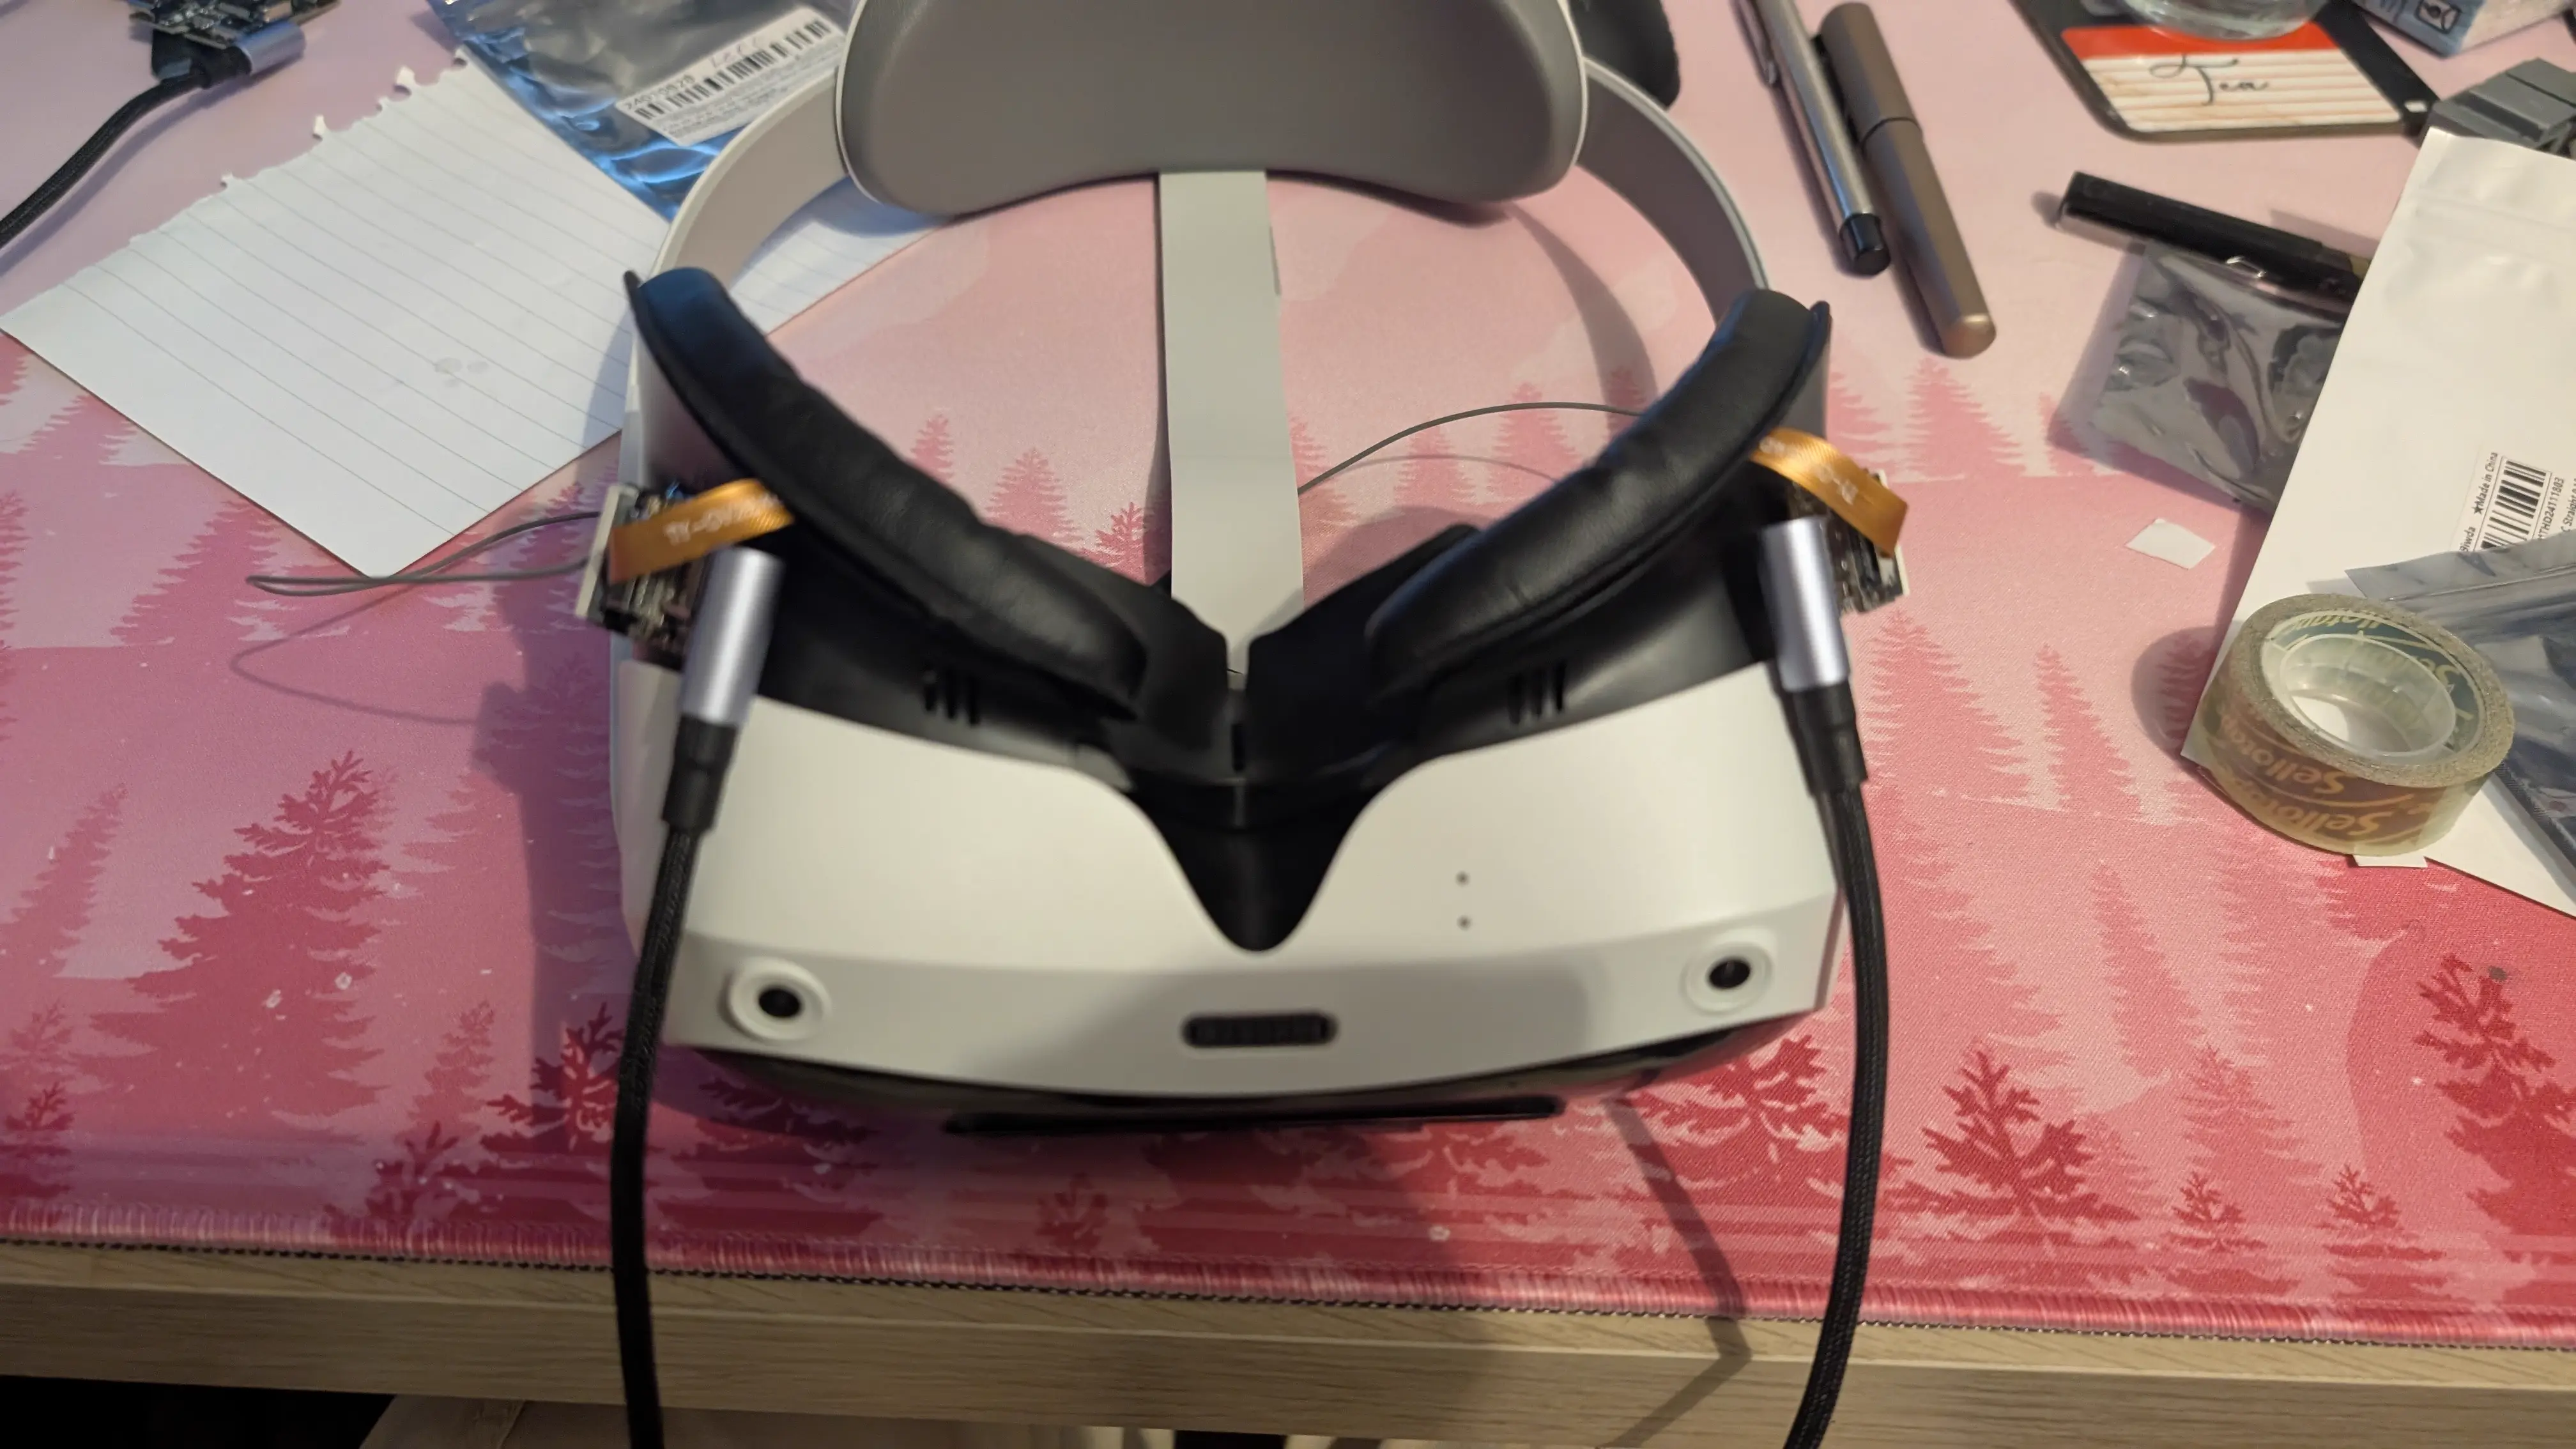
I experimented a lot with where I could mount the ESP32s with the cameras in the spots they needed to be in, and where the power cabling would work. I eventually landed on the sides of the facial interface, with the ribbon cable going between the facial interface and the PU foam cushion, so that it wasn’t kinking the delicate ribbon cable. I held it in place with double sided tape, and then just doused those fuckers in loctite until they held niiiiice and firm. They seem plenty solid.
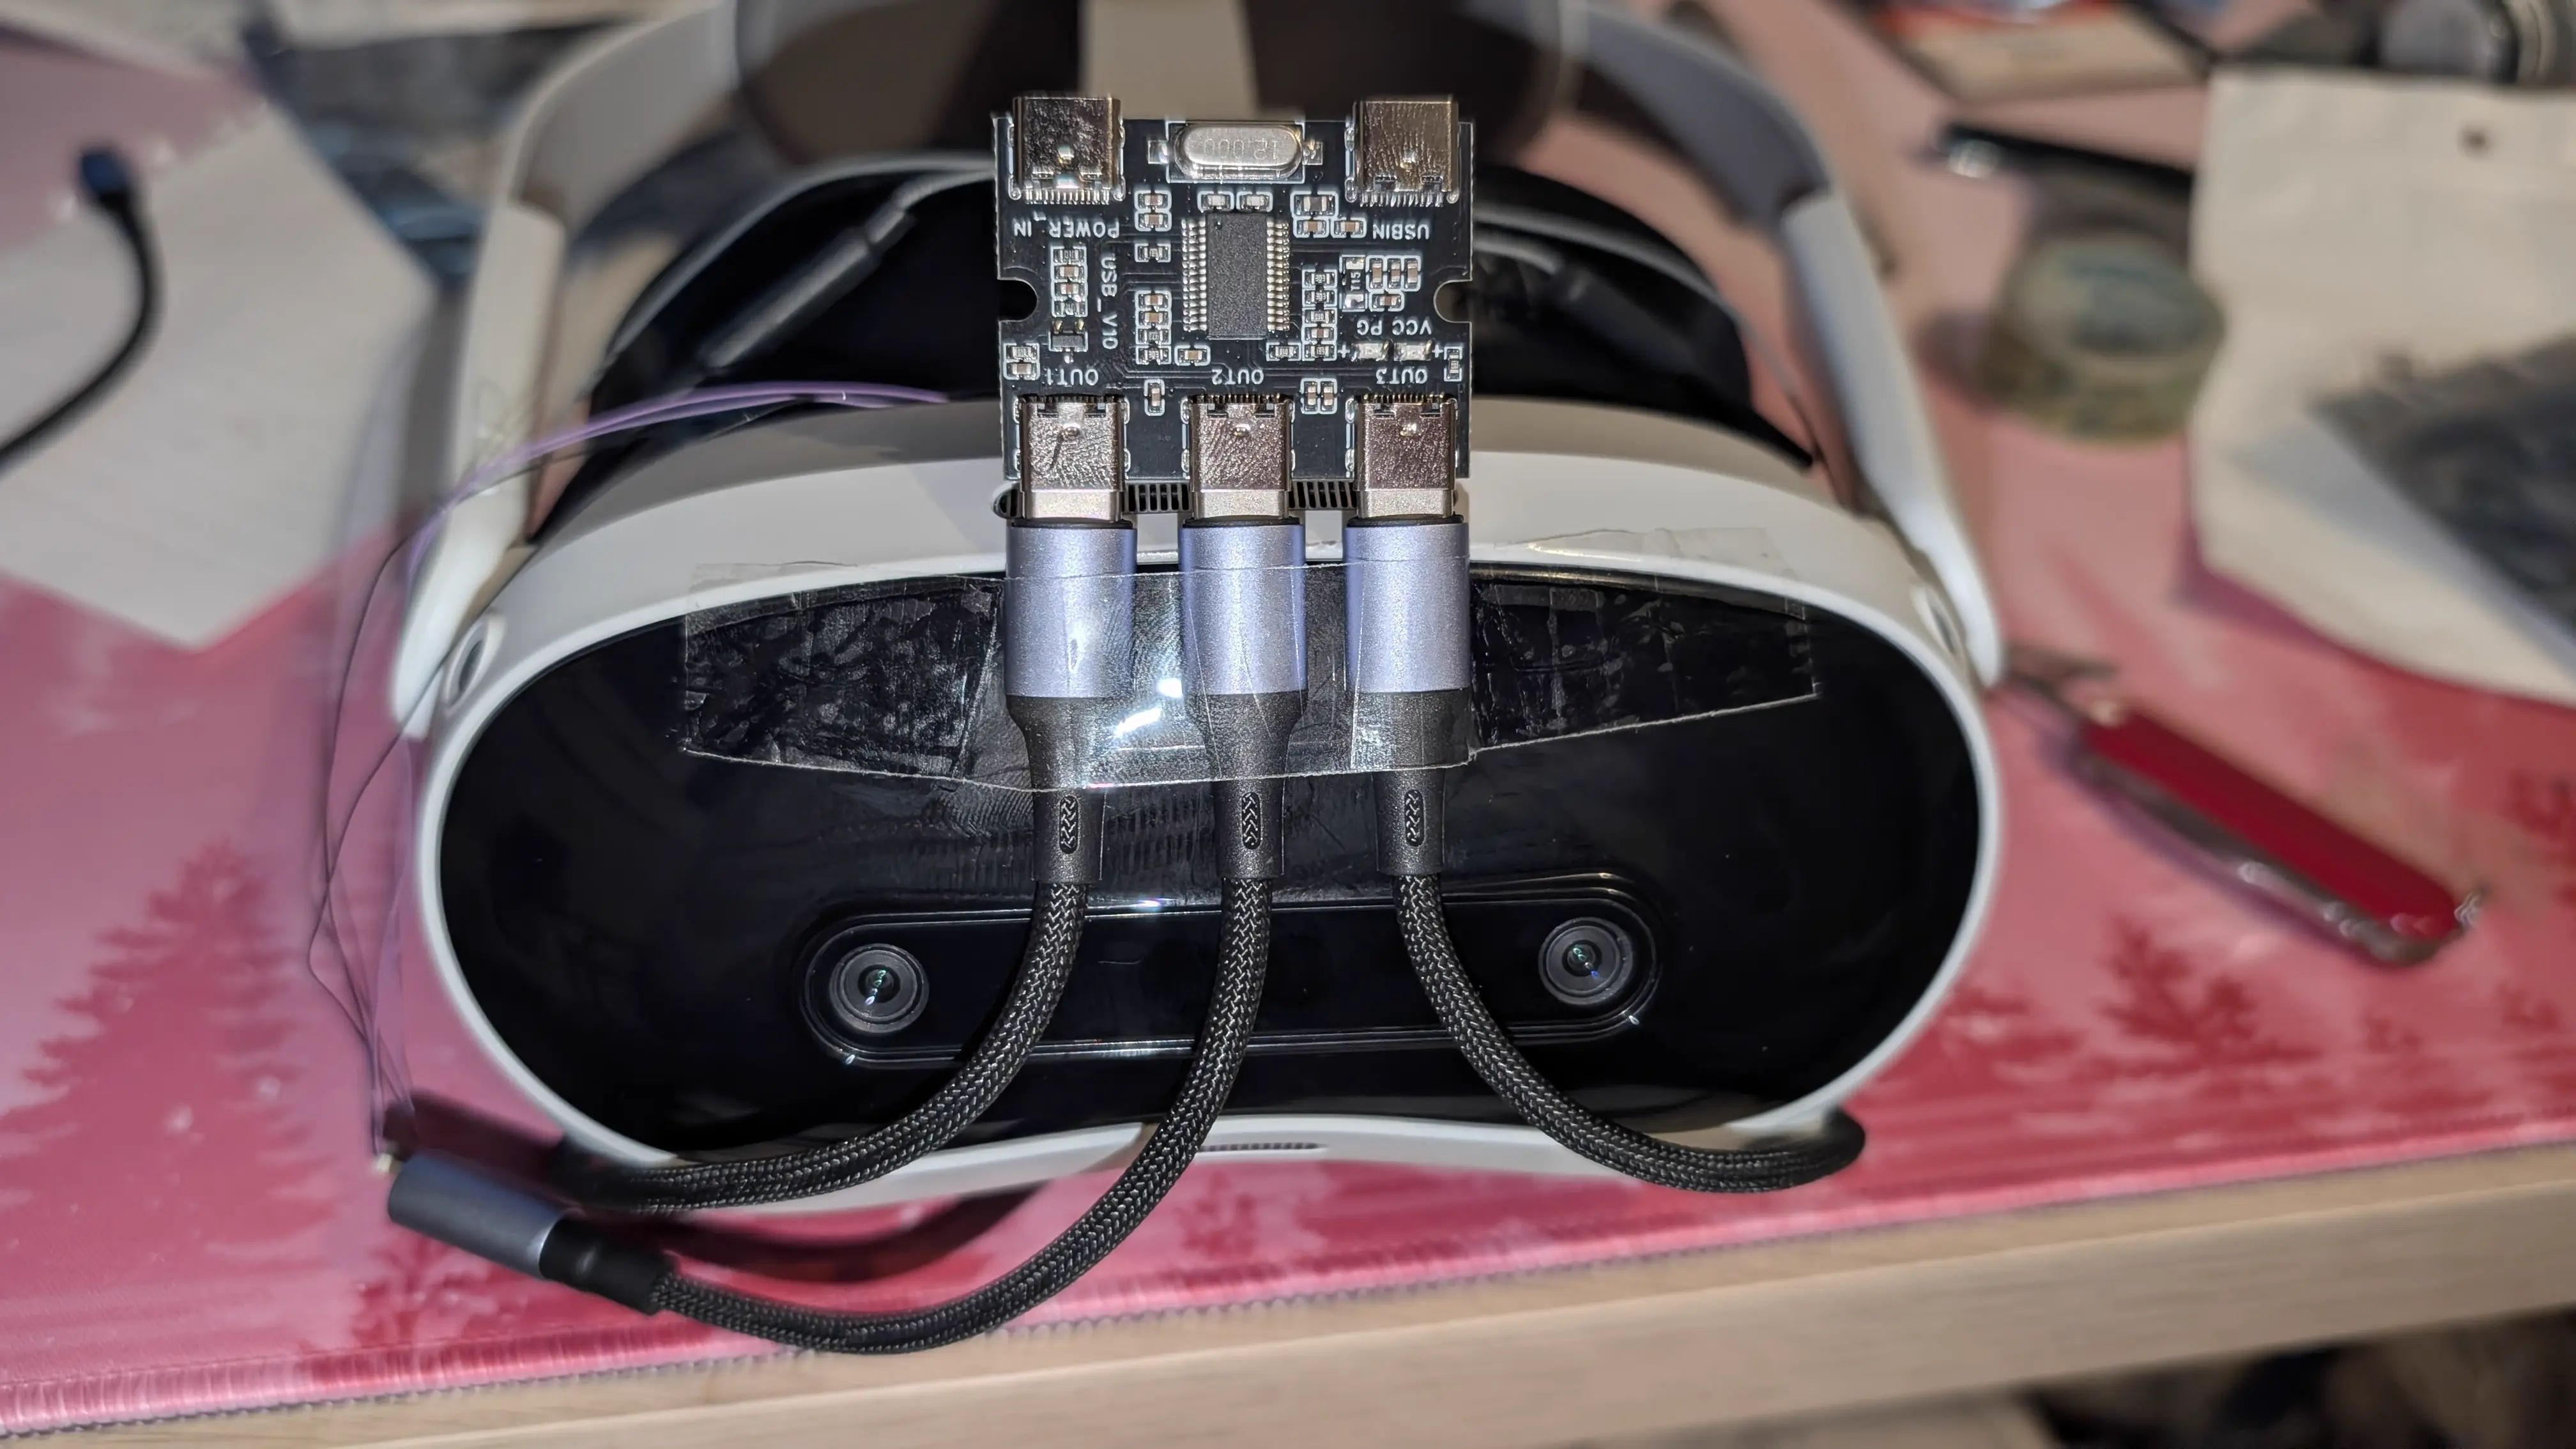
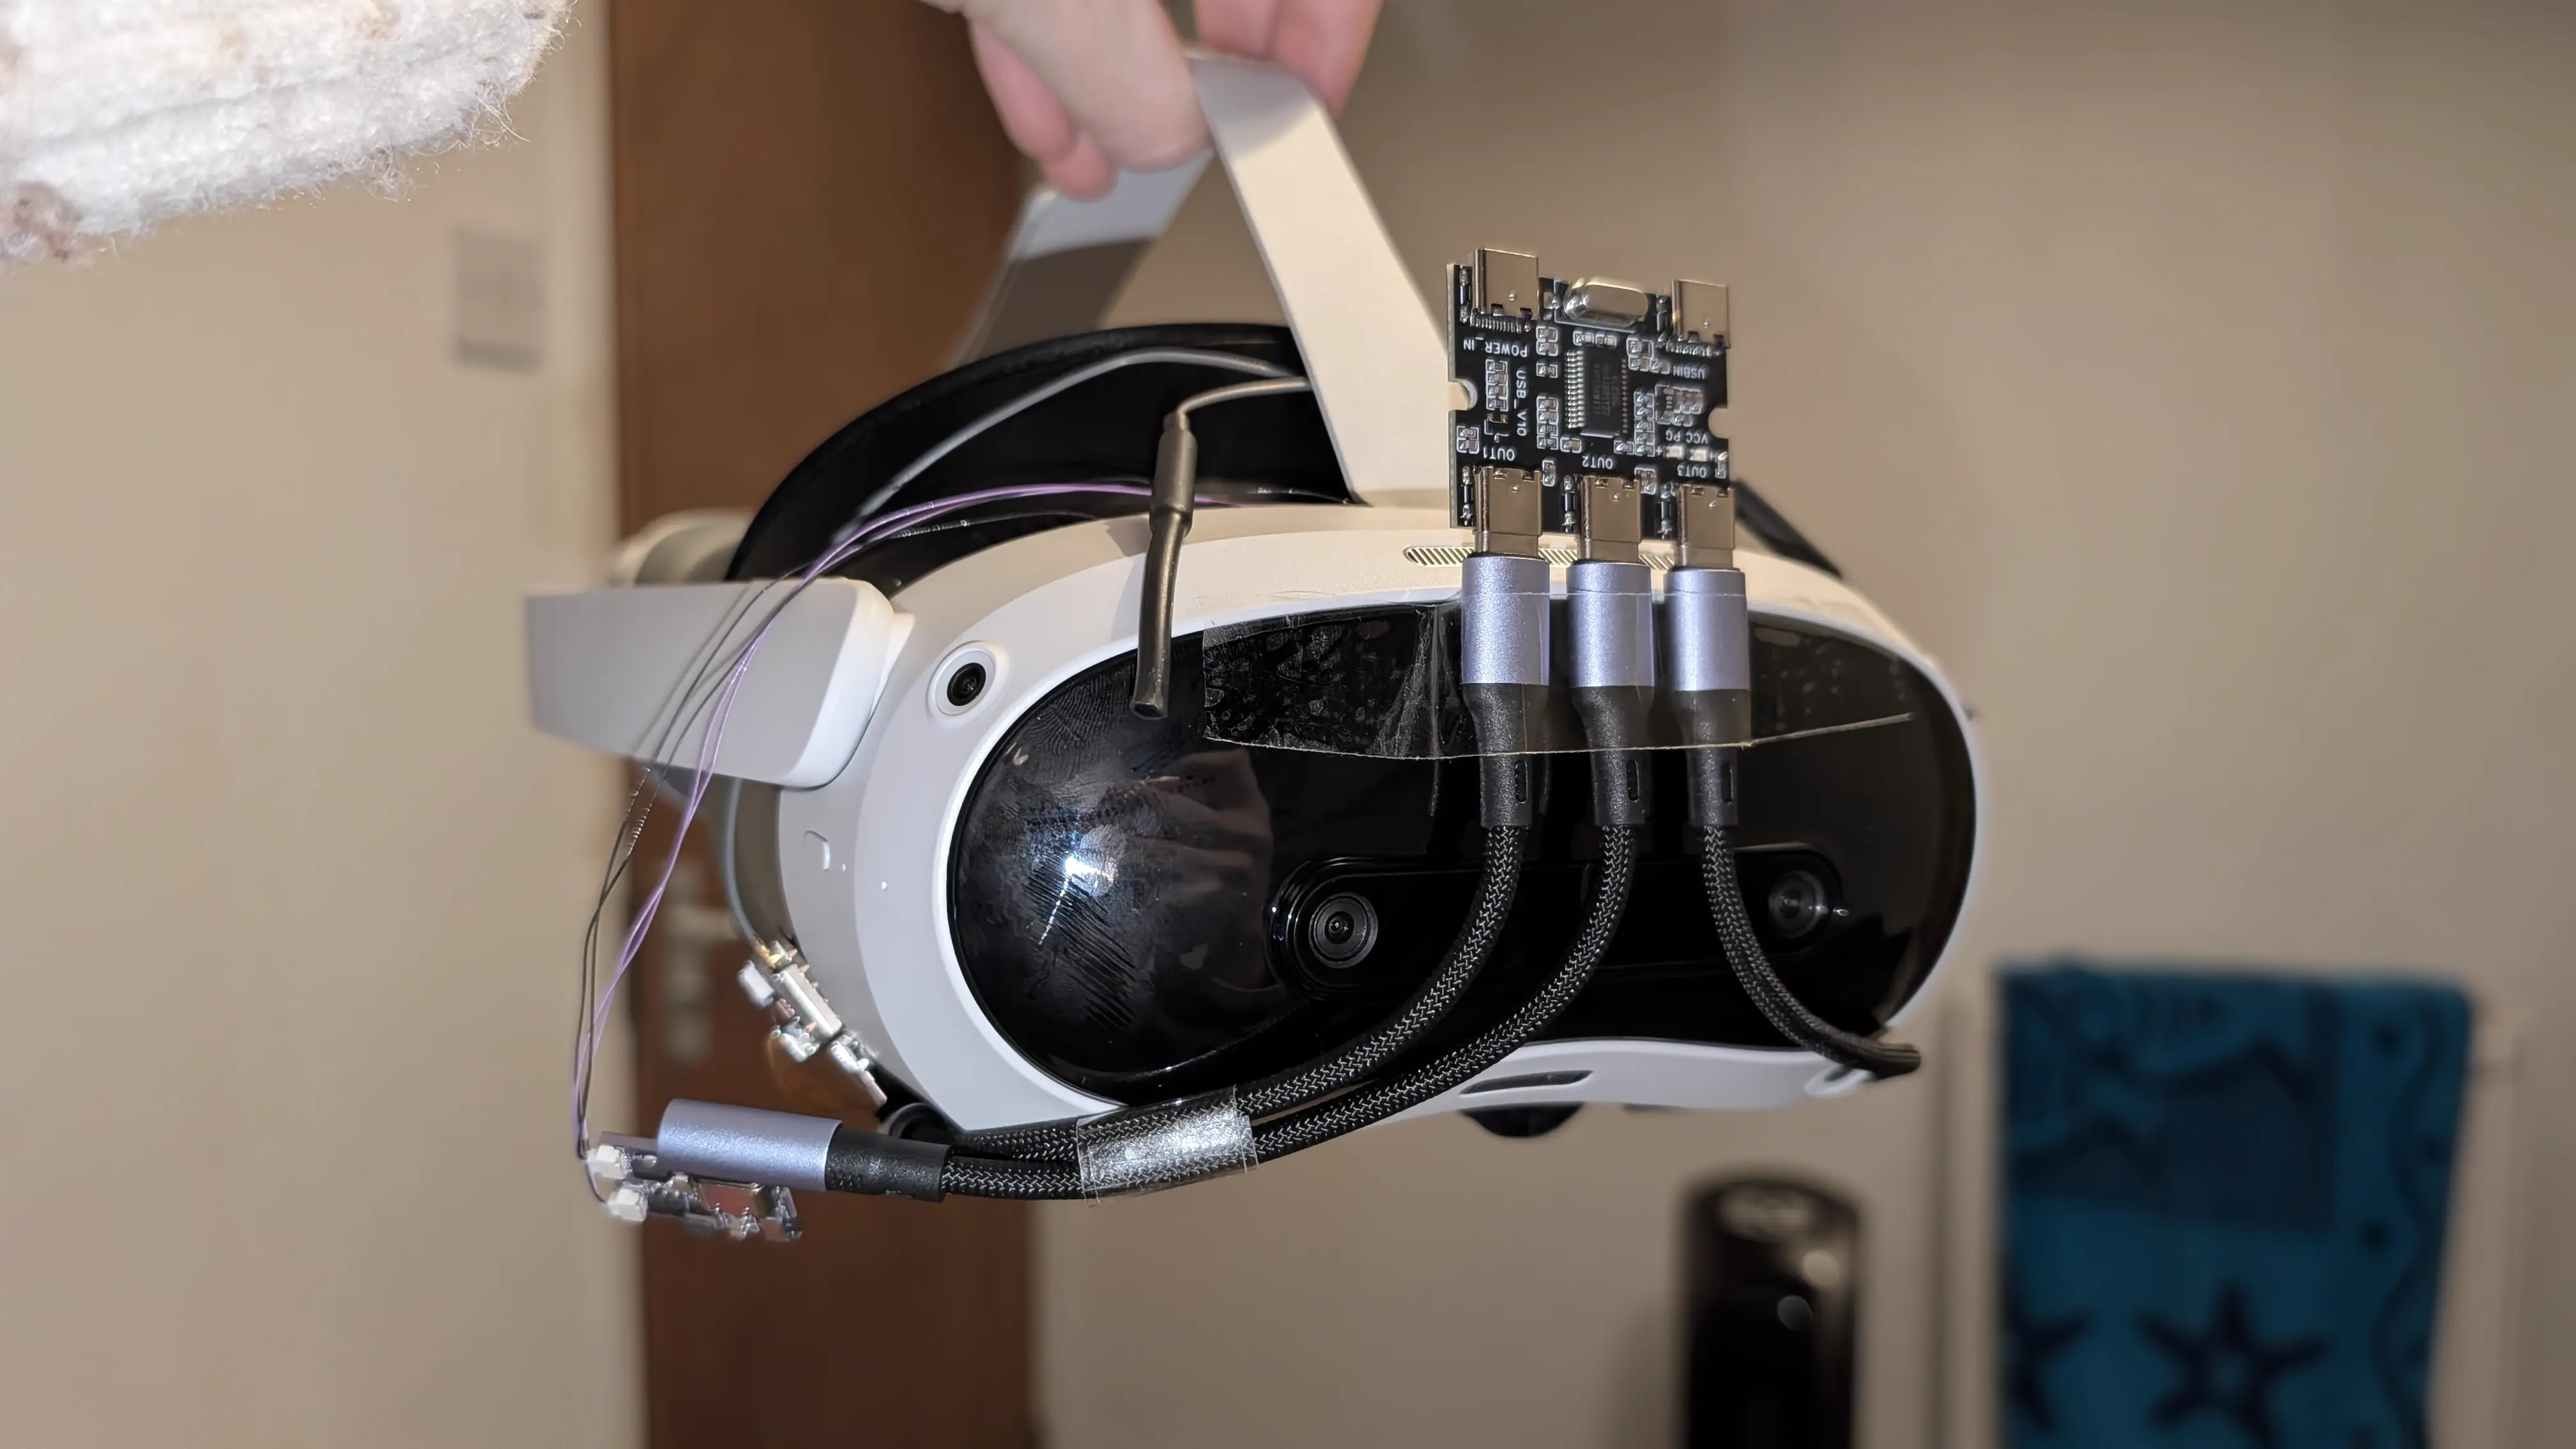
Then I took the coward’s approach and sellotaped the USB hub to the front of the headset. lol.
The ETVR board didn’t want to stay stuck to the top of the Pico with double sided tape so I decided to just let it hang out the side.
Tracking Software
To test initially, I hopped into this VRChat avatar world and used those avatars. You need VRCFaceTracking with the ETVR module, and the ETVR app. Then that just kinda worked, after following the ETVR cropping and calibration guides. Be aware that the recenter eyes button will open SteamVR if possible!
Avatar Setup
Oh boy. Whew.
I bought Pawlygon’s face tracking addon for Chalo, which is great, but it uses a patcher to apply the blendshapes to your existing Chalo FBX model. My avatar uses the wrong version of Chalo, and its a modified FBX anyway. Not gonna cut it.
After a bunch of fucking around with the correct original FBX, I was able to find the patched avatar and drag it into Unity. There was also a few prefabs that it added that I copied across too.
Now, to try to copy the blendshapes to my own avatar. This was going to be a job for Blender. At first, I tried using this plugin (fblah/ShapeKeyTransferBlender), but it took 20 years to run and didn’t work.
So, I used this plugin and set its coordinate space to World, and then it worked! I exported the FBX with all object types, scale 1, apply scalings all local, forward -Z, up Y, apply unit, use space transform, NO apply transform, apply scalings: FBX Units Scale.
Then I copied ”!Pawlygon - VRCFT.prefab” onto my avatar and added a VRCFury Menu Move or Rename Menu Item to reposition its added menu.
It works in unity! I have face tracking!… but there are some teething issues, the mouth open blendshape is a little glitchy, not that I’m using it, but my eyes also keep blinking while ET is on, and my hand (paw?) gestures are like, scaled wrong, my paw fingers move too much. It looks weird so I need to try and fix that.
And here she is!: (FAIR WARNING for sound! If you are in a public place or something you may wanna mute your phone, I’m not saying anything of substance here anyway, I promise, lol)
It doesn’t quite fit in its original carrying case now, but it does JUST ABOUT well enough that I can just very minorly disassemble it and it will, so its chill.
I hope you find this interesting, or perhaps helpful. Hope to see you back here some time soon!
- Hazel